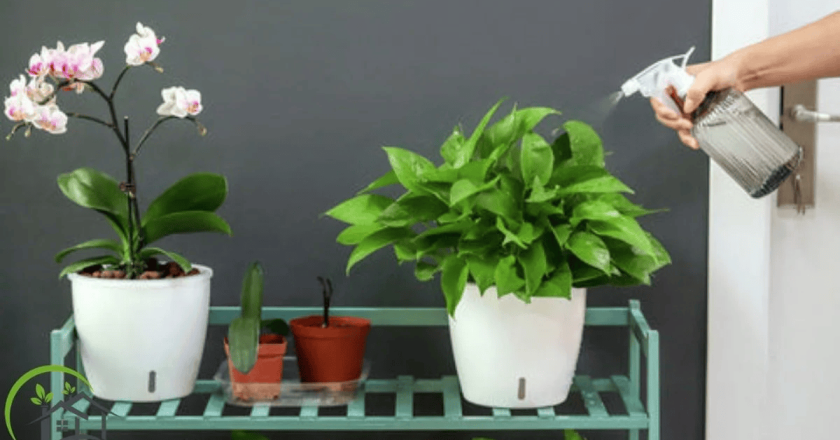
Indoor plants have a way of transforming a room. They make spaces feel calmer, healthier, even a little more alive. But there’s a quiet challenge that often lurks in the background of indoor plant care: humidity. Many popular houseplants come from tropical regions where the air is naturally moist, and our heated or air-conditioned homes often leave them gasping in dry air. Leaves crisp, buds fall, growth slows.
The solution doesn’t have to be complicated. In fact, one of the simplest, most cost-effective tricks is the DIY Indoor Humidity Tray. It’s exactly what it sounds like—a shallow tray with water and pebbles that sits beneath your plants, gently raising the local humidity.
It might sound too simple, almost suspiciously so, but this method has been used by gardeners for decades. And it works. Not perfectly, not universally, but well enough that it’s worth trying before investing in humidifiers or misting routines you might not stick to.
So, let’s unpack everything: what a humidity tray does, why it helps, and how to build one at home with items you probably already own.
Why Plants Struggle with Low Humidity Indoors
Dry indoor air is a common problem, especially in winter or in climates where heating and cooling strip moisture from the environment. For plants adapted to rainforests or subtropical areas, this lack of air moisture creates low-humidity plant problems.
You’ll see signs like:
-
Brown leaf tips
-
Drooping or yellowing foliage
-
Flower buds that never open
-
Fragile new growth
It’s a subtle stressor, one that gradually erodes plant wellness over time. Even sturdy species like the Peace Lily or Money Tree will look lacklustre if the air is constantly dry.
That’s where a humidity tray for plants comes in. It doesn’t change the whole room—it simply creates a microclimate right where the plant lives.
What Is a DIY Indoor Humidity Tray?
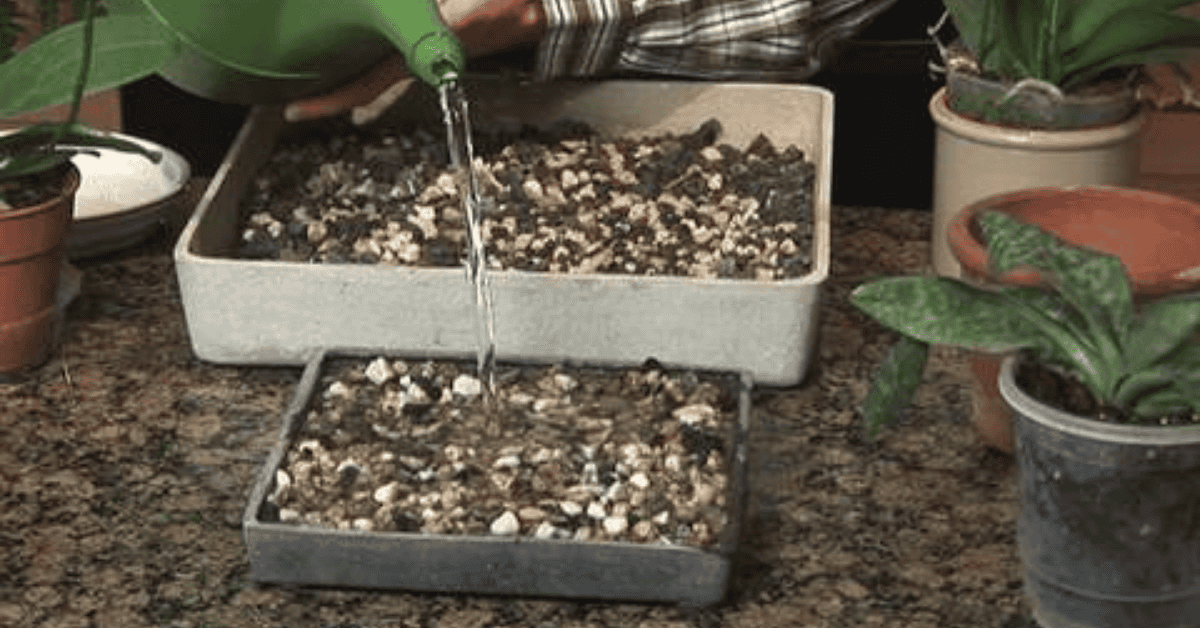
A DIY Indoor Humidity Tray is basically a shallow dish filled with pebbles and water. The plant sits on top, not directly touching the water but above it. As the water evaporates, it gently increases humidity around the leaves.
This setup doesn’t flood the room with moisture. Instead, it creates a small pocket of improved air quality immediately surrounding the plant. For a single Peace Lily or a cluster of ferns, that difference can be surprisingly visible.
And the best part? It’s one of those easy plant care tricks that costs almost nothing.
The Science Behind Humidity Trays
Here’s the basic principle: evaporation. When water transitions from liquid to vapor, it adds moisture to the air. By placing water directly under your plant, the process happens right where it matters most.
The pebbles are essential. Without them, pots might sit in standing water, which leads to soggy roots and eventually root rot. Pebbles lift the pot above the water line while still allowing vapor to rise around the foliage.
It’s a classic example of plant care hacks that combine practicality with simplicity.
How to Create a Humidity Tray for Plants
You don’t need anything fancy. That’s what makes this a true DIY gardening idea.
What you’ll need:
-
A shallow tray or dish (baking trays, saucers, even repurposed containers work)
-
Pebbles, gravel, or decorative stones
-
Fresh water
-
A cloth for occasional cleanup
Steps:
-
Fill the tray with a layer of pebbles.
-
Pour in water until it just covers the base of the pebbles, leaving the tops dry.
-
Place your potted plant on top of the pebble layer.
-
Check the water every few days and top it up as needed.
That’s it. Your homemade humidity tray is ready.
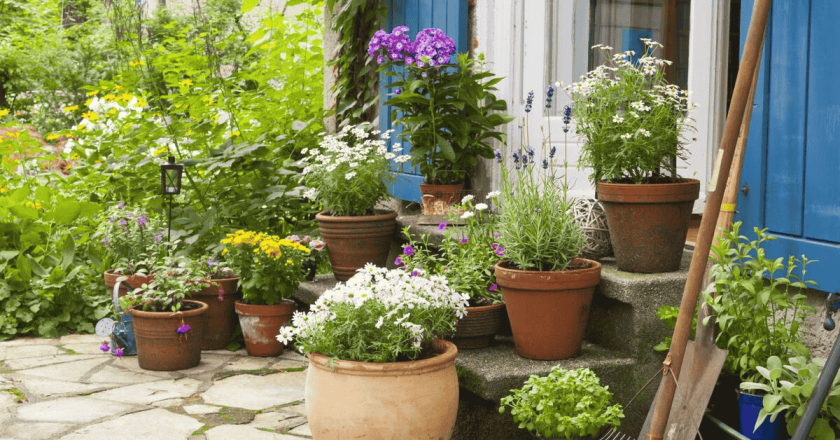
Best Situations to Use a Humidity Tray
While all plants need water, not all need—or want—extra humidity. These trays are most effective for species that naturally thrive in humid conditions.
-
Peace Lily – Loves stable moisture and humidity (full care guide).
-
Christmas Cactus – Adapts well indoors but benefits from humidity for healthier blooms (care tips here).
-
Money Tree – Prefers humidity for glossy leaves (learn more).
-
Bathroom plants – Ferns, calatheas, or orchids (check the best bathroom plants guide).
Even oversized indoor plants can benefit if grouped around a large humidity tray (see options here).
Boosting Humidity Indoors with Simple Projects
A DIY Indoor Humidity Tray isn’t the only way to boost humidity indoors, but it’s one of the most accessible. Other tricks include:
-
Grouping plants together (they release moisture through transpiration).
-
Using a small humidifier nearby.
-
Relocating plants to rooms with naturally higher humidity, like bathrooms or kitchens.
But compared to gadgets or relocations, trays remain a favourite among simple gardening projects. They’re cheap, flexible, and require no electricity.
Pebble Tray for Plants: A Classic Solution
If you’ve ever searched “how to increase humidity for houseplants,” you’ve probably seen references to a pebble tray for plants. It’s essentially the same as a DIY Indoor Humidity Tray, but the term emphasises the materials—pebbles or stones—used to keep pots above water.
Gardeners have been using these for decades because they just work. They’re not flashy, but they solve a real problem.
Plant Hydration Methods vs. Humidity Trays
It’s essential to distinguish between plant hydration methods (such as watering soil or misting) and humidity control. Watering addresses the soil and roots. Humidity addresses the air and leaves. Both are crucial to indoor plant health.
A common mistake is thinking misting equals humidity. It doesn’t. Misting briefly wets the leaves, but the effect vanishes in minutes. A DIY Indoor Humidity Tray, on the other hand, provides a steady source of moisture.
When Humidity Trays Fall Short
Now, here’s a moment of honesty: DIY Indoor Humidity Trays aren’t miracle solutions. They help, but they won’t transform your entire home into a rainforest. Their impact is localised and subtle.
If your air is extremely dry (say, 20% humidity in winter), trays may not be enough. In such cases, pairing them with a small humidifier or grouping plants around them can make a significant difference.
This is where the nuance comes in. They’re best thought of as one tool in the plant humidity solutions toolkit, not the whole answer.
Indoor Gardening Tips: Maximising the Tray
If you want the most from a humidity tray:
-
Use wide trays. More surface area means more evaporation.
-
Group multiple plants around one tray to create a shared microclimate.
-
Keep them clean to avoid algae buildup.
-
Pair these with other indoor gardening tips, such as selecting the right potting mix and avoiding drafty areas.
Why DIY Is Better Than Store-Bought
You can buy commercial versions of humidity trays, but honestly, a DIY Indoor Humidity Tray works just as well. Store-bought versions often look more polished, but they’re essentially the same: shallow trays with pebbles.
Building your own lets you adjust the size, style, and budget to your exact needs. Plus, it scratches that satisfying itch of DIY gardening ideas—making something useful from what you already have.
🌿 Key Takeaways
-
A DIY Indoor Humidity Tray is one of the easiest and cheapest ways to improve houseplant humidity without expensive gadgets.
-
Pebbles or stones in a shallow tray create evaporation, steadily releasing plant moisture into the air.
-
This method is especially useful for tropicals and sensitive varieties that struggle with low-humidity plant problems indoors.
-
It’s versatile—you can use a small saucer for a single pot or a large tray for a group of plants to create a mini-humidity zone.
-
While effective, it isn’t a miracle cure; pairing it with other indoor gardening tips (like grouping plants or misting) works best.
🌱 Final Thoughts
At the end of the day, a DIY Indoor Humidity Tray is about balance—it won’t turn your living room into a rainforest, but it will give your plants a healthier, more stable environment. It’s simple, almost too simple, which is why many overlook it. However, in plant care, often the most basic solutions—such as water, light, and attention—are what matter most. And maybe that’s part of the charm. You build a tray once, set it under your plants, and quietly let it do its job, day after day.
❓ FAQs
Q1. Do humidity trays really work for houseplants?
Yes. They increase local moisture around plants by slow evaporation, helping with indoor plant health and hydration.
Q2. Which plants benefit most from a DIY Indoor Humidity Tray?
Tropical plants, such as Peace Lilies, ferns, and Calatheas, thrive with added humidity. See Peace Lily Care for details.
Q3. Can humidity trays prevent all low-humidity issues?
Not completely. They’re helpful, but pairing with other plant care hacks—like grouping plants—delivers better results.
Q4. How often should I refill the tray with water?
Typically, this occurs once or twice a week, depending on the room temperature and the rate of water evaporation.
Q5. Will a DIY tray cause root rot?
No, as long as the pot isn’t sitting directly in water. The pebbles or stones keep roots above the water line, preventing rot.