Beautiful, vibrant blooms begin with understanding your plants’ specific needs. Successful hydrangea care means choosing the right location, keeping moisture steady, and giving soil the correct nutrients.
These shrubs thrive in many environments. You might also enjoy learning about plants in pots in shade to complete your landscape. Success depends on your chosen variety and local climate, not one rigid set of rules.
We explain how managing soil pH can influence flower color and how to master proper hydrangea pruning techniques. This guide covers watering schedules, seasonal protection, and ways to solve common issues throughout the year.
Key Takeaways
- Select a planting site that matches your specific variety’s light requirements.
- Monitor your soil pH to influence whether your blooms turn blue or pink.
- Consistent watering is vital, especially during hot and dry summer months.
- Learn the correct timing for pruning to avoid cutting off next year’s buds.
- Prepare your shrubs for winter to ensure healthy growth when spring arrives.
Quick Answer: Hydrangea Care at a Glance
Mastering hydrangea care helps your garden thrive. These plants have stunning flowers, but they need attention to reach their full potential. Consistent moisture and the right environment keep them healthy year after year.
Key Takeaways for Healthy Leaves, Strong Stems, and Reliable Blooms
Focus on a few basic habits to keep your plants healthy. Consistent soil moisture prevents wilt and supports lush foliage. Add organic mulch to cool roots and retain water during summer heat.
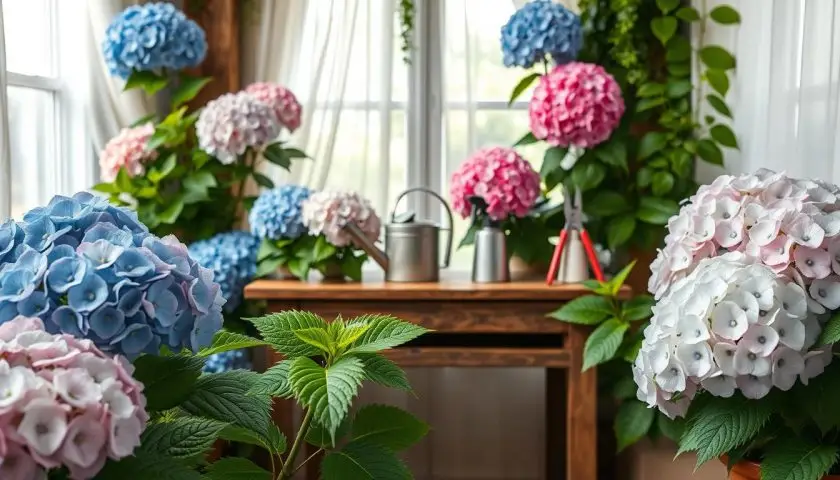
Proper feeding and limited pruning help create strong stems. Knowing whether your variety flowers on old or new wood supports reliable blooms. In colder climates, winter protection safeguards flower buds for the following season.
Match Care to the Hydrangea Type and Local Growing Conditions
Hydrangeas have different needs, so learn your specific variety. Most hydrangeas prefer morning sun exposure followed by afternoon shade. This balance prevents scorched leaves and provides energy for large, iconic flower heads.
Afternoon shade becomes even more important in hot or dry climates. Keep soil evenly moist, but never waterlogged. Adjust your routine to local weather patterns for long-term success.
Essential Supplies for Planting and Ongoing Care
The right tools make planting and ongoing care easier and more enjoyable. You do not need a shed full of expensive equipment to begin. Keep these basic items in your gardening kit:
- A reliable watering can or garden hose for deep root hydration.
- Sharp, clean pruning shears for maintaining shape and removing dead stems.
- High-quality compost or mulch to enrich the soil and hold in moisture.
- A simple soil test kit to check pH levels before adding any amendments.
- A balanced, slow-release fertilizer suitable for flowering shrubs.
Choose the Right Hydrangea and Planting Location
Successful hydrangea care starts before you pick up a shovel or watering can. Choosing the right variety creates years of healthy growth and bright flowers.
Identify Bigleaf, Smooth, Panicle, Oakleaf, and Climbing Hydrangeas
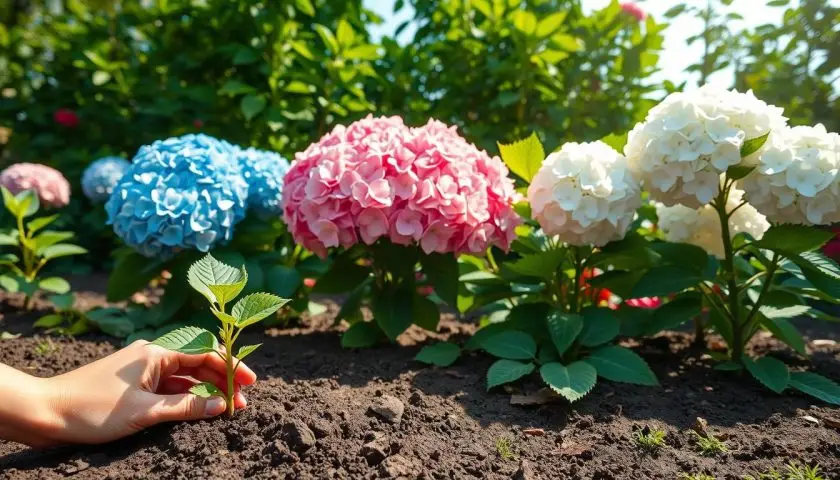
Each hydrangea type has different needs for pruning, size, and hardiness. Bigleaf hydrangeas have large, mophead blooms and may show dramatic bloom color changes from soil chemistry.
Smooth hydrangeas produce rounded white flowers, while Panicle hydrangeas have cone-shaped blooms and tolerate sun. Oakleaf hydrangeas develop deep red fall foliage, and Climbing hydrangeas cover walls or fences.
How Much Morning Sun Exposure Does a Hydrangea Need?
Most varieties thrive with gentle morning sun exposure. This early light supports strong stems and healthy leaves without scorching the foliage.
Some types tolerate more light than others, but morning sun is a safe choice for almost any gardener. Watch your garden during the day to track changing light across the planting beds.
Provide Afternoon Shade in Hot or Dry Climates
Intense afternoon heat can quickly stress even resilient plants. In regions with scorching summers, afternoon shade supports effective hydrangea care.
Shade prevents wilting and keeps soil moisture more steady. Create it with nearby structures, taller shrubs, or carefully placed garden decor.
Check Mature Size, Airflow, and Competition From Nearby Plants
Before planting, consider your hydrangea’s size in five years. Enough space ensures proper airflow, a critical factor in preventing fungal diseases like powdery mildew.
Avoid large trees or aggressive shrubs that compete for water and nutrients. Open space helps your hydrangea build strong roots without stress from nearby plants.
Plant Hydrangeas in Well-Drained, Suitable Soil
Healthy hydrangeas begin with the soil around their roots. The right setting helps plants grow strong and resist problems such as root rot. Good soil makes hydrangea care easier.
Test Soil pH Before Planting
Test your soil pH before adding amendments. This step shows whether your garden soil is naturally acidic or alkaline. These results guide choices about bloom colors later.
Improve Drainage Without Creating a Waterlogged Planting Hole
Hydrangeas need moisture but cannot sit in standing water. Avoid digging a bowl-shaped hole that traps water around the roots. Loosen soil widely around the hole, helping roots spread into well-drained ground.
Plant at the Correct Depth and Settle the Root Ball
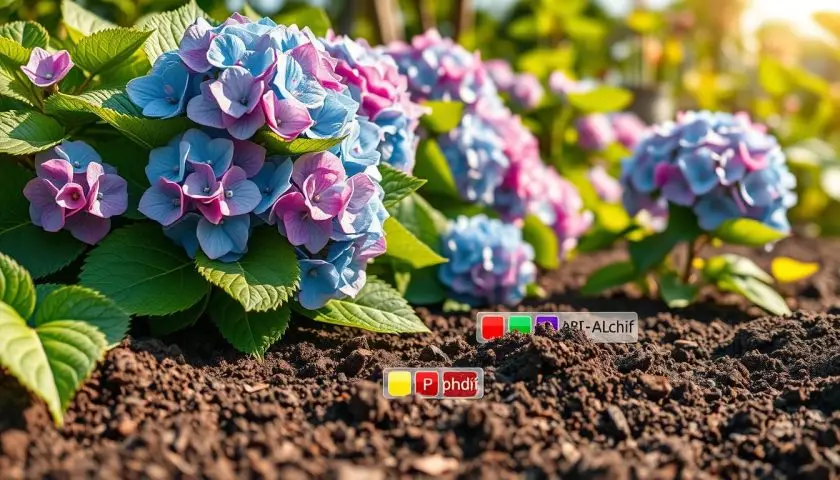
Place the plant so the root ball’s top is level with the surrounding soil. Planting too deeply can rot stems, while planting too high exposes roots to drying air. Firm the soil gently around the base to remove large air pockets.
Apply Mulch Without Covering the Crown or Stems
Mulch keeps roots cool and helps retain moisture. Apply a two-inch layer of organic material, such as shredded bark, around the plant. Keep mulch a few inches from the crown and stems to prevent decay.
Container Planting: Select Drainage Holes, Potting Mix, and a Suitable Container
For container gardening, choose a pot with large drainage holes at the bottom. Use high-quality, well-draining potting mix instead of garden soil, which may become too heavy. Select a pot with room for roots to grow comfortably over the next few seasons.
| Feature | In-Ground Planting | Container Planting |
|---|---|---|
| Drainage Method | Amend surrounding soil | Ensure large bottom holes |
| Soil Type | Native garden soil | High-quality potting mix |
| Moisture Needs | Consistent deep watering | Frequent checks for dryness |
| Root Protection | Mulch around base | Insulate pot in winter |
Water Hydrangeas Correctly From Planting Through Summer
Hot afternoons can make plants look tired, but proper watering helps them recover. Consistent moisture supports excellent hydrangea care from spring through summer heat.
Step One: Check Soil Moisture Below the Surface
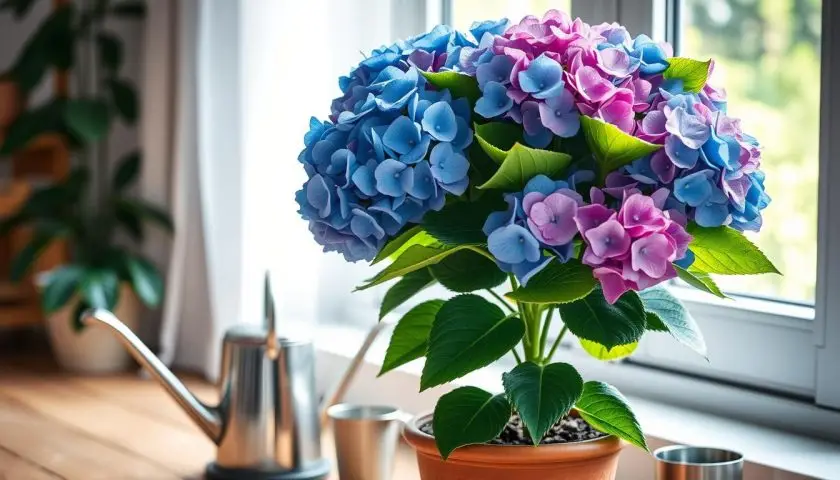
Check the soil before using the hose. Push your finger about two inches into the dirt near the plant’s base. If it feels dry, water; if damp, wait a day or two.
Step Two: Water Slowly at the Root Zone
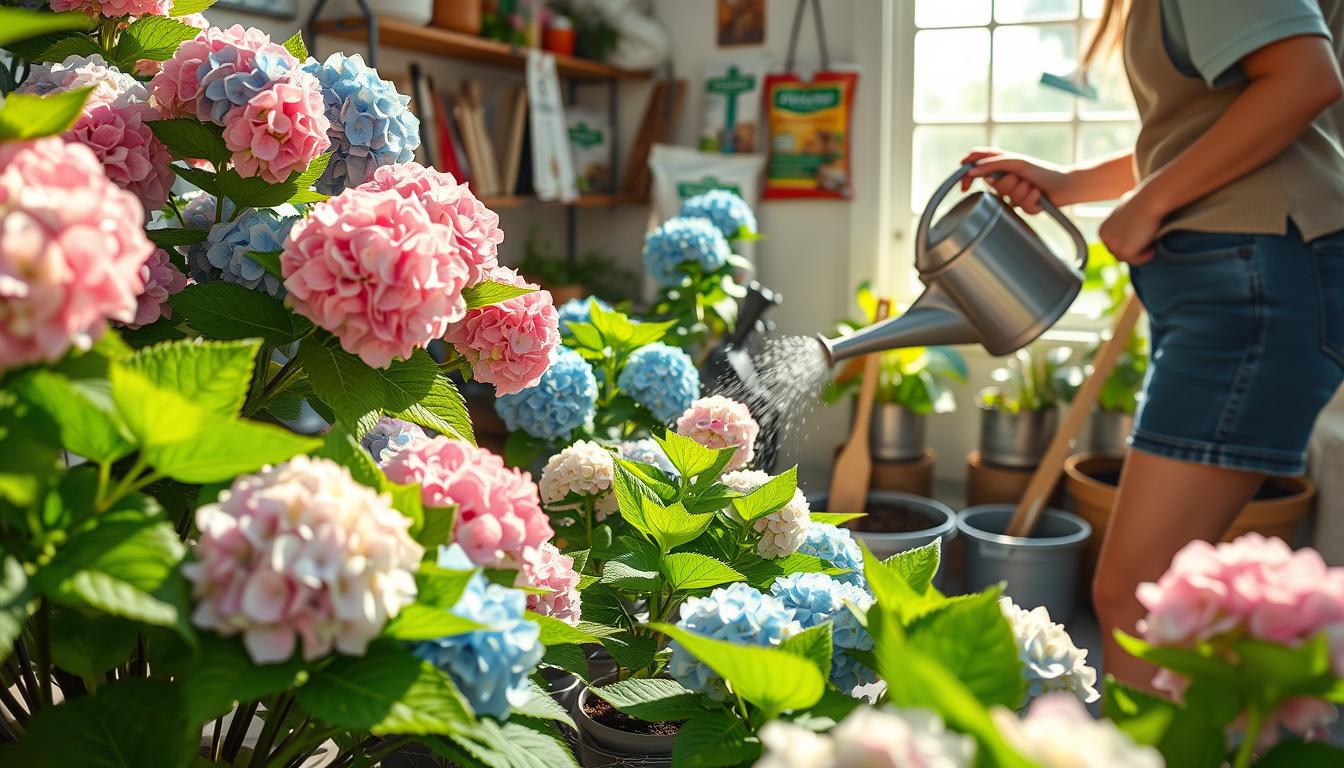
Aim water at the plant base instead of spraying the leaves. Wet foliage can cause yellow leaves on plants and other fungal issues. A slow, deep soak sends water to the deep roots where it is needed most.
Step Three: Adjust Frequency for Heat, Rain, Soil, and Containers
Change your watering schedule with the weather and your garden setup. Potted hydrangeas dry faster than plants in the ground, so they often need daily attention during hot spells. Sandy soil drains quickly, while heavy clay holds moisture longer.
Recognize Leaf Wilt Caused by Drought Versus Heat Stress
Hot afternoons can cause leaf wilt, even when the soil remains moist. This response often helps the plant protect itself from the sun. If leaves recover by evening, the plant is likely fine; if wilt continues until morning, your plant is thirsty and needs a deep drink.
Prevent Root Rot by Letting Excess Water Drain
Hydrangeas love water, but they should not sit in puddles. Constant overwatering can cause root rot, which blocks nutrient absorption. Ensure good soil drainage, and never leave roots in standing water.
When to Water Newly Planted Hydrangeas
New plants need extra care while their roots become established. Check them daily for the first few weeks, especially during dry weather. Keep soil moist but not soggy to encourage strong growth.
When to Water Established Hydrangeas
Established hydrangeas become more resilient. Usually, water them once or twice a week, depending on rainfall and temperature. Choose deep, infrequent watering instead of light, daily sprinkles to encourage deep roots.
| Condition | Watering Frequency | Action Required |
|---|---|---|
| Newly Planted | Daily | Keep soil moist |
| Hot Summer Heat | Daily or Every 2 Days | Check soil depth |
| Established Plants | Weekly | Deep soak |
| Container Plants | Daily | Monitor drainage |
Feed Hydrangeas Without Encouraging Weak Growth
Using the right nutrients at the right time is a key part of effective hydrangea care. Rather than feeding on a strict schedule, watch your shrubs’ natural growth cycle.
When to Fertilize Hydrangeas
Consider your local climate and plant needs instead of following a rigid calendar. Most hydrangeas prefer light feeding in early spring, when new growth appears. Avoid late-season fertilizer because tender stems may suffer damage from early frost.
Choose Fertilizer Based on Soil Conditions and Plant Needs
Test your soil pH and nutrient levels before buying fertilizer. This knowledge helps you avoid amendments that could upset the soil balance. For comparison, explore cyclamen care if you grow plants with specific soil needs.
Apply Fertilizer at the Label Rate and Water It In
Follow the product label to use the correct amount. Too much fertilizer can burn roots and stress the plant. Water the area thoroughly afterward so nutrients reach the root zone.
Why Excess Nitrogen Can Reduce Flowering
More fertilizer does not always produce more blooms. Excess nitrogen often causes leafy, green growth instead of flowers. If your plant looks lush but will not bloom, you may be overfeeding it.
Use Compost Carefully Around Established Plants
Compost can improve garden soil over time. When using it around established hydrangeas, follow these tips:
- Apply a thin layer of compost around the base of the plant.
- Keep the crown clear by ensuring the compost does not touch the stems directly.
- Spread the material out to the drip line to support the root system.
Prune Hydrangeas According to Their Blooming Wood
Cutting shrubs can feel scary, but proper hydrangea pruning is simple when you know the rules. First, learn when your plant forms flower buds. Pruning at the wrong time can remove buds meant to become next season’s flowers.
Step One: Identify Whether the Plant Blooms on Old Wood or New Wood
Before using shears, observe your plant carefully. Some varieties bloom on “old wood,” meaning they set buds on stems grown during the previous summer. Others bloom on “new wood,” producing flowers on the current season’s growth.
Prune Bigleaf and Oakleaf Hydrangeas After Flowering
Bigleaf and oakleaf varieties usually bloom on old wood. These buds form by late summer, so avoid pruning in fall or winter. Instead, prune these plants immediately after their flowers fade in summer to protect next year’s display.
Prune Panicle and Smooth Hydrangeas in Late Winter or Early Spring
Panicle and smooth hydrangeas are more forgiving because they bloom on new wood. Prune them safely in late winter or early spring while they remain dormant. This timing supports strong growth and a spectacular flower display in warmer weather.
Remove Dead, Damaged, Crossing, or Weak Stems
You can always perform maintenance pruning, whatever the variety. Remove dead, damaged, or diseased stems at any time of year. Also remove crossing branches, which may rub and invite pests or disease.
Deadhead Spent Flowers Without Removing Next Season’s Buds
Deadheading removes faded blooms and keeps your garden neat. Cut just below the flower head, not deep into the stem. This protects developing buds and supports your overall hydrangea care routine.
Hydrangea Pruning Comparison Table: Timing, Blooming Wood, and Safe Cuts
| Hydrangea Type | Blooming Wood | Best Pruning Time |
|---|---|---|
| Bigleaf | Old Wood | After flowering |
| Oakleaf | Old Wood | After flowering |
| Panicle | New Wood | Late winter/early spring |
| Smooth | New Wood | Late winter/early spring |
How to Handle Overgrown or Neglected Hydrangeas
If you inherit a massive, overgrown shrub, do not fix it all in one day. Use a gradual renovation approach: remove one-third of the oldest, thickest stems each year to work toward your desired shape. This keeps the plant healthy and avoids sudden changes that might affect bloom color changes or overall plant vigor.
Manage Bloom Color Through Soil pH and Cultivar Traits
Have your blue hydrangeas ever turned pink? You are not alone. This transformation fascinates gardeners and matters in hydrangea care. Basic chemistry and the plant’s genetics explain this surprising change.
Why Some Bigleaf Hydrangeas Change From Blue to Pink
Not every garden plant can change color. This trait mainly occurs in Hydrangea macrophylla, commonly called bigleaf hydrangea. These cultivars have pigments that react to the soil’s chemical environment.
Plant tags often show whether a cultivar can change color. Some varieties are bred to keep deep, steady pink or blue flowers in any setting. Check the label to learn whether your cultivar can show these bloom color changes.
Understand the Role of Soil pH and Aluminum Availability
Flower color depends on how the plant absorbs aluminum from the soil. In acidic soil, aluminum reaches the roots more easily, often producing blue flowers. When the soil pH is more alkaline, roots absorb less aluminum, producing pink blooms.
Color change requires a delicate balance. You cannot force it overnight. The plant must be healthy, and stable soil must support mineral uptake.
Test Soil Before Using Lime or Soil Acidifiers
Test your soil before changing your garden beds. Adding lime to raise pH or sulfur to lower it can harm plants without test results. A simple home kit gives you data for informed choices.
Adjust soil gradually if needed. Fast changes can shock roots and cause more harm than good. Follow the label to apply the right amount for your garden size.
Know Which Hydrangeas Do Not Reliably Change Color
Many gardeners mistakenly think all hydrangeas change color. Panicle and smooth hydrangeas usually keep fixed colors that do not respond to soil chemistry. Most white-flowering varieties stay white all season, whatever the soil acidity.
Set Realistic Expectations for Timing and Color Intensity
Flower color changes slowly and may take one growing season or longer. You may notice a mild shade shift instead of deep blue becoming bright pink. Patience matters when caring for these beautiful shrubs.
| Hydrangea Type | Color Change Potential | Primary Color Range |
|---|---|---|
| Bigleaf (Macrophylla) | High | Blue, Pink, Purple |
| Panicle (Paniculata) | None | White to Pink/Green |
| Smooth (Arborescens) | None | White or Green |
| Oakleaf (Quercifolia) | None | White to Bronze |
Protect Hydrangeas From Heat, Cold, and Seasonal Stress
Garden plants face challenges all year, from scorching summer heat to freezing winter nights. Helping shrubs handle these changes rewards careful gardeners. A few simple steps can keep plants strong in every season.
Reduce Heat Stress With Mulch, Consistent Moisture, and Afternoon Shade
Hydrangeas often struggle as temperatures rise, especially in places with intense afternoon sun. Although morning sun exposure is usually helpful, harsh afternoon heat can quickly wilt leaves. Apply a thick layer of organic mulch around the base to keep roots moist.
Regular watering is your best defense against heat stress. Check soil moisture before watering, and keep the ground damp but not soggy. Afternoon shade from a garden umbrella or nearby tree can also greatly help your plants.
Prepare Hydrangeas for Winter in Cold Regions
When temperatures fall, adjust your winter protection for your local climate. In very cold regions, add extra mulch around the base after the ground freezes. This insulates roots and helps prevent soil heaving during freeze-thaw cycles.
Protect Flower Buds on Old-Wood Bloomers From Severe Cold
Some varieties, including popular Bigleaf hydrangeas, form flower buds on old wood from the previous summer. A late frost can damage these delicate buds, leaving no flowers for the coming season. During extreme cold snaps, wrap shrubs in burlap or frost cloth to protect the buds.
Use Wind Protection Without Trapping Moisture
Strong winter winds can dry stems and seriously damage shrubs. A simple windbreak of stakes and burlap can block the worst gusts. Leave enough airflow to prevent trapped moisture and possible fungal issues.
Assess Winter Damage Before Pruning in Spring
It may seem tempting to begin your hydrangea pruning when weather warms, but waiting is better. Watch the plant until new green growth appears along the stems. Then you can tell dead, brittle wood from healthy branches that will produce flowers.
Winter Protection Comparison by Hydrangea Type and Climate
| Hydrangea Type | Cold Climate Strategy | Mild Climate Strategy |
|---|---|---|
| Bigleaf (Old Wood) | Wrap with burlap | Light mulch |
| Panicle (New Wood) | Heavy root mulch | Minimal care |
| Smooth (New Wood) | Cut back to ground | Standard pruning |
| Oakleaf (Old Wood) | Protect buds | Natural mulch |
Troubleshoot Wilting, Yellow Leaves, Poor Blooms, and Other Problems
Watching healthy hydrangeas struggle can feel frustrating, but most problems are easy to fix. Observe the plant closely to find the cause and act quickly.
What Causes Hydrangea Leaves to Wilt?
Leaf wilt often appears during the day’s heat. It usually means the plant needs water, but heat stress or damaged roots can also cause it. Check soil moisture before watering, so you do not drown the plant.
What Causes Yellow Leaves?
Yellowing foliage usually points to nutrient deficiencies or poor drainage. If leaves turn yellow while their veins stay green, the plant may need iron or magnesium. If the whole leaf turns yellow, overwatering or compacted soil may be the cause.
What Causes Brown Leaf Edges or Scorched Leaves?
Brown, crispy edges often develop during extreme heat or low humidity. Salt buildup from over-fertilizing can cause this problem too. Keep the plant hydrated and protect it from the harshest afternoon sun.
Why Is the Hydrangea Not Blooming?
If your plant looks healthy but has no flowers, the problem may involve hydrangea pruning. Cutting stems at the wrong time can remove buds for the next season. Too little sunlight or too much nitrogen fertilizer can also limit flower production.
How to Distinguish Root Rot From Underwatering?
Distinguishing root rot from simple thirst is vital. Underwatered plants have dry, crumbly soil and perk up quickly after a deep soak. Plants with decay have soggy, foul-smelling soil and mushy, dark roots that pull away easily.
Check for Aphids, Spider Mites, Scale, and Japanese Beetles?
Pests can quickly damage foliage if you do not control them. Look for tiny insects under leaves or holes chewed into petals. A gentle water spray or insecticidal soap often manages these pests without harsh chemicals.
Respond to Powdery Mildew, Leaf Spot, and Botrytis
Fungal problems like powdery mildew create a white, dusty coating on leaves. Leaf spot and Botrytis appear as dark, uneven patches. Better airflow and no overhead watering help control these problems.
Hydrangea Troubleshooting Table: Symptoms, Likely Causes, and Corrective Actions
| Symptom | Likely Cause | Corrective Action |
|---|---|---|
| Wilting leaves | Heat or dry soil | Water deeply at the base |
| Yellowing leaves | Nutrient deficiency | Apply balanced fertilizer |
| No flowers | Improper pruning | Check bloom cycle timing |
| Unexpected bloom color changes | Soil pH shift | Test soil and adjust pH |
For general advice on maintaining healthy foliage, visit general plant care tips to expand your gardening knowledge. Patience remains important when nursing a plant back to health.
Follow a Seasonal Hydrangea Care Routine
Hydrangeas stay healthy with a simple seasonal routine. Small tasks make hydrangea care easier and prevent garden work from feeling overwhelming.
Spring: Inspect Winter Damage, Mulch, and Begin Monitoring Water
As the weather warms, inspect your garden for winter damage. Look for brittle, dead stems, then prune them back to healthy growth after new buds emerge.
- Apply a fresh layer of organic mulch to retain moisture.
- Start checking soil moisture levels weekly as temperatures rise.
- Clear away any debris that accumulated around the base of the plant.
Summer: Maintain Moisture, Watch for Heat Stress, and Deadhead Carefully
Summer requires the most attention for healthy growth. Water consistently during dry spells to prevent wilting and support beautiful blooms.
If afternoon sun stresses your plants, provide temporary shade. Deadhead spent flowers to keep plants tidy, but avoid next year’s potential buds.
Fall: Clean Up Diseased Material and Prepare for Cold Weather
Remove fallen leaves and diseased plant parts to stop pests and fungi from overwintering in your soil. For more tips, read this helpful guide to seasonal plant care in autumn.
Winter: Protect Vulnerable Plants and Avoid Unnecessary Pruning
During dormancy, focus on winter protection for sensitive varieties. Avoid pruning because you could remove buds that bloom in spring.
If harsh freezes affect your region, wrap plants with burlap to shield them from drying winds. This helps protect stems and buds until spring returns.
Container Hydrangea Care Before Freezing Weather
Potted plants face more temperature swings than plants in the ground. To prevent root rot, ensure good drainage. Move them to a sheltered spot, such as a garage or shed, before the first hard frost.
| Season | Primary Focus | Key Action |
|---|---|---|
| Spring | Growth | Mulching |
| Summer | Hydration | Deadheading |
| Fall | Sanitation | Disease Cleanup |
| Winter | Dormancy | Winter protection |
These steps reduce the risk of root rot and keep plants strong. Year-round hydrangea care is the secret to a thriving, vibrant garden.
Avoid Common Hydrangea Care Mistakes
Happy hydrangeas are easier to grow when you avoid common care mistakes. Even experienced gardeners can develop habits that slow growth or reduce blooms. Spot these errors early and build a stronger hydrangea care routine for vibrant plants all season.
Pruning at the Wrong Time and Removing Flower Buds
Pruning too late can remove next year’s flower buds. Before hydrangea pruning, check whether your variety blooms on old wood or new wood.
Planting in Full Afternoon Sun Without a Moisture Plan
Hydrangeas often struggle in harsh afternoon sun without enough water. If you choose a sunny spot, follow a consistent irrigation schedule. Without moist soil, plants may wilt and suffer heat stress.
Watering the Foliage Instead of the Root Zone
Spraying the whole plant with a hose may seem helpful, but it can cause problems. Wet leaves can encourage fungal diseases such as powdery mildew. Instead, water the plant’s base so its roots receive enough hydration.
Using Soil pH Products Without Testing the Soil
Many gardeners add lime or acidifiers to change bloom color without testing first. Using soil pH products blindly can cause nutrient imbalances and harm plants. Always test the soil before adding amendments to garden beds.
Overfertilizing or Applying Fertilizer to Dry Soil
More fertilizer is not always better for shrubs. Too much nitrogen can produce lush leaves but few flowers. Fertilizer on dry soil can burn roots, so water before and after feeding.
Covering the Crown With Mulch or Keeping Roots Constantly Wet
Mulch retains moisture, but piling it against stems can cause rot. Keep mulch a few inches from the crown to allow proper airflow. Although hydrangeas love water, well-draining soil prevents root rot when roots sit in stagnant water too long.
| Common Mistake | Resulting Issue | Corrective Action |
|---|---|---|
| Pruning at wrong time | Lost flower buds | Check bloom cycle first |
| Watering foliage | Fungal disease | Water at root zone |
| Ignoring soil pH | Nutrient lockout | Test soil before adding |
| Poor drainage | Root rot | Improve soil structure |
Conclusion
Beautiful shrubs are easier to grow when you treat your garden as a living partnership. Good hydrangea care starts with the right variety for your yard and healthy soil. Build confidence by watching how plants respond to sunlight, water, and nutrients.
Watch your plants closely through every season, noting changes in leaf color or stem strength. Bloom color changes may reflect your soil chemistry and help personalize your landscape. Using these signs works better than following strict, one-size-fits-all rules.
Your local climate determines how much winter protection your shrubs need to thrive. Keep moisture steady and prune at the right time to maintain vigorous plants year after year. Patience brings lush foliage and reliable flowers as you learn what works in your unique outdoor space.