Planting amaryllis bulbs in pots is simple: choose a pot only a little larger than the bulb, fill it with free-draining potting mix, and set the bulb upright with about two-thirds of it above the surface. Water sparingly until green growth appears, keep the pot in bright, filtered light, and you can expect flowers about six to eight weeks later.
Good indoor amaryllis care starts with that planting depth and drainage, and carries on after the flowers fade so the bulb can bloom again. This guide covers choosing a bulb, picking the pot and mix, planting step by step, watering, light, supporting the stalk, and getting reblooms.
Key Takeaways
- When planting amaryllis bulbs, use a pot with drainage holes that is only a little larger than the bulb.
- Leave about two-thirds of the bulb above the surface of the mix, and never bury the shoulder.
- Use a free-draining, peat-free potting mix, not garden soil.
- Water sparingly until new leaves or the flower stalk appear, then water regularly.
- Give bright, filtered light and turn the pot regularly so the stalk grows straight.
- After flowering, keep the leaves growing and feed them, then give the bulb a rest to encourage reblooming.
- Amaryllis is toxic to cats and dogs, so keep pots out of reach of pets.
How to Plant Amaryllis Bulbs in Pots
Here is the whole process of planting amaryllis bulbs at a glance. The sections below explain each step in more detail.
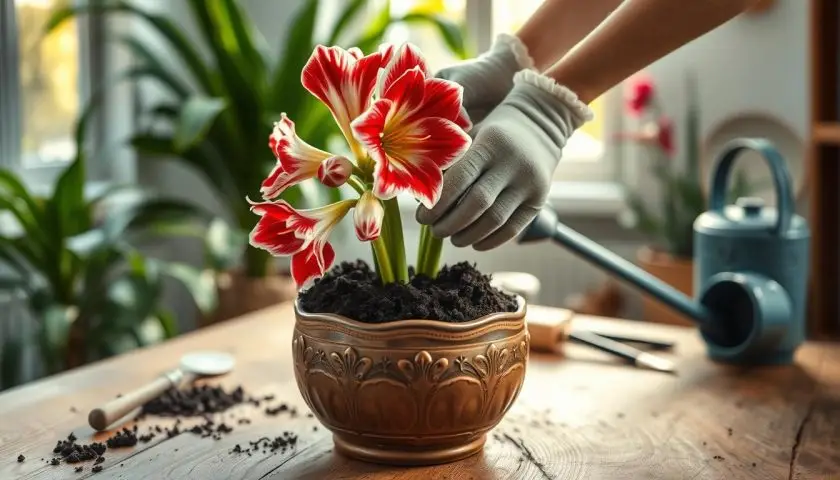
- Pick a pot with drainage holes, only a little larger than the bulb.
- Add a shallow layer of free-draining potting mix.
- Set the bulb upright with its roots spread over the mix.
- Fill in around the roots, firm gently, and keep about two-thirds of the bulb above the surface.
- Water lightly once to settle the mix, then wait for growth before watering regularly.
- Move the pot to a bright, warm spot and add a label with the variety and planting date.
After planting, the bulb forms roots first. Green leaf tips or the flower stalk usually appear within a few weeks, though dormant bulbs can take longer to wake up than bulbs already showing growth.
How Deep to Plant: Keep the Bulb Shoulder Above the Mix
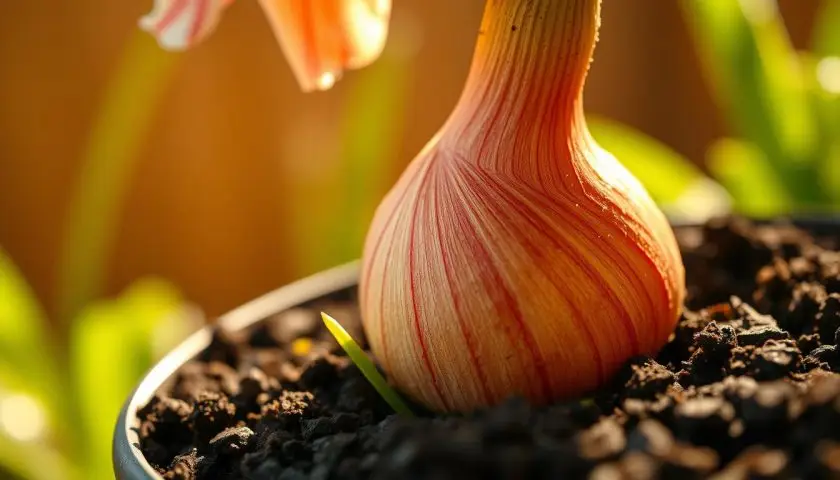
The Royal Horticultural Society advises leaving two-thirds of the bulb above the surface. Keeping the shoulder and neck above the mix stops moisture settling around the top of the bulb, which helps prevent rot, while the roots grow freely below.
Burying the bulb too deeply is one of the most common mistakes. Wet mix around the neck can slow growth and invite rot, so err on the side of planting shallow and firming the mix just enough to keep the bulb stable.
Choose a Healthy Bulb and the Right Planting Time
How to pick a healthy bulb
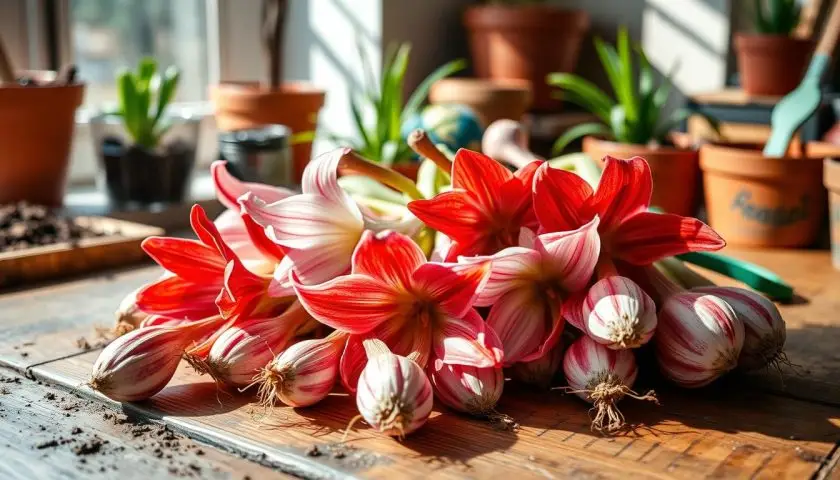
Success with planting amaryllis bulbs starts with the bulb itself. Choose one that feels heavy and firm, and avoid any with soft, mushy patches, dark sunken areas or a bad smell, which point to rot. Larger bulbs usually produce more flower stalks, so pick the biggest you can. Dry, papery outer layers are normal, and dry or brittle roots do not mean the bulb is dead.
If the roots look dry, many growers stand them in a shallow dish of tepid water for a few hours before planting. Keep the bulb itself out of the water, because soaking the whole bulb raises the risk of rot.
Amaryllis or hippeastrum?
The bulbs sold for indoor pots are usually Hippeastrum, from South and Central America, though everyone calls them amaryllis. True Amaryllis (Amaryllis belladonna) is a different plant from South Africa. Care guides for either name will usually point you to the same indoor growing advice.
Best time to plant
The RHS suggests planting from October to January, with flowers about six to eight weeks after planting. For holiday blooms, count back six to eight weeks from your target date. To spread flowering through late winter, stagger plantings a couple of weeks apart. A bulb that already has leaves or a stalk will flower faster than a fully dormant one, so adjust your expectations to the bulb you have.
Pot Size and Potting Mix
Choosing the pot
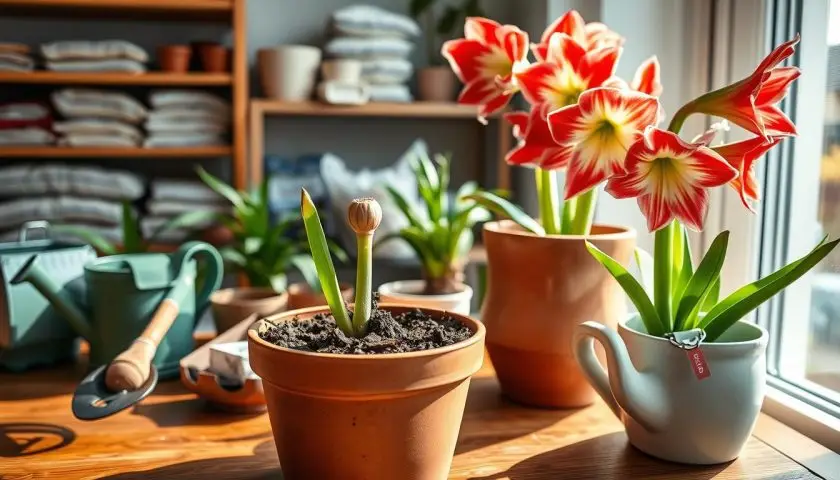
For planting amaryllis bulbs, every pot needs a drainage hole. The RHS recommends a pot a little larger than the bulb, and a gap of roughly an inch between the bulb and the pot wall is a useful rule of thumb. A snug pot limits wet mix around the roots and gives the plant enough weight to balance a tall, heavy stalk.
| Pot Material | Weight | Moisture Retention | Best Use |
|---|---|---|---|
| Terracotta | Heavy | Low | Stability, and forgiving of overwatering |
| Ceramic | Heavy | Medium | Decorative, but check it has a drainage hole |
| Plastic | Light | High | Practical, but may tip once the stalk grows |
Choosing the mix
For planting amaryllis bulbs, the RHS suggests a peat-free John Innes No. 2 or a peat-free multipurpose compost. Both can be improved with a handful of perlite or coarse grit for faster drainage. Never use garden soil in an indoor pot, because it compacts and holds water around the bulb. Our guide to the best soil mix for every type of plant explains what drainage materials do and how to blend them.
Prepare the Bulb and Plant It
Clean up the bulb
Brush off loose, papery skin and trim away any dead, shriveled roots with clean scissors. Do not cut into firm tissue, because wounds let disease in. Small areas of surface mold can be wiped off, but a bulb that is soft or squishy should be discarded rather than planted.
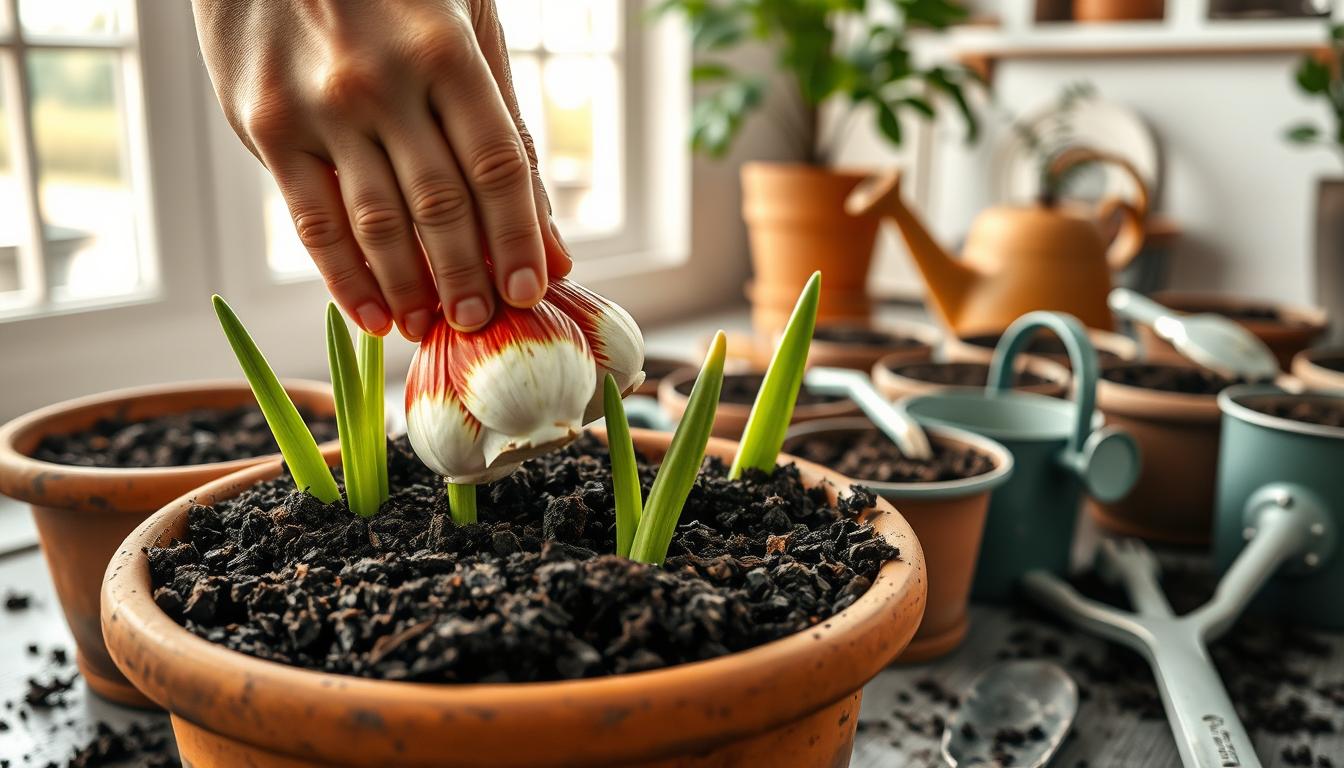
Planting amaryllis bulbs step by step
- Put a shallow layer of mix in the pot, firm enough to hold the bulb upright.
- Set the bulb in the center with the root plate facing down and the roots spread out.
- Add mix around the roots and the lower part of the bulb, tucking it into gaps with your fingers.
- Firm gently without packing the mix tightly, keeping about two-thirds of the bulb above the surface.
- Water once, lightly, to settle the mix, and let the excess drain away.
- Label the pot and move it to a bright, warm position.
Before moving the pot, make sure it is stable. A tall flower stalk makes the plant top-heavy, so a heavier pot or a wider saucer helps.
Watering Amaryllis Bulbs After Planting
Watering matters most in the weeks after planting amaryllis bulbs. The RHS advises watering sparingly until new leaves appear, then watering regularly once growth is under way, never letting water collect in the saucer. Before there are leaves, the bulb can use very little moisture, and wet mix is the quickest route to rot.
Check the mix with a finger about an inch down instead of watering to a fixed schedule. Warm, dry rooms dry the mix faster than cool, humid ones, and terracotta dries faster than glazed pots. Our complete watering guide covers how to judge watering across different plants and pots.
Signs the mix is staying too wet include a sour smell, soft or mushy bulb tissue and yellowing leaves. If you see them, stop watering and let the mix dry out. Our guides on the signs you are overwatering and root rot explain what to do next.
Light, Temperature and Support as Growth Begins
Once you have finished planting amaryllis bulbs, place the pot in bright, filtered light. A south- or west-facing window usually gives enough brightness, but intense direct sun through glass can scorch leaves and dry the mix quickly, so pull the pot back a little if the leaves look pale or crispy. Our complete guide to indoor light explains how to judge window light.
The RHS suggests starting the bulb at around 21°C (70°F). Very warm rooms push the stalk up quickly, but it can be thin and weak. Once the flowers open, moving the pot to a cooler spot, around 15–18°C (60–65°F), helps them last longer.
Turn the pot a quarter turn every few days so the stalk grows straight instead of leaning toward the light. Large-flowered varieties often need a stake. Push it in near the edge of the pot rather than the center, so you do not pierce the bulb.
| Stage | Watering | Light | Temperature |
|---|---|---|---|
| Newly planted | One light watering, then sparingly | Bright, filtered light | About 21°C (70°F) |
| Emerging stalk | Regularly, keeping mix moist but not soggy | Bright, filtered light | About 21°C (70°F) |
| Open flowers | Regularly | Bright, filtered light | Cooler, 15–18°C (60–65°F) |
| After flowering | Regularly, with feeding | Bright light | Normal room temperature |
If the stalk is slow to appear, it is usually a matter of time. Dormant bulbs, cool rooms and low light all slow things down, so keep the bulb warm and bright and give it a few more weeks before worrying. Check the bulb if it feels soft, smells bad, or shows no growth after several weeks in warm conditions.
Care for Amaryllis After Flowering and Encourage Reblooming
Planting amaryllis bulbs is only the first half of the cycle. Reblooming is not guaranteed, but good care after flowering gives the bulb the best chance. The leaves act like solar panels, storing energy for next year’s flowers.
- Cut the spent flower spikes down to the base once the blooms fade, and leave the green leaves in place.
- Keep the leaves growing. Water regularly and feed with a balanced liquid fertilizer. The RHS suggests weekly feeding during this period. Our guide to fertilizing indoor vs outdoor plants covers how to feed container plants safely.
- Give it bright light through spring and summer, in a shaded spot outdoors or a bright window, avoiding harsh midday sun.
- Start the rest period in late September. The RHS describes keeping the plant in a well-lit spot at about 13°C (55°F) for eight to ten weeks, reducing watering and stopping feeding. The alternative is to stop watering, let the leaves die back and keep the pot somewhere cool for one to two months.
- Restart growth. Cut old leaves to about 10cm (4in) above the bulb neck, replace the top 2.5–5cm (1–2in) of mix, then bring the pot into the light and water again.
Bulbs only need repotting every two or three years, ideally from January to March after flowering. Our complete repotting guide covers the general technique.
Fix Common Planting and Growing Problems
Most problems after planting amaryllis bulbs have simple fixes, and watching the plant closely helps you find the cause early.
| Problem | Likely Cause | What to Do |
|---|---|---|
| Soft, smelly bulb | Rot from excess moisture | Remove from the pot, cut away any soft tissue, repot in fresh mix, and water less. Discard if it is mostly mush. |
| Leaves but no flower stalk | Low light, a small bulb, or not enough rest or feeding last season | Move to brighter light, feed during leaf growth, and give a proper rest period. |
| Weak or leaning stalk | Too little light or too much heat | Rotate the pot, move to a brighter, slightly cooler spot, and stake if needed. |
| Yellow or drooping leaves | Overwatering, or the natural end of the growing cycle | Let the mix dry between waterings. Yellowing as autumn approaches is normal. |
| Bulb lifts out of the mix | Roots pushing the bulb upward as they grow | Firm the mix gently around the base. This is normal. |
Amaryllis Safety Around Pets
The ASPCA lists amaryllis as toxic to dogs, cats and horses, with signs including vomiting, diarrhea, abdominal pain, drooling and tremors. Keep pots on a high shelf or in a room pets cannot enter, and contact a vet if you think a pet has chewed any part of the plant. Our guides on how to make your plants cat-friendly and how to make your plants dog-friendly cover safer ways to enjoy plants in pet households. See the ASPCA amaryllis listing for details.
Frequently Asked Questions
How deep should I plant my amaryllis bulb in the pot?
Leave about two-thirds of the bulb above the surface of the mix, as the RHS advises. Planting this shallow keeps the neck dry, helps prevent rot and leaves room for the flower stalk to emerge.
What is the best soil for planting amaryllis bulbs?
Use a free-draining, peat-free mix such as peat-free John Innes No. 2 or a peat-free multipurpose compost, with a little perlite or grit added for drainage. Avoid heavy garden soil, which compacts and holds water around the bulb.
How often should I water amaryllis after planting?
Water once to settle the mix, then water very sparingly until new leaves appear. Once the leaves and stalk are growing, water regularly, keeping the mix moist but not soggy, and never let water collect in the saucer.
Why is my amaryllis growing leaves but no flower stalk?
The bulb may be small, short of light, or may not have had enough feeding and rest last season. Give it bright light, feed it while the leaves grow, and follow a proper rest period before the next round of planting.
How do I get my amaryllis to bloom again next winter?
After flowering, cut off the spent spikes, keep the leaves growing in bright light and feed them regularly through summer. In late September, give the bulb a cool rest of about eight to ten weeks, then refresh the top layer of mix, bring it into the light and water again.
Related Patch Plants Guides
- Planting elephant ear bulbs
- Indoor plants with orange flowers
- Humidity hacks for happy plants
- How to revive a dying plant
- Browse all indoor plant guides
Final Thoughts
Planting amaryllis bulbs in pots rewards even beginners: a firm bulb, a snug pot with drainage, a shallow planting depth and sparing water at the start are the foundation. Add bright light and a steady turn of the pot, and you have a good chance of tall, healthy flowers by midwinter.
Indoor amaryllis care works as a cycle rather than a single event. Keep the leaves growing and fed after flowering, give the bulb its rest, then start again, and the same bulb can bloom for many years. The RHS Hippeastrum growing guide sets out the same planting, feeding and rest routine in more detail.
At Patch Plants, guides like this one are written by botanist Sawera Shahid and checked against RHS and ASPCA sources, so the advice holds up in a real living room. When you are ready for your next project, our indoor plant guides cover more plants for the colder months.