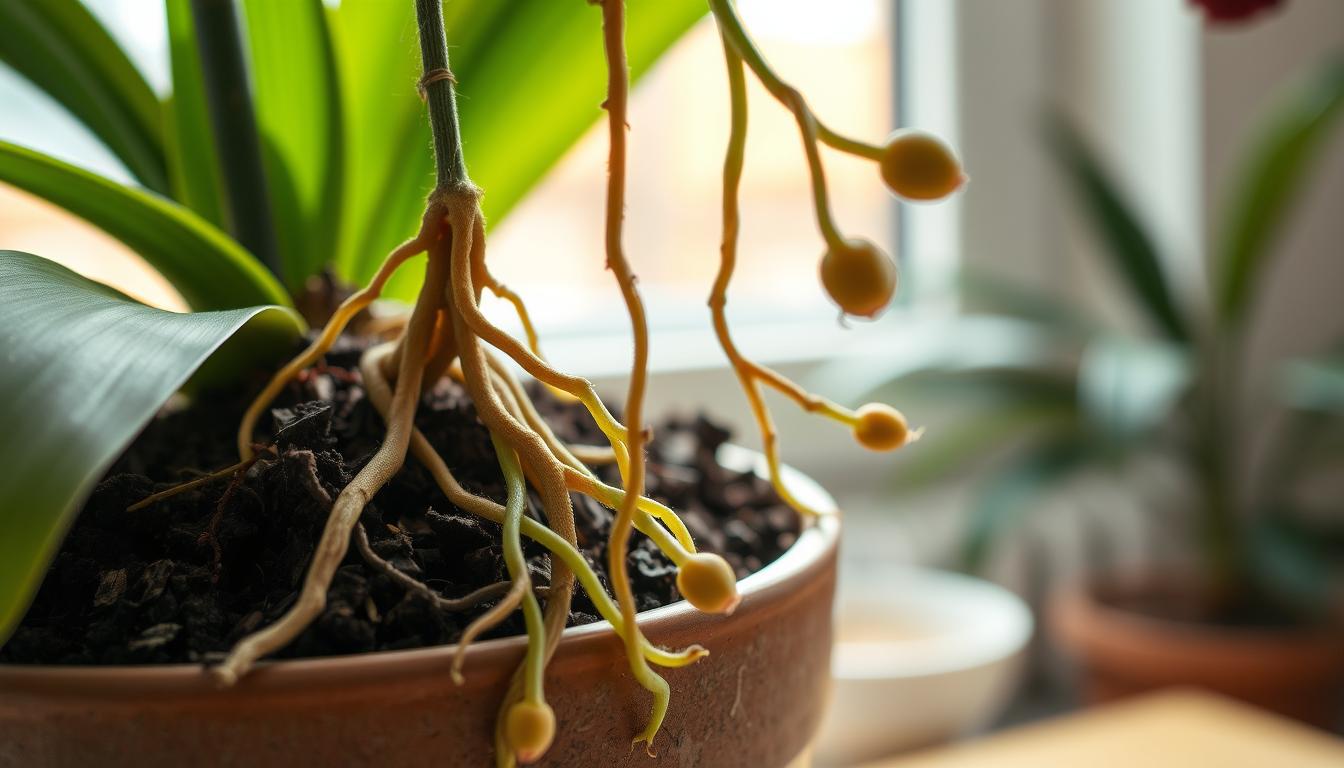
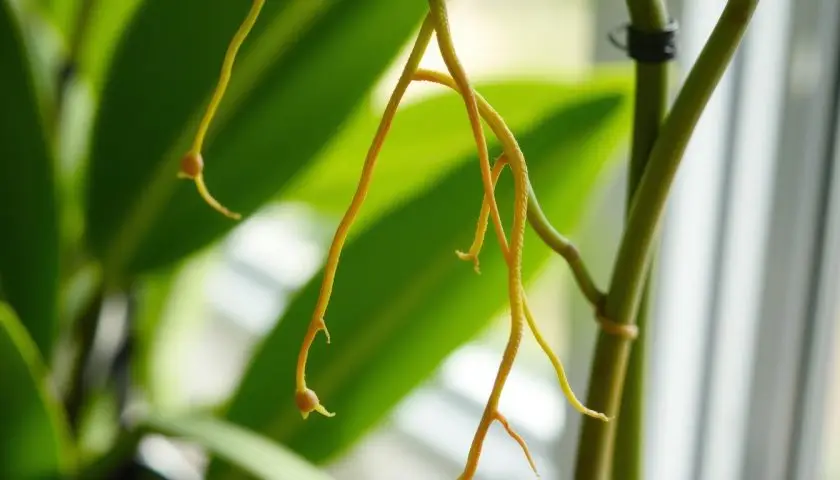
Do you see silvery-green roots growing out of your orchid’s pot and wondering if something is wrong? Nothing is. Orchid aerial roots are completely normal on epiphytic orchids such as the moth orchid (Phalaenopsis), and in most cases the right answer is to leave them alone. Cut only the ones that are clearly dead, and tuck a root into the pot only when it bends easily.
I am Sawera Shahid, a botanist at Patch Plants. This guide explains what orchid aerial roots do, how to tell a healthy root from a rotten one, when to trim, how to handle them when repotting, and what aftercare helps your orchid recover. For the wider picture, see our orchid care guide.
Orchid Aerial Roots: Leave, Trim or Pot?
The Royal Horticultural Society (RHS) is clear on this: roots growing above the compost are normal, and it advises against burying or cutting them. The University of Maryland Extension agrees that most of a moth orchid’s roots sit above the pot and commonly sprawl outside the container, and that this is normal growth. Use this table as a quick reference.
| Root Condition | What It Looks and Feels Like | What to Do |
|---|---|---|
| Healthy | Plump, firm, silvery-white or green | Leave it alone |
| Dry but alive | Dull silver or white, still firm | Water the plant |
| Dead | Brown, shrivelled or papery | Trim with clean tools |
| Rotten | Mushy, slimy or hollow | Trim back to firm tissue |
| Flexible and long | Bends without cracking | Guide into the pot only when repotting |
What Orchid Aerial Roots Do
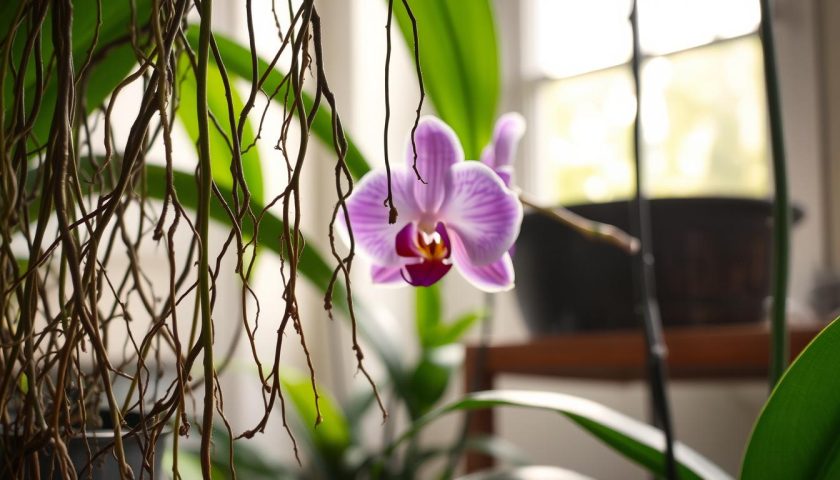
Many orchids grow on tree branches rather than in soil, which is what the word epiphytic means. Epiphytic orchid growth explains why the roots reach into the air. The RHS notes that in the wild these roots help the plant cling to its perch and take in moisture and nutrients. Indoors, they do the same job, which is why cutting healthy ones only stresses the plant.
A root that looks silvery is not dying. Its outer layer, the velamen, is spongy and turns silvery-white when dry. The University of Maryland Extension notes that a dull silver or white root turns a pale green once it has taken up enough water. That colour change is one of the most useful root hydration signs you have.
How to Tell Healthy Roots From Rotten Ones
Judge a root by texture, not colour. The RHS describes healthy roots as plump, firm and silvery-white, and says to remove roots that are brown, shrivelled, mushy or hollow. Clemson Cooperative Extension similarly says healthy orchid roots are white with green tips, and that dead roots left in place keep decomposing and holding moisture.
- Firm and plump: alive. Leave it, whatever the colour.
- Mushy, slimy or hollow: rotting or dead. Overly wet compost causes roots to rot, according to the RHS.
- Dry, papery and brown: dead. The RHS notes that compost that is too dry makes roots shrivel and die.
If several roots look rotten, see our guides to healthy roots versus root rot and root rot treatment.
How to Trim Damaged Orchid Aerial Roots
- Use sterile tools. Clemson Extension recommends a sterile pair of snips. Wipe the blades with rubbing alcohol before you start and between plants.
- Cut back to firm tissue. Remove only the dead or mushy section, and leave all the living root.
- Do not cut roots that are merely silvery. A dry, firm root is alive.
- Avoid the crown and stem. Damage there can be far more serious than any root problem.
- Clear away debris and old bark from the base of the plant afterwards.
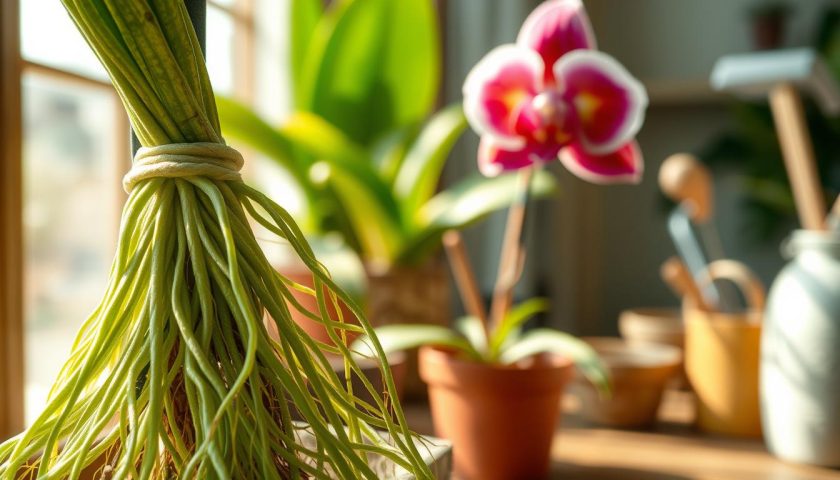
If most of the root system is rotten, remove the clearly dead parts but keep every living root, since the plant needs them to take up water. If you are unsure, cut less rather than more.
Potting Orchid Aerial Roots When Repotting
The best time to guide roots into a pot is during repotting. The RHS says you can repot at any time of year as long as the roots are active with green tips, and the University of Maryland Extension says the best time is when new growth has started, not necessarily after flowering. Clemson Extension advises late winter or early spring.
- Choose the container. The RHS suggests a transparent pot so you can see the roots and moisture, and warns against overpotting, because excess compost stays wet and can cause rot.
- Use an orchid bark mix. The RHS says never to use loam-based or multipurpose compost, as these will kill moth orchids. A coarse orchid bark mix gives the roots air and drains quickly.
- Remove the old mix and inspect the roots. Trim dead roots as described above.
- Guide flexible roots into the pot. Never force a stiff root. If it resists, leave it outside.
- Keep the crown above the mix. Clemson Extension says to keep the crown lifted as you add the medium, then water thoroughly.
Leaving some roots outside the pot is safe and normal. Pushing a stiff root in risks snapping it and creating an entry point for infection. For a general method, see our guide to how to repot a plant.
Aftercare: Watering, Light and Humidity
Use the roots to guide your watering rather than a calendar. The RHS says not to let the roots dry out completely and not to let the plant sit in water, and to avoid splashing the leaves or getting water into the crown. The University of Maryland Extension says that at normal home temperatures a moth orchid should not need watering more than once a week, and that the plant should drain completely before going back on its saucer.
- Silvery roots and a dry, light pot: time to water.
- Green roots: recently watered. Wait.
- Light: the RHS suggests bright light in winter, such as an east- or west-facing windowsill, and keeping the plant out of direct summer sun, which can scorch the leaves.
- Humidity: the University of Wisconsin Extension suggests a humidity tray: a 1-inch layer of pebbles with water about ½ inch deep. The University of Maryland Extension warns that a flooded tray keeps roots overly wet and can cause rot.
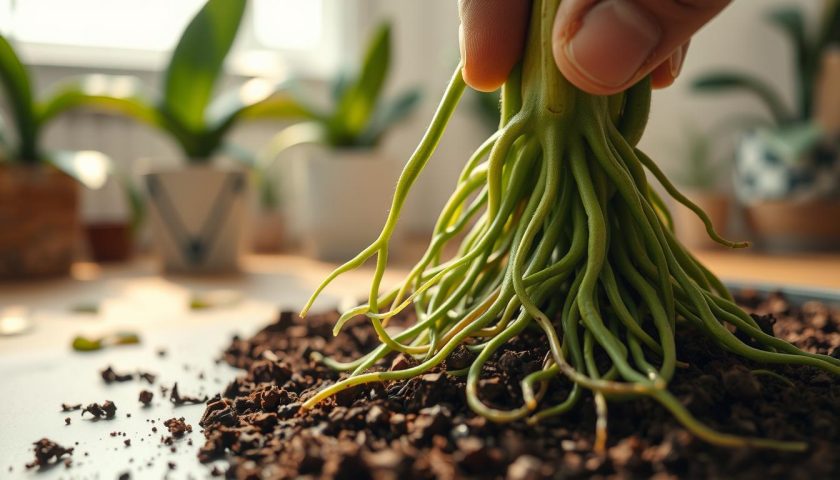
Humidity helps aerial roots stay supple, but it never replaces watering. For ideas, read humidity hacks for houseplants.
Common Orchid Aerial Root Mistakes
| Mistake | Why It Hurts | Better Approach |
|---|---|---|
| Cutting every root that looks untidy | Removes living roots that take up moisture | Trim only dead or mushy roots |
| Burying healthy roots in dense mix | Roots need air and can rot | Use a coarse orchid bark mix |
| Mistaking silver velamen for dead roots | Healthy roots get cut | Squeeze gently: firm means alive |
| Watering on a fixed schedule | Leads to rot or shrivelling | Check root colour and pot weight |
| Using an oversized pot | Excess compost stays wet | Choose a snug pot with good drainage |
Orchid problems sometimes show in the leaves first. If leaves turn yellow, see our guide to yellow leaves on plants.
Frequently Asked Questions
Is it okay to cut orchid aerial roots?
Only if they are dead. The RHS advises against cutting aerial roots, and says to remove roots that are brown, shrivelled, mushy or hollow.
Why are my orchid aerial roots silvery instead of green?
Silvery-white means the root is dry. The University of Maryland Extension says roots turn pale green once they have taken up enough water, so silver roots simply need watering.
Can I push aerial roots back into the pot?
Only when repotting, and only if they bend easily. Never force a stiff root, because it can snap. Leaving some roots outside the pot is normal.
How can I tell root rot from dry roots?
Squeeze gently. Rotten roots feel mushy, slimy or hollow, while dry roots stay firm or papery. Overly wet compost causes rot, and compost that is too dry makes roots shrivel.
Are orchids safe for cats and dogs?
The ASPCA lists Phalaenopsis orchids as non-toxic to dogs, cats and horses. Keep the bark mix and any fertiliser out of reach, and call your vet if your pet seems unwell.
Final Thoughts
Orchid aerial roots look odd at first, but they are a sign of a plant growing as it should. As a botanist, my advice is to leave healthy roots alone, trim only what is truly dead, and let the roots, not the calendar, tell you when to water. Patience is rewarded with strong roots and fresh blooms. For more plant care ideas, explore Patch Plants and our indoor plants section.
Sources: RHS, How to grow Phalaenopsis; University of Maryland Extension, Care of Phalaenopsis Orchids; Clemson Cooperative Extension, Repotting Your Orchid; University of Wisconsin Extension, Orchids; ASPCA, Phalaenopsis Orchid.