Norfolk Island pine care comes down to bright light, ideally your sunniest window; soil that dries slightly on top between thorough waterings; a pot with drainage holes; and a steady, draft-free spot away from heaters. Treat this “living Christmas tree” as a houseplant rather than an outdoor conifer, turn it regularly so it grows straight, and it can stay green and symmetrical for many years after the holidays.
Many people get a Norfolk Island pine (Araucaria heterophylla) as a festive gift, then watch it drop needles in January. That usually happens because the tree is moved into a dim corner, covered with lights, or left beside a radiator. This guide explains how to set it up, how to water it, how much light and humidity it needs, repotting, feeding and pruning, a seasonal routine, and how to fix brown tips and dropping branches.
Patch Plants guides are researched and written by Sawera Shahid, a botanist with an MPhil in Botany who has more than five years of plant-care writing experience. We base our advice on plant science and extension research, so your holiday tree has the best chance of becoming a long-term houseplant.
Norfolk Island Pine Care at a Glance
| Need | What It Wants |
|---|---|
| Light | Bright light; some direct sun is welcome; turn the pot weekly |
| Water | When the top inch of soil is dry; less in winter |
| Soil | Porous, well-draining potting mix with perlite |
| Temperature | About 55–75°F (13–24°C); no frost, heaters or cold drafts |
| Humidity | Tolerates average home air; moderate humidity keeps tips greener |
| Feeding | Diluted balanced fertilizer monthly in spring and summer |
| Pruning | Only dead lower branches; never cut the top |
| Pets | Listed as non-toxic, but keep pets from chewing it |
What Is a Norfolk Island Pine?
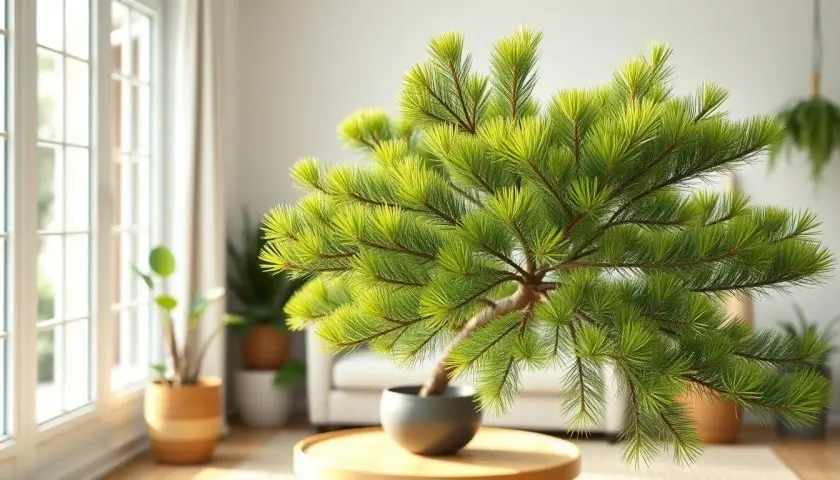
Despite the name, the Norfolk Island pine is not a true pine. It is an Araucaria, an ancient group of conifers from the Southern Hemisphere. According to NC State Extension’s plant profile, it grows naturally only on Norfolk Island in the Pacific, between New Zealand and New Caledonia, and is hardy outdoors only in USDA zones 9–11.
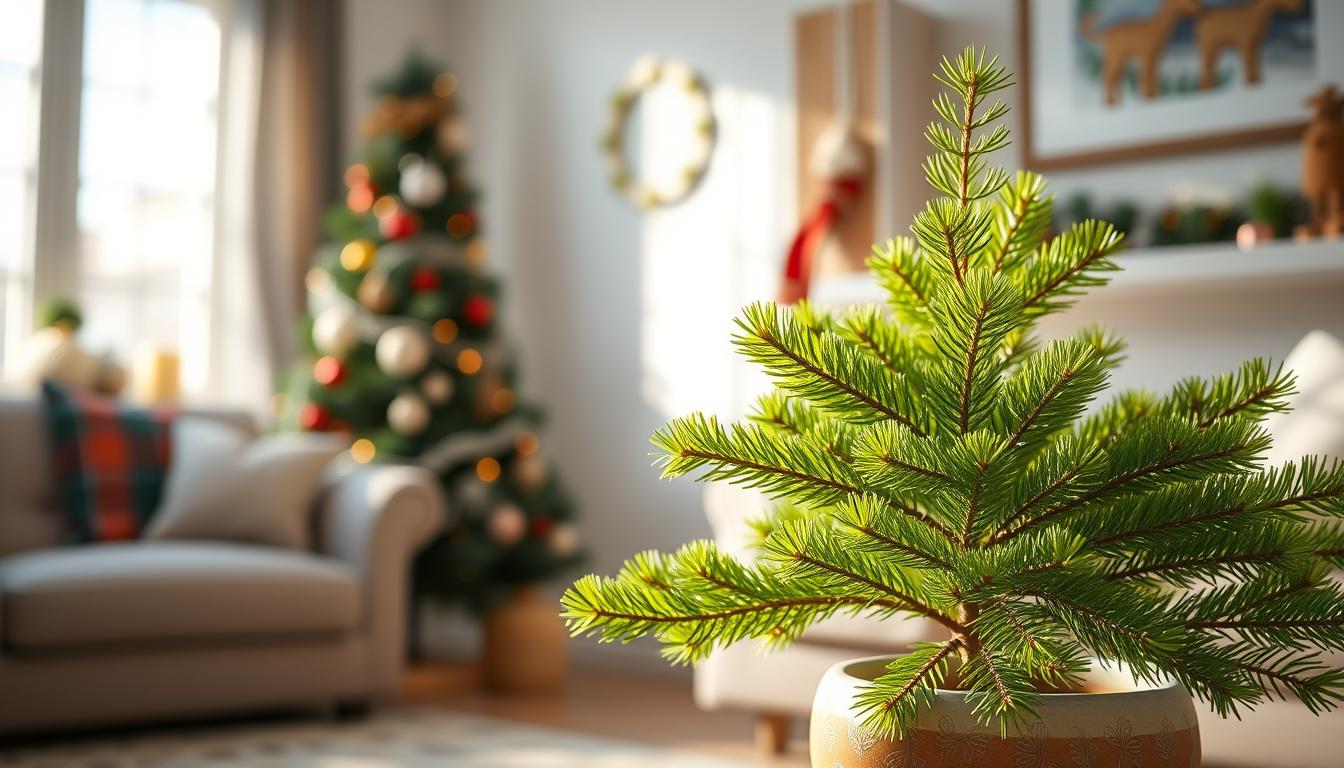
In the wild it can grow into a towering tree, but indoors it grows slowly to around 9 feet. Its soft, needle-like leaves sit on horizontal branches arranged in neat tiers, usually five branches per whorl, which gives it its classic Christmas-tree shape.
Setting Up Your Tree After You Bring It Home
Check It Over
Look under the branches for pests such as scale or mealybugs, check that the trunk is firm, and feel the soil. Holiday trees are often sold in decorative foil or a pot cover that traps water, so remove that and let the pot drain freely.
Watch for Multiple Trunks
Many Norfolk Island pines are sold as several seedlings planted together in one pot to look fuller. That is normal. Over time they compete for space, so repot the group as one unit when needed rather than trying to separate the roots.
Pick the Right Spot
- Choose your brightest room, close to a window
- Keep it away from radiators, heating vents and air conditioners
- Avoid doorways and drafty windows
- Give it space so branches do not rub against walls or furniture
A tall Norfolk Island pine makes a striking statement plant in a bright living room or home office; see our ideas to improve your home office with plants and our oversized indoor plants.
Norfolk Island Pine Light Requirements
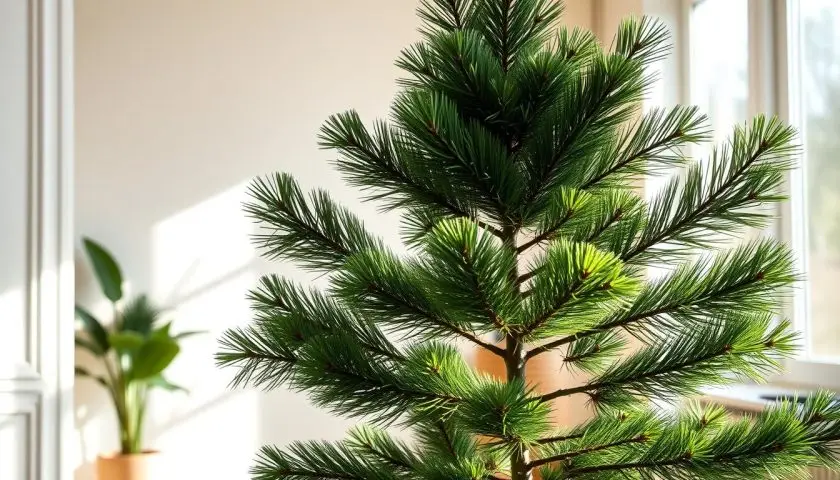
Light is the most important part of Norfolk Island pine care. Outdoors, NC State notes it grows most compact and symmetrical in full sun, with light afternoon shade to prevent bleaching. Indoors, that means the brightest spot you have:
- Close to a south- or west-facing window, where some direct sun is fine
- Right beside an unobstructed east window
- Under a full-spectrum grow light in darker homes, especially in winter
NC State notes that indoors it can tolerate very low light for two to three years, but then it starts dropping lower branches. So a dim corner slowly weakens the tree even if it looks fine at first. Our complete guide to indoor light explains how to judge your windows, and our guide to grow lights for indoor plants helps in winter.
Turn the Pot to Keep It Straight
These trees grow toward the light and quickly lean. Give the pot a quarter turn every time you water so all sides get equal light and the trunk stays upright.
Light Problems at a Glance
| Symptom | Likely Cause | What to Do |
|---|---|---|
| Leaning toward the window | Light from one side only | Turn the pot weekly |
| Sparse, stretched growth | Too little light | Move closer to a window or add a grow light |
| Lower branches dropping over time | Long-term low light | Move to your brightest spot |
| Yellow-bleached needles | Sudden harsh sun after low light | Introduce strong sun gradually |
How to Water a Norfolk Island Pine
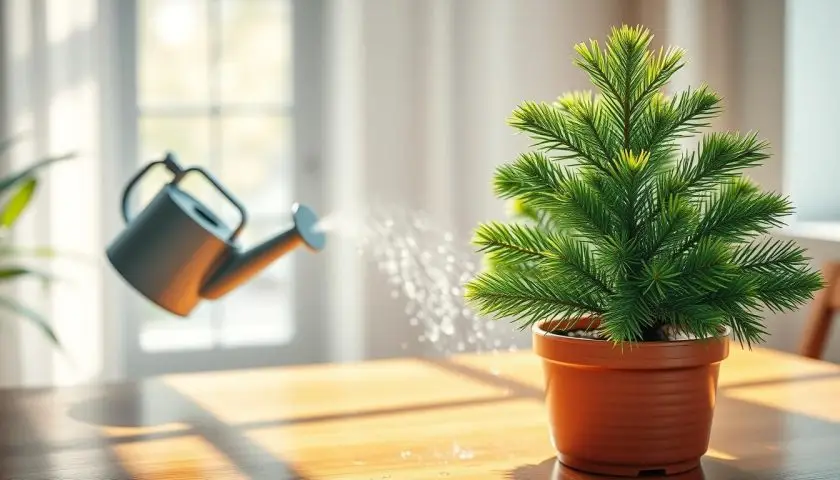
NC State advises watering regularly from spring to autumn while avoiding soggy soil, and watering sparingly in winter. In practice:
- Check the soil with your finger. Water when the top inch feels dry.
- Water slowly and evenly until it runs from the drainage holes.
- Empty the saucer or cover pot after 15 minutes.
- Use room-temperature water.
In a bright, warm room that is often about once a week in spring and summer, and every one to two weeks in winter. Pot size, light and temperature all change this, so always check rather than following a calendar. Our article on the signs you’re overwatering helps you read the soil.
Underwatering vs Overwatering
| Sign | Too Dry | Too Wet |
|---|---|---|
| Needles | Crispy, brown and brittle | Yellowing, soft, dropping |
| Soil | Hard, pulling away from the pot | Soggy, sour smell |
| Branches | Drooping | Drooping despite wet soil |
If the root ball is bone dry: stand the pot in a basin of water for about 30 minutes, then let it drain fully.
If the soil stays wet for days: move the tree into brighter light and stop watering until the top dries. If it stays soggy for more than a week or smells sour, repot into fresh, well-draining mix and check for root rot.
Humidity and Temperature
NC State notes that Norfolk Island pines adapt to the warm, dry air of most homes and offices, and recommends misting in heated rooms in winter. They do not need jungle humidity, but very dry winter air can still crisp the needle tips. A pebble tray, grouping with other plants, or a small humidifier nearby all help. Our DIY humidity tray guide and humidity hacks explain easy options.
Indoors, NC State says the tree prefers a bright, cool room around 55–65°F (13–18°C). Normal room temperatures up to the mid-70s°F (around 24°C) are fine, as long as the temperature is steady. Keep it away from:
- Radiators, heating vents and fireplaces
- Air-conditioning vents blowing directly on the branches
- Cold, drafty windows and outside doors in winter
- Frost; never leave it outside below about 35°F (2°C)
Soil, Pots and Repotting
Use a porous, well-draining potting mix. NC State recommends fertile, sandy, peaty, slightly acidic soil indoors. A simple blend is 2 parts indoor potting mix to 1 part perlite, with a little coarse sand if you like. Our guide to the best soil mix for every type of plant explains the ingredients.
Always use a pot with drainage holes. If you want a decorative pot without holes, keep the tree in its plastic nursery pot inside it and tip out any water after watering.
When and How to Repot
Norfolk Island pines grow slowly indoors and like being a little snug. Repot every two to four years in spring, when roots circle the pot or poke out of the drainage holes, or the soil dries out very fast.
- Choose a pot only 1–2 inches wider than the current one.
- Ease the tree out gently; the trunk can be top-heavy.
- Trim any black, mushy roots with clean scissors.
- Replant at the same depth in fresh mix and firm gently.
- Water lightly and keep it out of harsh sun for a week while it settles.
Avoid repotting a stressed holiday tree right after the season; wait until it settles and new growth appears in spring. Our list of repotting mistakes to avoid covers the usual errors.
Fertilizing and Pruning
Feed only during active growth, from spring to late summer. Use a balanced liquid houseplant fertilizer diluted to half strength about once a month. Skip feeding in autumn and winter, right after repotting, and when the tree is stressed or the soil is bone dry. Our guide to household plant fertilizer explains the labels.
Prune very little. Norfolk Island pines do not regrow needles from bare old wood, so a cut branch will not fill back in.
- Do remove fully brown, dead lower branches flush with the trunk, using clean, sharp pruners
- Do not shear or trim the tree like a hedge
- Never cut the top. The central leader is what makes the tree grow upward; remove it and the tree loses its classic shape
Our pruning basics guide covers clean cuts and tools.
Seasonal Norfolk Island Pine Care Routine
Spring and Summer
- Water more often as growth speeds up
- Feed monthly at half strength
- Repot if root-bound
- In warm climates, it can spend summer outdoors in bright shade; acclimatize it gradually and bring it in before nights fall below about 50°F (10°C)
Autumn and Winter
- Move it closer to your brightest window and consider a grow light
- Water less often
- Stop feeding
- Raise humidity and keep it away from heaters and cold glass
Decorating It as a Living Christmas Tree
Its branches are soft and bend easily, so keep holiday decorations light:
- Use small, lightweight ornaments and ribbon
- Choose cool LED fairy lights, never old hot bulbs
- Keep decorations on for only a few weeks
- Remove everything promptly after the holidays so branches can spring back
After the season, move it back to its bright spot and resume normal care. For more holiday plants, see our poinsettia care guide, amaryllis care, Christmas cactus care, and our ideas for decorating your home with festive plants.
Common Norfolk Island Pine Problems
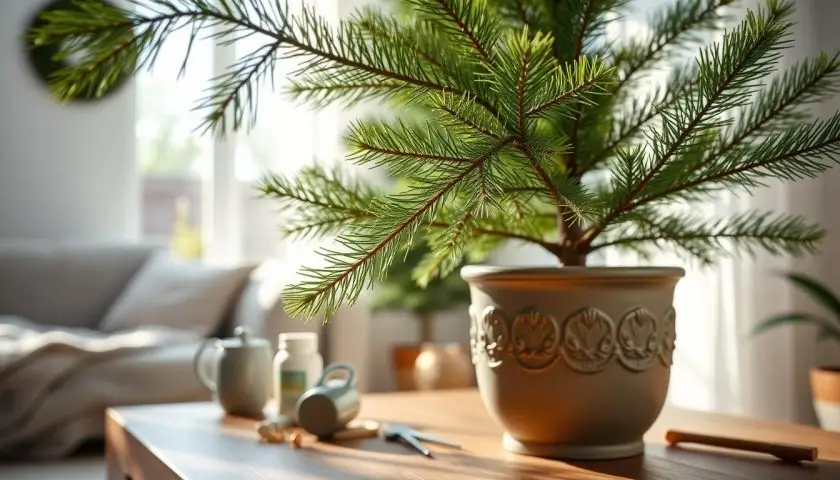
Brown Needle Tips
Usually caused by soil drying out too much, very dry heated air, or salt build-up from fertilizer or tap water. Water more consistently, raise humidity, and flush the pot with plenty of water every few months.
Yellow or Soft Needles
Often a sign of soggy soil and early root rot. Check drainage, let the soil dry, and repot if roots are dark and mushy.
Lower Branches Dropping
Losing an occasional bottom branch is normal as the tree grows. Losing several at once, or steady loss over months, usually points to long-term low light, repeated drying out, or a big change in conditions. Bare branches will not regrow, so cut fully dead ones off at the trunk and fix the cause.
Drooping Branches
Branches that droop down can mean the tree is thirsty, or that roots are damaged from overwatering. Check the soil before watering.
Leaning or Sparse Growth
A sign it needs more light. Move it to a brighter spot and turn it weekly.
Pests
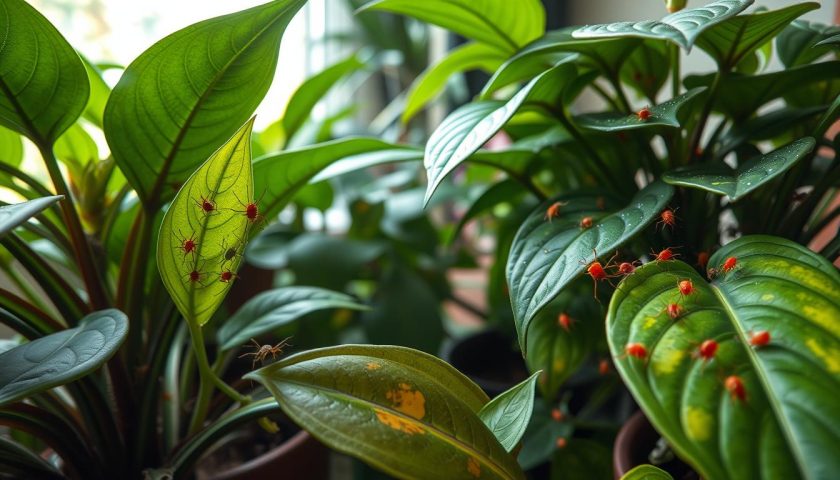
NC State lists scale, sooty mold and leaf spot as possible problems. Indoors, also look for mealybugs and spider mites, especially in hot, dry rooms. Isolate the tree, wipe off scale and mealybugs, and treat with insecticidal soap following the label. Our guide to spider mites on plants explains how to spot and treat them.
Is Norfolk Island Pine Safe for Pets?
NC State lists Norfolk Island pine as non-toxic to cats, dogs and horses. Even so, chewing the needles can upset a pet’s stomach, and fertilizers and pest sprays are hazardous. Keep the tree where pets cannot chew it, and store plant products safely. For more safe choices, see our guides to cat-friendly plants and dog-friendly plants.
Frequently Asked Questions
How often should I water a Norfolk Island pine?
Water when the top inch of soil is dry, usually about once a week in spring and summer and every one to two weeks in winter. Water until it drains, then empty the saucer.
Does a Norfolk Island pine need direct sunlight?
It grows best in bright light, and some direct sun from a south, west or east window is welcome. In low light it slowly drops lower branches, so give it your brightest spot or a grow light.
Why are the lower branches of my Norfolk Island pine dying?
A few old lower branches dropping is normal. Heavy loss usually means long-term low light, soil drying out too much, or a sudden change in conditions. Bare branches do not regrow, so prune them off and fix the cause.
Can I keep my Norfolk Island pine after Christmas?
Yes. Remove decorations promptly, move it back to a bright spot, water when the top inch is dry, and keep it away from heaters. With good care it can live for many years as a houseplant.
Should I cut the top off my Norfolk Island pine?
No. The top, or central leader, controls upward growth. Cutting it ruins the tree’s symmetrical shape. Only remove dead lower branches.
Final Thoughts
Good Norfolk Island pine care is simple once you treat it as a bright-light houseplant: give it your sunniest window, water when the top inch dries, keep it away from heaters and drafts, turn it weekly, and never cut the top. Do that, and your living Christmas tree can decorate your home for many holidays to come.
Find more houseplant guides in our indoor plants collection.