Spider plant soil should be light, airy, and quick-draining while still holding enough moisture for the thick roots. A spider plant is forgiving, but heavy soil, soggy pots, and poor drainage can quickly lead to yellow leaves, brown tips, slow growth, and root rot.
The good news is that you do not need a complicated mix. A basic indoor potting mix improved with perlite, pumice, coco coir, or fine bark usually works well. This guide covers the best soil mix, what to avoid, when to repot, and how to move your spider plant into fresh soil without stressing the roots.
Best Mix Snapshot
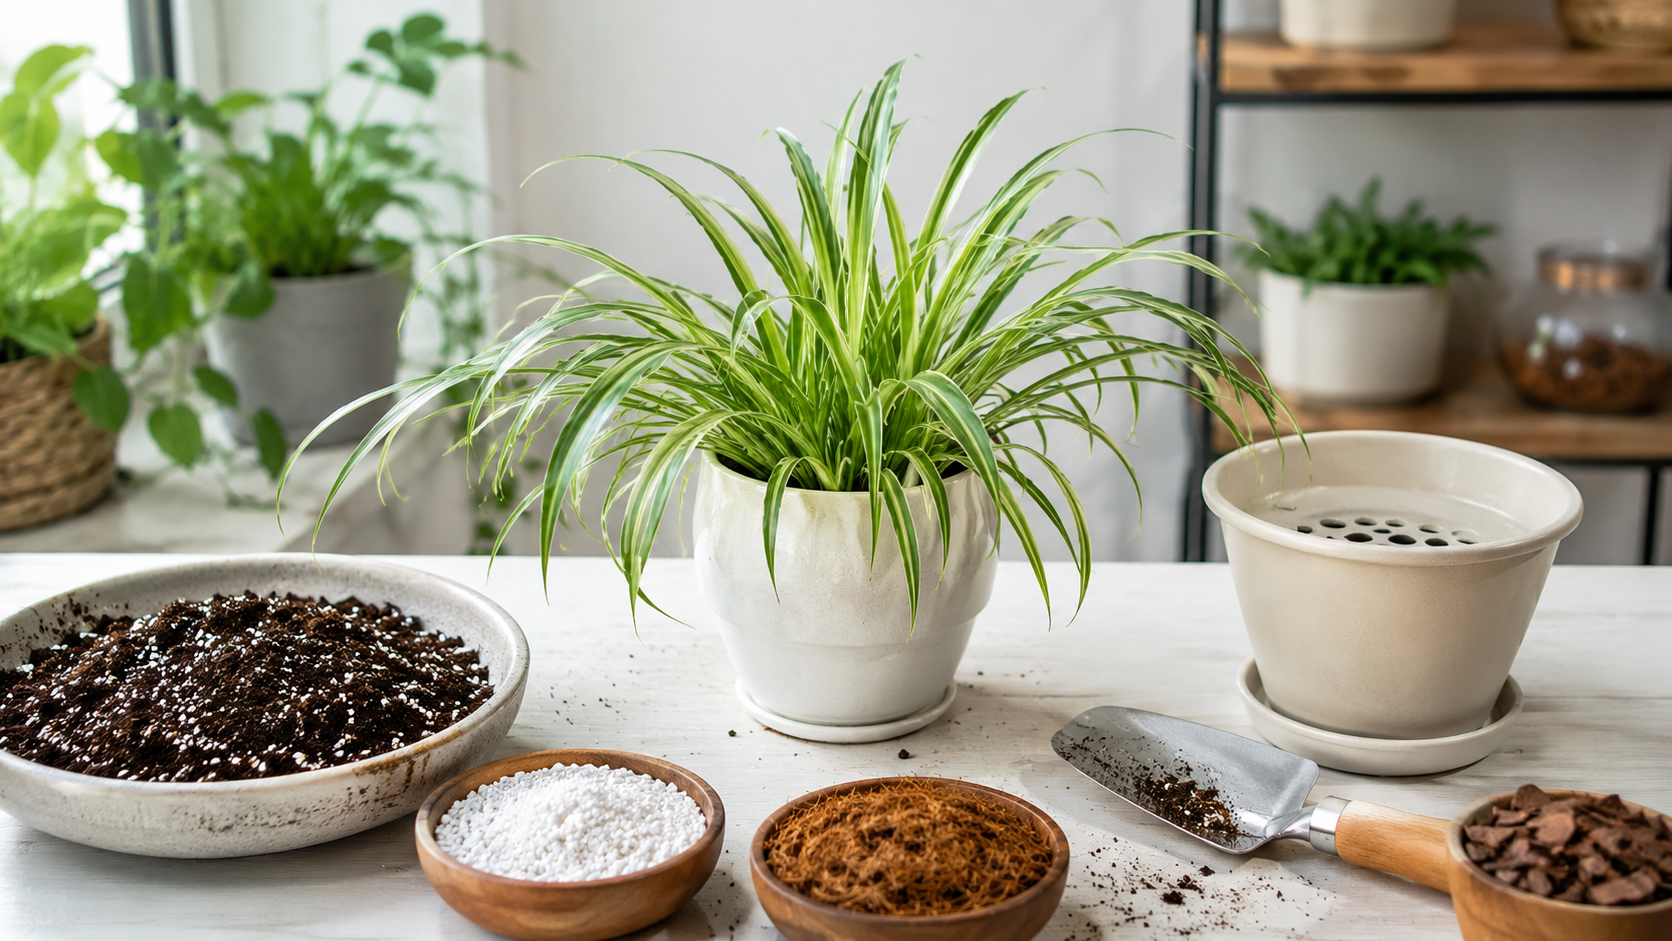
The best spider plant soil is a loose indoor potting mix that drains well, holds light moisture, and does not compact around the roots. Use 2 parts indoor potting mix, 1 part perlite or pumice, and 1 part coco coir or peat moss. Add a little fine bark if your home is humid or you tend to overwater. Use a pot with drainage holes, repot only one size larger, and let the soil dry slightly between thorough waterings.
Key Takeaways
- Spider plant soil should be airy, draining, and lightly moisture-retentive.
- A simple mix of potting soil, perlite, and coco coir is enough for most spider plants.
- Garden soil is too heavy for potted spider plants and can cause drainage problems.
- Spider plants like being slightly pot-bound, but severely crowded roots need repotting.
- Choose a pot with drainage holes and move up only one pot size at a time.
- Brown tips can come from salt buildup, dry soil, overfertilizing, or tap water minerals.
- Use this guide with Spider Plant care guide, Spider Plant light requirements, and how to transplant a Spider Plant.
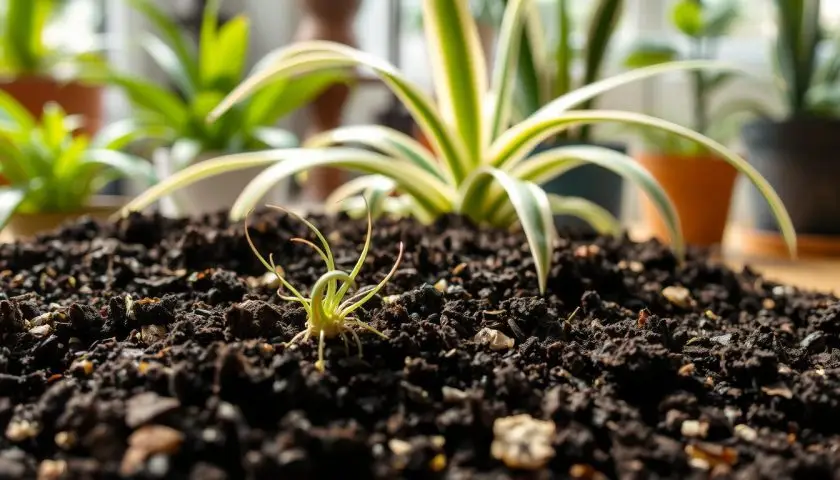
Spider Plant Soil at a Glance
| Soil Feature | Best Choice | Avoid |
|---|---|---|
| Texture | Loose and airy | Dense compacted soil |
| Drainage | Water drains freely from the pot | Standing water in cover pots |
| Moisture | Lightly moist, then slightly dry before watering | Constantly wet soil |
| Base mix | General indoor potting mix or soilless mix | Heavy garden soil |
| Drainage amendment | Perlite, pumice, or fine bark | Fine sand in large amounts |
| Pot size | Only one size larger when repotting | A huge pot for a small root ball |
| Feeding | Light feeding during active growth | Heavy fertilizer in fresh soil |
Spider Plant Soil Requirements for Healthy Growth
Spider plants have thick, fleshy roots that store water. That helps them handle missed watering better than many delicate houseplants. It also means the roots can suffer if the soil stays wet for too long.
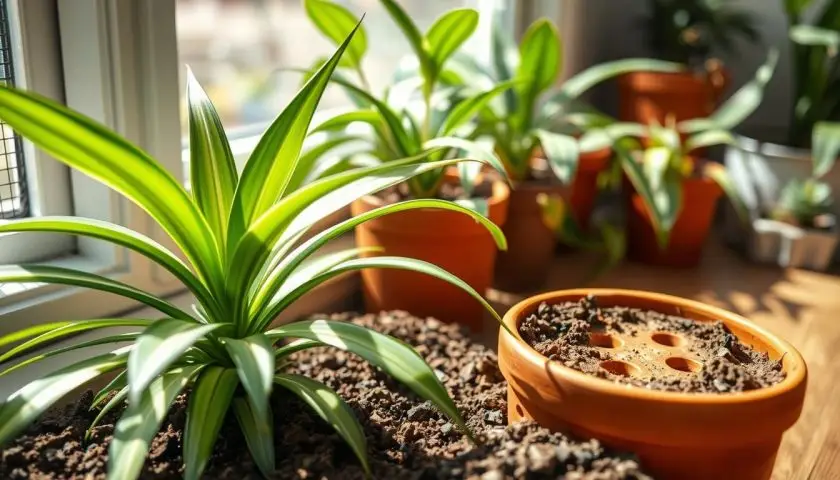
Good spider plant soil should
- Drain quickly after watering.
- Hold slight moisture without becoming soggy.
- Stay loose around the root ball.
- Allow oxygen to reach the roots.
- Support steady growth without heavy feeding.
- Work well in a pot with drainage holes.
How soil texture supports spider plant roots
Spider plant roots need both water and air. If the mix is too dense, water fills the air spaces and roots can suffocate. If the mix is too gritty and dry, the plant may wilt and produce crispy tips. The goal is balance.
Balancing moisture and drainage
A healthy spider plant soil mix should feel soft and crumbly when slightly moist. It should not feel sticky, muddy, sour, or hard. After watering, excess water should drain from the bottom within a short time.
Signs your current soil is not working
- Water sits on top before soaking in.
- The pot stays wet for many days.
- The soil smells sour or swampy.
- Leaves turn yellow while soil is wet.
- Brown tips appear along with salt crust on the soil.
- The plant wilts even though the mix is damp.
- Roots circle tightly and push the plant upward.
Best Soil for Spider Plants
The best soil for spider plants is usually a general indoor potting mix improved for drainage. You do not need orchid-level chunkiness or cactus-level dryness. Spider plants like a middle ground.
Best ready-made option
Choose a fresh indoor houseplant potting mix or soilless mix. It should contain ingredients such as peat moss, coco coir, perlite, bark, or vermiculite. If the bag feels heavy, wet, or compacted, choose another one.
Best homemade option
For most homes, mix indoor potting soil with perlite and coco coir. This gives roots moisture, drainage, and airflow without making the mix too rich.
Best mix for overwaterers
If you often overwater, use extra perlite, pumice, or fine bark. This helps the pot dry more evenly and lowers root rot risk.
Best mix for dry homes
If your home is warm and dry, keep a little more coco coir or peat moss in the mix so the roots do not dry out too quickly.
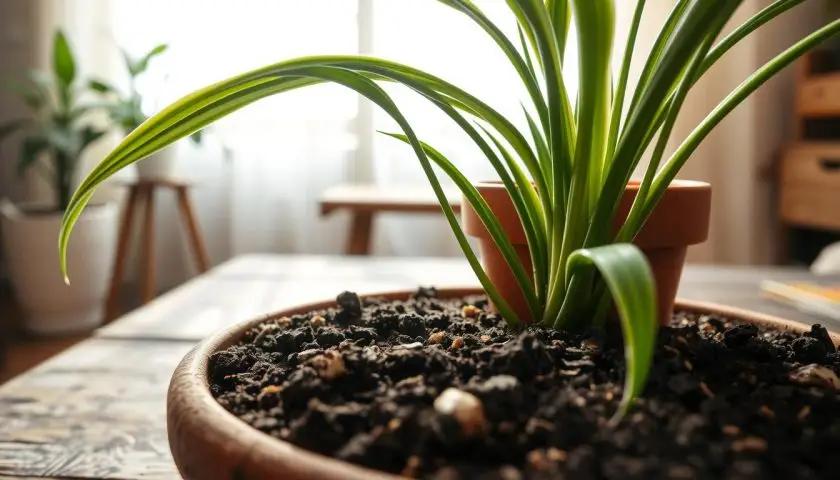
Spider Plant Soil Mix Recipe
A good spider plant soil mix should be simple, affordable, and easy to repeat when you repot plantlets or divide a large spider plant.
Basic spider plant soil recipe
| Ingredient | Amount | Purpose |
|---|---|---|
| Indoor potting mix | 2 parts | Main growing base |
| Perlite or pumice | 1 part | Drainage and root oxygen |
| Coco coir or peat moss | 1 part | Light moisture retention |
| Fine orchid bark | Optional small handful | Extra airflow in humid homes |
| Compost or worm castings | Optional small amount | Gentle nutrient support |
How to mix it
- Add the potting mix to a clean tray or bowl.
- Break apart any hard clumps.
- Mix in perlite or pumice evenly.
- Add coco coir or peat moss for moisture balance.
- Add fine bark if the mix still feels too dense.
- Moisten slightly before repotting so it is not dusty.
What the finished mix should feel like
The finished mix should feel loose, springy, and slightly coarse. If you squeeze a handful, it should hold lightly for a moment but break apart easily. It should not form a sticky ball.
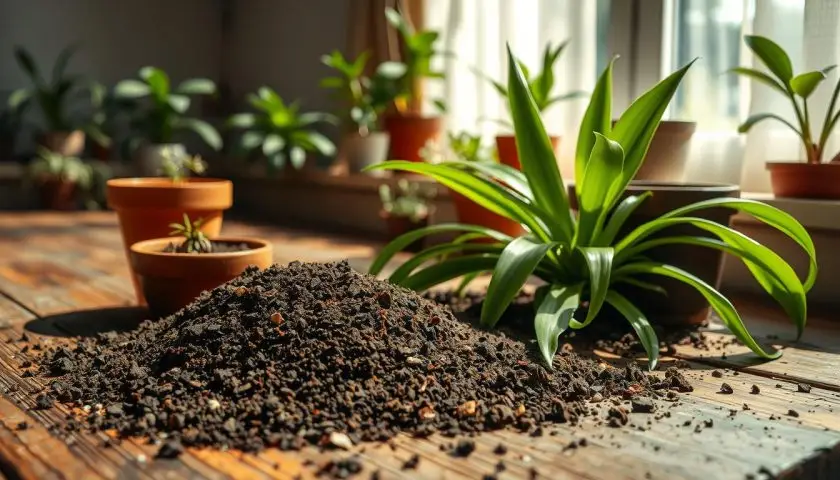
Ingredients to Use in Spider Plant Potting Mix
Each ingredient changes how the mix behaves. You do not need all of them, but it helps to understand what each one does.
Indoor potting mix
This is the base. Choose a fresh houseplant mix that is light, clean, and not overly rich. Avoid mixes that already feel muddy in the bag.
Perlite
Perlite is lightweight and improves drainage. It is one of the easiest additions for spider plant potting soil.
Pumice
Pumice is heavier than perlite and also improves airflow. It is useful if your plant is in a tall pot that tips easily.
Coco coir
Coco coir holds moisture while staying lighter than heavy soil. Use it moderately so the mix does not stay wet too long.
Peat moss
Peat moss also holds moisture, but it can become difficult to rewet when very dry. Coco coir is often easier for beginner care.
Fine orchid bark
Fine bark improves airflow and helps prevent compaction. It is useful for humid bathrooms, kitchens, or homes where soil dries slowly.
Compost or worm castings
Use only a small amount. Too much rich organic matter can keep the mix wet and may increase fungus gnat problems.
What to Avoid in Spider Plant Soil
Spider plants are easy, but the wrong soil can still cause problems. Most mistakes come from using a mix that is too heavy, too wet, or too rich.
Avoid heavy garden soil
Garden soil can compact in containers. It may also drain poorly, hold too much water, and bring pests or disease organisms indoors.
Avoid pots with no drainage
A perfect soil mix will still fail in a closed pot. If water cannot leave, roots sit in stale moisture and root rot becomes more likely.
Avoid too much compost
Compost can help in small amounts, but a compost-heavy mix may hold too much water indoors. It can also attract fungus gnats if it stays damp.
Avoid sand-heavy mixes
Fine sand can make potting mix dense instead of draining. Use perlite, pumice, or bark for a more reliable indoor mix.
Avoid gravel layers at the bottom
Drainage should come from the whole potting mix and actual drainage holes. A gravel layer does not fix soggy soil above it.
Spider Plant Soil pH and Nutrients
Spider plants are not usually fussy about pH if you use a normal indoor potting mix. A slightly acidic to neutral mix is usually suitable. Problems are more often caused by poor drainage, overwatering, salt buildup, or overfertilizing than by pH alone.
When pH matters
Check pH only if the plant is struggling after you have already fixed light, watering, drainage, pot size, and fertilizer. Most home growers do not need to adjust spider plant soil pH.
Fertilizer and salt buildup
Spider plants do not need heavy feeding. Too much fertilizer can create salt buildup, which may show up as brown leaf tips, white crust on the soil, or stressed roots.
Simple feeding routine
- Feed lightly during spring and summer.
- Use half-strength liquid houseplant fertilizer if needed.
- Do not feed heavily right after repotting.
- Reduce or pause feeding in winter when growth slows.
- Flush the pot occasionally if mineral crust appears.
For feeding basics, read fertilizing indoor vs outdoor plants.
Choosing the Right Pot for Spider Plant Soil
The pot affects how your soil behaves. A good soil mix in the wrong container can still stay wet too long, dry too fast, or restrict roots.
Use drainage holes
Choose a pot with open drainage holes. If you use a decorative cachepot, keep the spider plant in a draining inner nursery pot and empty standing water after watering.
Choose one size larger
When repotting spider plant roots, move up only one pot size. A huge pot holds too much wet soil around the root ball and increases root rot risk.
Plastic pots
Plastic pots hold moisture longer and are lightweight. They work well in bright rooms or dry homes.
Terracotta pots
Terracotta dries faster and helps reduce wet soil problems. It is useful if you overwater, but it may dry too quickly in hot rooms.
Ceramic pots
Glazed ceramic pots hold moisture longer. Use them with drainage holes and be careful not to overwater in low light.
When to Repot a Spider Plant
Spider plants often grow well when slightly pot-bound, but there is a limit. If the roots are packed tightly and the soil barely holds water, the plant needs attention.
Signs your spider plant needs repotting
- Roots circle tightly around the root ball.
- Roots push out of drainage holes.
- The plant dries out very fast after watering.
- Water runs around the root ball instead of soaking in.
- Soil has become compacted or sour-smelling.
- The plant lifts itself upward in the pot.
- Growth slows even with good light and watering.
Best time to repot
Spring and early summer are the easiest times to repot because the plant is entering active growth. You can repot at another time if the soil is failing or roots are rotting, but recovery may be slower in winter.
When not to repot
Do not repot only because one leaf tip is brown. Check water quality, fertilizer, light, and soil moisture first. Also avoid unnecessary repotting when the plant is stressed from cold, drought, pests, or recent relocation.
For detailed repotting help, read how to repot a plant, repotting mistakes to avoid, and how to transplant a Spider Plant.
How to Repot a Spider Plant Step by Step
Repotting should refresh the soil without damaging healthy roots. Spider plants have thick roots, so work gently and avoid ripping the root ball apart unless you are dividing the plant.
Step 1: Gather supplies
- Fresh spider plant potting mix.
- A pot with drainage holes.
- Clean scissors or snips.
- Watering can.
- Tray or newspaper for cleanup.
- Gloves if desired.
Step 2: Water lightly before repotting
If the root ball is bone dry, water lightly a day before repotting. Slightly moist roots are easier to handle than dry brittle roots or muddy soaked roots.
Step 3: Remove the plant
Hold the plant near the base and slide it out gently. If it is stuck, squeeze the pot sides or tap the pot. Do not pull hard on the leaves.
Step 4: Inspect the roots
Healthy spider plant roots are usually firm, pale, cream, tan, or white. Trim only brown, mushy, hollow, or foul-smelling roots.
Step 5: Loosen the outer roots
Gently loosen the outer root ball if roots are circling tightly. Do not remove all old soil unless the mix is rotten, pest-filled, or compacted.
Step 6: Add fresh mix to the new pot
Add enough mix so the plant sits at the same level as before. The crown should stay above the soil, not buried.
Step 7: Backfill and firm lightly
Fill around the root ball with fresh mix. Firm gently with your fingers, but do not pack the soil hard.
Step 8: Water thoroughly
Water until excess drains from the bottom. Empty the saucer or cachepot after the pot finishes draining.
Step 9: Let it settle
Keep the plant in bright indirect light and avoid heavy fertilizer for a few weeks. Some temporary droop is normal after repotting.
Watering Spider Plant Soil After Repotting
Fresh soil often holds water differently from old compacted soil. Check moisture by feel rather than following the same old schedule.
| Situation | What to Do | Avoid |
|---|---|---|
| Right after repotting | Water thoroughly once | Leaving water in the saucer |
| First week | Check soil before watering again | Daily watering from worry |
| Bright warm room | Check more often | Letting soil dry hard for too long |
| Cool low-light room | Water less often | Keeping the mix constantly wet |
| Terracotta pot | Expect faster drying | Assuming all pots dry the same |
How to check moisture
Push your finger into the soil. If the top layer is dry and the mix below is only slightly moist, watering may be needed. If it still feels wet, wait.
Water thoroughly, not shallowly
Small surface splashes encourage shallow moisture and uneven roots. Water until the full root zone is moistened, then let excess drain.
Preventing root rot
Root rot often happens when wet soil, oversized pots, low light, and poor drainage happen together. Fix all four factors, not just one.
For watering support, read complete watering guide, signs you are overwatering, and worst times to water plants.
Repotting Spider Plant Babies
Spider plant babies, also called plantlets or offsets, root easily in a light potting mix. They do not need a large pot at first.
Best soil for spider plant babies
Use the same light spider plant soil mix, but keep it slightly finer so small roots make contact with the mix. A small nursery pot with drainage holes is ideal.
How to pot a spider plant baby
- Choose a plantlet with small visible roots if possible.
- Fill a small pot with lightly moist soil mix.
- Set the plantlet on the surface and press roots into the mix.
- Keep the crown above the soil.
- Water lightly and keep in bright indirect light.
- Do not overpot into a large container.
When to separate from the mother plant
You can root a plantlet while it is still attached to the parent, then cut the runner once roots develop. You can also remove a rooted plantlet and pot it separately.
For propagation help, read Spider Plant care guide and how to propagate houseplants.
Common Spider Plant Soil Problems
Most spider plant soil problems come from too much water, not enough drainage, compacted soil, mineral buildup, or a pot that is too large.
| Problem | Likely Cause | First Fix |
|---|---|---|
| Yellow leaves | Overwatering, root stress, compacted soil, low light | Check moisture and drainage |
| Brown leaf tips | Dry soil, salt buildup, fertilizer, tap water minerals | Flush soil and adjust watering |
| Wilting in wet soil | Root rot or poor oxygen around roots | Inspect roots and repot if needed |
| Fungus gnats | Soil staying wet or too much organic matter | Let top layer dry and improve drainage |
| Water runs straight through | Hydrophobic dry soil or tight root ball | Soak carefully or refresh soil |
| Slow growth | Root-bound plant, old soil, low light, poor nutrients | Check roots, light, and soil age |
| Sour soil smell | Waterlogged mix or root rot | Repot into fresh airy soil |
Yellow leaves from wet soil
Yellow leaves are often a watering and soil warning. If the soil is wet for days and leaves are yellowing, check the roots and drainage holes.
Brown tips from mineral buildup
Spider plants can show brown tips when salts, fertilizer, fluoride, chlorine, or dry soil stress build up. Flush the pot with clean water and let it drain fully, or refresh the soil if crust is heavy.
Wilting with moist soil
If the plant wilts while the soil is wet, do not automatically water more. Wet wilting often points to root damage or oxygen-starved roots.
For symptom guides, read yellow leaves on plants, leaf curl, browning and droop, root rot guide, and how to revive a dying plant.
How to Refresh Spider Plant Soil Without Repotting
If the plant is healthy but the top layer looks crusty or tired, you may not need a full repot. A light soil refresh can help.
When a top refresh is enough
- The roots are not severely crowded.
- The plant is growing normally.
- Only the top layer is crusty.
- Drainage still works well.
- There is no root rot smell.
How to refresh the top layer
- Remove the top inch of old soil gently.
- Avoid damaging surface roots.
- Add fresh spider plant soil mix.
- Water lightly and let the pot drain.
- Monitor for improved moisture movement.
When a full repot is better
Do a full repot if the mix is compacted throughout, water no longer soaks evenly, roots are tightly packed, or the plant shows signs of rot.
Spider Plant Soil Care Checklist
| Task | How Often | What to Watch |
|---|---|---|
| Check soil moisture | Before watering | Wet soil, dry soil, hydrophobic mix |
| Check drainage holes | Monthly | Blocked holes or roots growing out |
| Inspect leaf tips | Weekly | Salt buildup, dry soil, fertilizer stress |
| Flush soil | Occasionally if mineral crust appears | White crust on soil or pot rim |
| Check root crowding | Every few months | Fast drying and roots circling |
| Refresh topsoil | When crusty or tired | Compacted upper layer |
| Repot | When root-bound or soil fails | Slow growth, poor drainage, root stress |
Common Mistakes With Spider Plant Soil
| Mistake | What Happens | Better Choice |
|---|---|---|
| Using garden soil | Compaction and poor drainage | Use indoor potting mix |
| Using a pot with no holes | Water collects around roots | Use drainage holes |
| Choosing a huge pot | Excess soil stays wet | Move up one pot size |
| Adding too much compost | Soggy mix and fungus gnats | Use compost lightly |
| Packing soil too hard | Roots lose oxygen | Firm gently only |
| Fertilizing right after repotting | Root stress and tip burn | Wait until growth resumes |
| Watering on a fixed schedule | Overwatering in low light | Check soil first |
Helpful PATCH Guides for Spider Plant Soil
Use these related PATCH guides to improve spider plant care, repotting, watering, soil, light, and common houseplant problems.
Spider Plant Guides
Soil, Repotting and Watering Guides
- Best soil mix guide
- How to repot a plant
- Repotting mistakes to avoid
- Complete watering guide
- Signs you are overwatering
- Worst times to water plants
- Self-watering pots guide
- Fertilizing indoor vs outdoor plants
Plant Problem Guides
- Plant Care hub
- Yellow leaves on plants
- Why plant leaves turn yellow
- Leaf curl, browning and droop
- Root rot guide
- How to revive a dying plant
- How to clean plant leaves
- Pruning basics
Indoor Plant Guides
- Indoor Plants hub
- Best indoor plants for beginners
- Best indoor plants for first-time plant parents
- Best indoor plants for tiny apartments
- Low-maintenance plants that thrive
- Oversized indoor plants
- Blooming indoor plants
- Trailing plants for shelves
- Low light house plants
- Small low light indoor plants
- House plants that like direct sunlight
Other Specific Plant Care Guides
- Peace Lily care guide
- How often to water Peace Lily
- Snake Plant care guide
- Tall Snake Plant guide
- Pothos plant care guide
- Philodendron care guide
- Monstera care guide
- Hoya plant care guide
- Dracaena care guide
- ZZ Plant care guide
- Rubber Plant care guide
- Fiddle Leaf Fig care guide
Frequently Asked Questions
What is the best soil for spider plants?
The best soil for spider plants is a light indoor potting mix that drains well and holds slight moisture. A simple mix of indoor potting soil, perlite, and coco coir works well for most homes.
Can I use regular garden soil for a spider plant?
No. Garden soil is usually too heavy for potted spider plants. It can compact, drain poorly, and hold too much water around the roots.
What is a good spider plant soil mix recipe?
Use 2 parts indoor potting mix, 1 part perlite or pumice, and 1 part coco coir or peat moss. Add a small amount of fine bark if your home is humid or the soil dries slowly.
Do spider plants need cactus soil?
Not usually. Pure cactus soil may dry too quickly for some spider plants. You can mix a little cactus mix with indoor potting mix if you need faster drainage.
Should spider plant soil be moist or dry?
Spider plant soil should be watered thoroughly, then allowed to dry slightly before the next watering. It should not stay constantly wet.
What pot size is best when repotting a spider plant?
Choose a pot only one size larger than the current pot. A very large pot holds extra wet soil and can increase root rot risk.
How do I know if my spider plant needs repotting?
Repot when roots circle tightly, grow out of drainage holes, push the plant upward, dry out very quickly, or when the soil becomes compacted and drains poorly.
Why does my spider plant have brown tips?
Brown tips can come from dry soil, salt buildup, overfertilizing, tap water minerals, low humidity, or root stress. Check the soil, watering routine, and fertilizer first.
Can I repot spider plant babies in the same soil mix?
Yes. Use the same light spider plant soil mix, but place babies in small pots with drainage holes. Keep the crown above the soil and avoid oversized containers.
Should I fertilize after repotting a spider plant?
Wait until the plant settles and begins growing again. Fresh soil and repotting already create change, so heavy fertilizer right away can stress the roots.
Final Thoughts
Spider plant soil does not need to be fancy. It needs to be loose, draining, and balanced. If water drains well, roots have air, and the soil dries slightly between waterings, your spider plant has the foundation it needs for strong leaves and healthy plantlets.
Wisconsin Horticulture explains that spider plants can grow in general-purpose potting soil or a soilless medium, should dry slightly between thorough waterings, and may develop root rot when overwatered or grown in poorly drained soils: Wisconsin Horticulture Spider Plant guide.
For the best results, use a fresh potting mix, improve drainage with perlite or pumice, choose a pot with drainage holes, and avoid moving a small spider plant into a huge container. Small soil choices make a big difference.
Final Recap
Spider plant soil should be light, airy, and well-draining while holding slight moisture between waterings. A reliable mix is 2 parts indoor potting mix, 1 part perlite or pumice, and 1 part coco coir or peat moss, with a little fine bark if extra airflow is needed. Avoid heavy garden soil, closed pots, oversized containers, too much compost, and packed-down soil. Repot a spider plant when roots are crowded, drainage slows, soil compacts, or the plant dries out too quickly. Use a pot with drainage holes, move up one size only, keep the crown above the soil, water thoroughly after repotting, and let the mix dry slightly before watering again. Watch for yellow leaves, brown tips, fungus gnats, salt buildup, and root rot as signs that the soil or watering routine needs adjusting.