The best spider plant soil is loose, well-draining, and airy while retaining enough moisture to support healthy roots. Spider plants (Chlorophytum comosum) are popular, adaptable houseplants, but heavy potting mixes, poor drainage, and unsuitable watering habits can lead to yellow leaves, brown tips, and damaged roots.
Fortunately, growing a healthy spider plant does not require expensive ingredients or a complicated soil recipe. A quality indoor potting mix amended with perlite, pumice, or other suitable materials can provide the balance these plants need.
In this guide, you will discover nine practical spider plant soil and repotting tips, including a simple homemade soil recipe, the best potting ingredients, signs your plant needs repotting, how to transplant it safely, and solutions for common soil problems.
Key Takeaways
- Spider plant soil should drain freely while retaining some moisture between waterings.
- A practical starting recipe is two parts indoor potting mix, one part perlite or pumice, and one part coco coir or peat moss.
- Adjust the mixture to suit the ingredients already present in your commercial potting mix and your home’s conditions.
- Avoid compacted garden soil, permanently wet containers, and pots without drainage holes.
- Spider plants have thick, fleshy roots and can tolerate slight root crowding, but severely root-bound plants may need repotting.
- Repot into a container only slightly larger than the existing root ball.
- Brown leaf tips may result from moisture stress, fertilizer salts, water quality, or other environmental factors.
- Always check soil moisture before watering instead of following a fixed schedule.
What Is the Best Soil for Spider Plants?
The best soil for spider plants is a general-purpose indoor potting mix or soilless container medium that provides drainage, root aeration, and moderate moisture retention.
Spider plants do not normally require an extremely coarse orchid mix or a very dry cactus blend. They generally perform well in a balanced houseplant medium that allows excess water to escape while keeping enough moisture available to the roots.
Quick answer: Start with a fresh indoor potting mix containing materials such as peat or coco coir and perlite. If it is dense or holds too much water, improve its structure with additional perlite or pumice. Always use a pot with drainage holes.
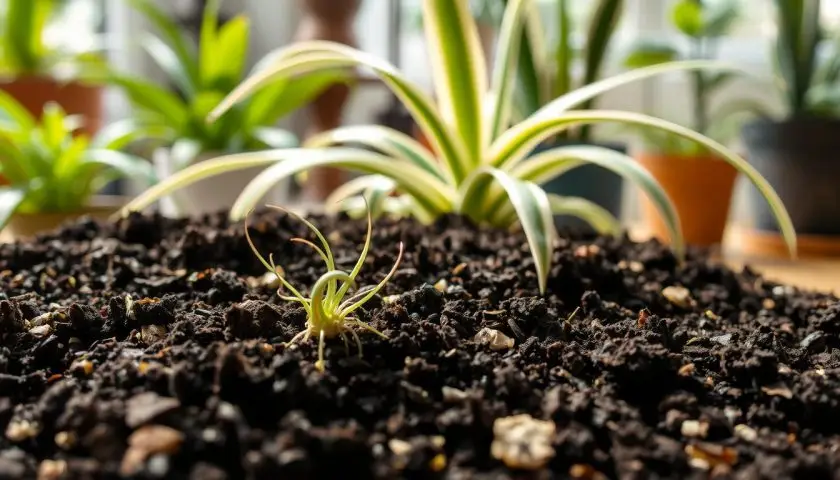
Spider Plant Soil Requirements at a Glance
| Soil Feature | Recommended Condition | Avoid |
|---|---|---|
| Texture | Loose, airy, and relatively lightweight | Dense, compacted soil |
| Drainage | Excess water escapes readily | Water collecting around roots |
| Moisture retention | Holds some moisture without staying saturated | Constantly soggy or extremely fast-drying mixes |
| Base material | Quality indoor potting mix or soilless medium | Unamended heavy garden soil |
| Aeration materials | Perlite, pumice, or appropriately sized bark | Excessive fine sand that increases density |
| Pot | Drainage holes and appropriate size | Oversized containers without drainage |
| Fertilizer | Moderate feeding when needed | Heavy or frequent fertilization |
Why Spider Plant Soil Matters for Healthy Growth
Spider plants develop thick, fleshy roots that can store water. This characteristic helps established plants tolerate occasional delays between watering, but it does not mean their roots should remain saturated.
Healthy roots need moisture and oxygen. In compacted or waterlogged soil, water occupies many of the spaces that would otherwise contain air.
When oxygen availability becomes limited, root function can decline. Prolonged unfavorable conditions can contribute to root damage and make the plant more vulnerable to decay.
How Soil Structure Supports the Roots
A suitable growing medium contains a mixture of particles and pore spaces. Some pores hold water, while others allow air to move through the root zone.
Very dense soil may remain wet for too long. At the opposite extreme, a highly coarse mixture may dry too rapidly, especially in terracotta pots or warm rooms.
The goal is to create a balance suitable for your plant and growing environment.
Signs Your Current Soil May Be Unsuitable
- Water remains pooled on the soil surface for an unusually long time.
- The growing medium stays saturated for extended periods.
- The soil is hard, compacted, or difficult to rewet.
- The potting mix smells persistently sour or swampy.
- Leaves yellow while the soil remains wet.
- Roots are pushing the plant upward or tightly circling the container.
- Water runs around a dry root ball without moistening it properly.
These signs warrant investigation, but no single symptom proves that the potting mix is responsible. Light, temperature, fertilizer, and watering habits can also affect plant health.
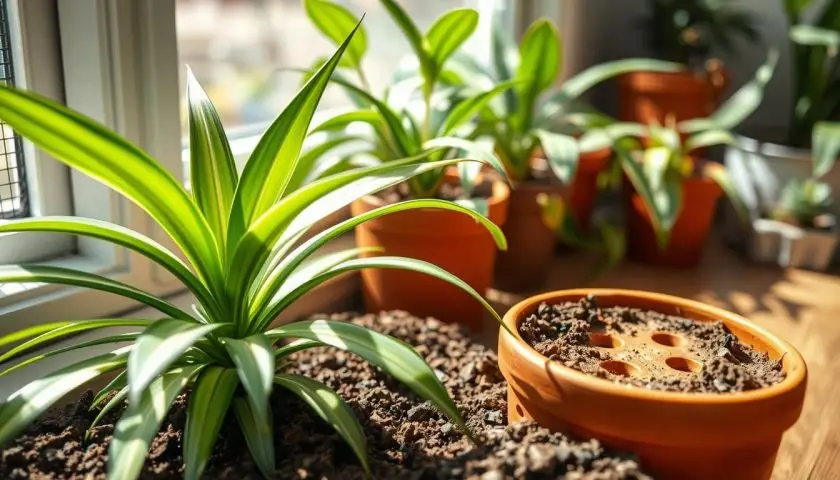
9 Best Spider Plant Soil and Repotting Tips
Tip 1: Choose a Light, Well-Draining Indoor Potting Mix
The simplest way to prepare spider plant soil is to begin with a quality indoor potting mix.
A general-purpose container medium is often suitable because spider plants do not usually require highly specialized soil.
Look for a mix containing materials that provide moisture retention and aeration, such as coco coir, peat, perlite, and appropriately sized bark.
What to Look for in a Ready-Made Mix
- A loose texture that does not form hard clumps.
- Ingredients designed for container growing.
- Reasonable drainage after watering.
- Enough moisture retention to prevent rapid wilting.
- No obvious contamination, unusual decomposition, or persistent waterlogging.
Many commercial mixes already contain perlite and moisture-retaining ingredients. Check the label before adding extra amendments.
Practical tip: If your houseplant mix already drains well, you may not need to amend it at all. The best formula depends on the starting medium rather than one fixed ratio.
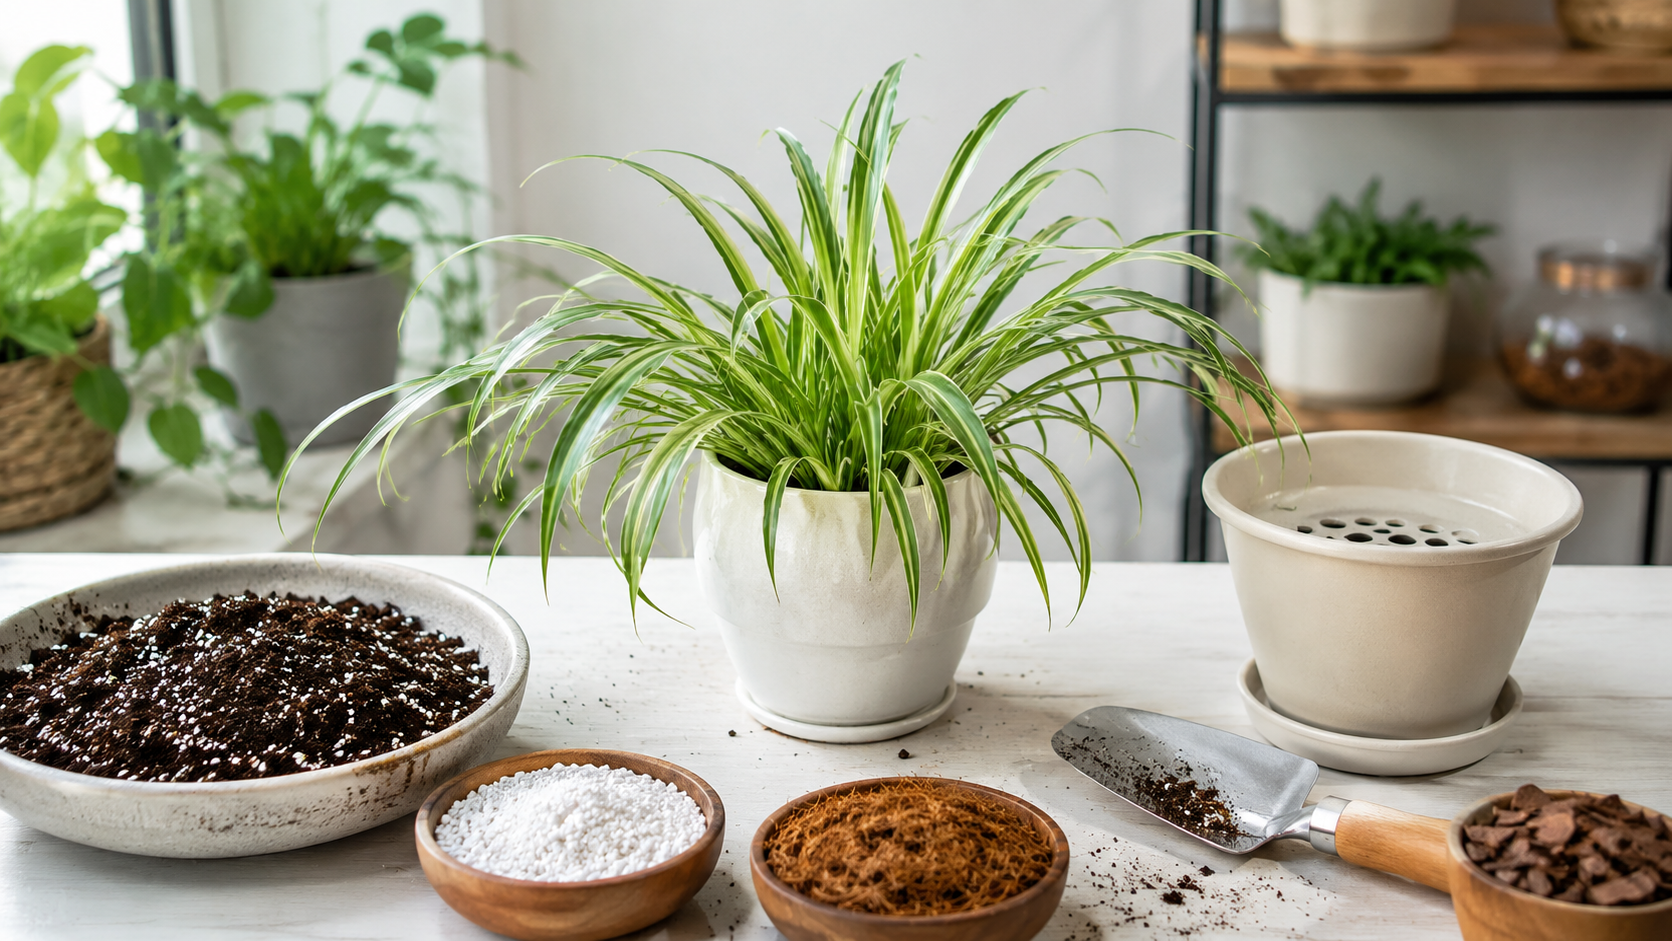
Tip 2: Prepare a Simple Homemade Spider Plant Soil Mix
A homemade spider plant soil mix allows you to adjust drainage and moisture retention according to the conditions in your home.
The following recipe is a useful starting point for many indoor growers.
Spider Plant Soil Mix Recipe
| Ingredient | Amount | Purpose |
|---|---|---|
| Indoor potting mix | 2 parts | Base medium that holds moisture and supports roots |
| Perlite or pumice | 1 part | Improves structure, drainage, and aeration |
| Coco coir or peat moss | 1 part | Provides additional moisture retention |
| Fine orchid bark | Optional small amount | Provides additional coarse structure |
| Worm castings or mature compost | Optional small amount | Can provide nutrients but is not essential |
Important: This is an adjustable recipe rather than a scientifically required formula. Commercial mixes already rich in peat or coir may not need the full extra portion of moisture-retaining material.
How to Prepare the Mix
- Pour two parts indoor potting mix into a clean container or mixing tray.
- Break apart compacted clumps.
- Add one part perlite or pumice and combine thoroughly.
- Add coco coir or peat moss only as needed for moisture retention.
- Include a small amount of fine bark if more coarse structure is useful.
- Lightly moisten the mixture if it is excessively dry or dusty.
- Check that the resulting texture remains loose rather than sticky or muddy.
What Should the Finished Soil Feel Like?
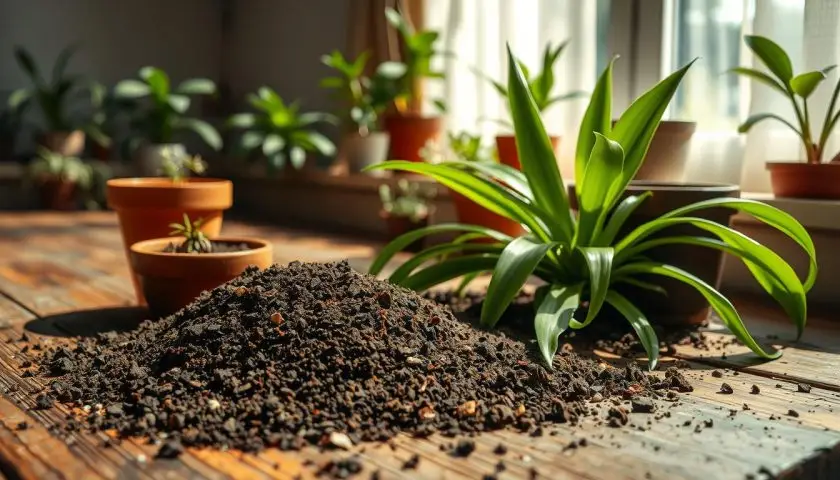
A suitable spider plant soil mixture should feel loose, lightly springy, and easy to break apart.
It should not form a dense muddy mass when moist. Water should move through the mix while leaving enough moisture available for the roots.
Tip 3: Adjust the Mix for Your Home’s Conditions
Spider plant soil does not behave identically in every home. Room temperature, humidity, light, pot material, and airflow affect how quickly a growing medium dries.
For Homes Where Soil Stays Wet Too Long
If the potting mix drains poorly or remains wet for extended periods, consider improving its structure with perlite, pumice, or suitable bark.
Also inspect the container’s drainage holes, pot size, and watering frequency.
Adding more drainage material will not compensate for a sealed pot filled with standing water.
For Warm or Dry Rooms
In a warm room with strong indirect light, a container may dry faster.
A balanced indoor potting mix with suitable moisture-retaining ingredients may help prevent unnecessary drought stress.
However, avoid automatically adding extra peat or coir when the existing mix already holds substantial moisture.
For Terracotta Pots
Unglazed terracotta allows moisture to evaporate through its walls, so the mix may dry faster than in many plastic or glazed containers.
Check moisture more frequently after switching pot materials.
For Plastic or Glazed Pots
These containers generally lose less water through their walls. Soil may remain moist longer, especially in cooler or lower-light environments.
Adjust watering based on the actual condition of the mix rather than the material alone.
Tip 4: Understand Which Potting Ingredients Help or Hurt
Different ingredients influence spider plant soil structure, drainage, and water retention.
Indoor Potting Mix
A commercial indoor potting medium is a convenient base for most spider plants. It usually combines moisture-retaining ingredients with materials that create pore spaces for roots.
Perlite
Perlite is a lightweight mineral amendment commonly used to increase aeration and improve the physical structure of potting mixes.
It works well when the starting mix is too dense.
Pumice
Pumice is a porous mineral material that adds structure and air spaces. It is generally heavier than perlite and may be helpful for containers requiring more weight.
Coco Coir
Coco coir retains moisture and is used in many soilless growing media. Its suitability depends on the quality and processing of the product and the other ingredients in the mixture.
Peat Moss
Peat moss retains moisture but can become difficult to rewet after drying excessively.
If using peat-based products, evaluate how quickly the finished mixture dries rather than assuming the plant needs additional peat.
Fine Orchid Bark
Appropriately sized bark particles can improve the coarse structure of a potting medium.
However, spider plants generally do not require the extremely chunky blends often prepared for certain epiphytic orchids.
Compost and Worm Castings
Small quantities may provide nutrients, but a compost-heavy mixture may retain excess water and can contribute to indoor growing problems when poorly managed.
Tip 5: Avoid Soil and Container Mistakes That Damage Roots
Even a healthy spider plant can struggle in the wrong container or an unsuitable growing medium.
Avoid Heavy Garden Soil
Unamended garden soil is usually unsuitable for indoor containers because it may compact and drain poorly.
It can also introduce pests or soilborne organisms into the home.
Avoid Permanently Wet Containers
Do not leave the growing pot sitting in accumulated water. Even a well-aerated soil mixture can remain excessively wet when drainage is blocked.
Avoid Excessive Fine Sand
Fine sand does not automatically improve drainage. In some combinations, it can increase the density of a growing medium.
Perlite or pumice is often a more practical amendment for typical indoor potting mixes.
Do Not Use a Gravel Layer as a Substitute for Drainage
A layer of gravel at the bottom of a pot does not replace functioning drainage holes or an appropriate potting medium.
Focus on the structure of the entire root zone and use a container that allows excess water to escape.
Avoid Excessive Fertilizer
Spider plants do not require heavy feeding. Too much fertilizer can contribute to soluble salt accumulation and leaf-tip damage.
Read our indoor versus outdoor plant fertilizing guide for more information.
Tip 6: Choose the Right Pot Size and Material
The container plays a major role in how spider plant soil retains and releases moisture.
Choose a pot with functioning drainage holes and enough space for the roots to grow without surrounding them with an unnecessarily large volume of wet soil.
How Much Bigger Should the New Pot Be?
When repotting a root-bound spider plant, select a container only slightly larger than its current root ball.
For many household plants, moving up one conventional pot size is a practical approach.
For example, a plant growing in a 6-inch pot may fit comfortably into an approximately 7- or 8-inch container, depending on the size of its root system.
Plastic vs. Terracotta vs. Glazed Ceramic
| Pot Material | Typical Behavior | Useful Consideration |
|---|---|---|
| Plastic | Retains moisture longer than porous terracotta | Useful in dry homes; monitor wetness |
| Unglazed terracotta | Allows moisture to evaporate through pot walls | May need more frequent checks |
| Glazed ceramic | Usually limits evaporation through the pot walls | Ensure functional drainage |
| Decorative cachepot | May collect water around a nursery pot | Empty standing water after watering |
Regardless of the material, drainage and appropriate watering are more important than choosing one particular pot style.
Tip 7: Repot When the Roots Outgrow Their Container
Spider plants often tolerate being somewhat pot-bound, but heavily crowded roots can interfere with watering and growth.
Repotting is appropriate when the container no longer provides enough room or the growing medium has deteriorated.
Signs Your Spider Plant Needs Repotting
- Thick roots circle tightly around the root ball.
- Roots emerge extensively from drainage holes.
- The plant repeatedly dries out very quickly after watering.
- Water struggles to enter the old compacted medium.
- The root mass pushes the plant upward or distorts the container.
- Growth declines despite suitable light and care.
- The existing soil is badly compacted or unsuitable.
Best Time to Repot Spider Plants
Spring and early summer are often convenient times to repot because many spider plants are actively growing.
However, repotting may be necessary at other times if the roots are severely crowded or the plant is struggling in damaged growing medium.
When Not to Repot
Do not repot solely because one leaf develops a brown tip.
First evaluate watering habits, fertilizer use, water quality, root crowding, and environmental conditions.
Avoid unnecessary root disturbance when the plant is otherwise healthy.
For further guidance, see how to repot a plant and repotting mistakes to avoid.
Tip 8: Repot Your Spider Plant Without Damaging Healthy Roots
Spider plants have thick, fleshy roots that require careful handling during repotting.
The goal is to improve the growing conditions without unnecessarily removing functional roots.
Step-by-Step Spider Plant Repotting Guide
- Gather supplies: Prepare fresh spider plant soil, a slightly larger draining pot, clean cutting tools, and a work tray.
- Check the old root ball: If it is extremely dry, lightly moistening it beforehand may make handling easier.
- Remove the plant: Support the base and gently slide the plant from its old container. Avoid pulling sharply on the leaves.
- Inspect roots: Look for firmness and structural health. Some healthy roots are naturally cream, tan, or darker.
- Remove clearly decayed tissue if necessary: Trim roots that are soft, disintegrating, or structurally damaged. Do not remove every brown root.
- Loosen crowded outer roots: Separate tightly circling roots gently, preserving as much healthy tissue as possible.
- Add fresh mix: Place enough soil in the new container to maintain the original planting depth.
- Backfill: Fill around the root ball and settle the mix gently without packing it firmly.
- Water appropriately: Water thoroughly when suitable for the plant’s condition, and let excess water drain completely.
- Allow recovery: Keep the plant in suitable bright indirect light and avoid unnecessary disturbance.
Do not bury the crown deeper than its previous healthy position.
If significant root damage is present, watering immediately after repotting should be adapted to the root condition and moisture already present in the fresh medium.
Read our dedicated spider plant transplanting guide for additional details.
Tip 9: Water and Maintain the New Soil Correctly
Fresh spider plant soil may behave differently from an old, compacted mixture. Watering should be adjusted according to the new medium and the growing environment.
How Often Should You Water After Repotting?
There is no fixed watering interval suitable for every newly repotted spider plant.
Check moisture below the surface. Water when the root zone has dried sufficiently for the plant’s needs, and allow excess water to drain.
A spider plant in bright, warm conditions may need water sooner than one growing in a cool, dim room.
| Situation | Recommended Approach | Avoid |
|---|---|---|
| Immediately after routine repotting | Settle and moisten the medium appropriately, then drain | Leaving standing water |
| First week | Check root-zone moisture before watering again | Daily watering without checking |
| Warm, bright room | Monitor for faster drying | Ignoring dry growing conditions |
| Cool, lower-light room | Allow more time between waterings as needed | Keeping soil constantly saturated |
| Unglazed terracotta | Check for faster evaporation | Assuming all pots dry equally |
Water Thoroughly Rather Than Splashing the Surface
When watering is needed, apply enough water to moisten the root zone, then allow excess to leave through the drainage holes.
Repeatedly wetting only the surface may leave deeper roots insufficiently watered.
Adjust for Seasonal Changes
Spider plants often use water more slowly when light and temperature decrease.
Monitor soil moisture rather than watering automatically on the same day every week.
Visit our complete houseplant watering guide and overwatering warning signs guide for further advice.
Spider Plant Soil pH and Fertilizer Requirements
Spider plants generally grow well in standard houseplant potting media with a mildly acidic to approximately neutral reaction.
For most indoor gardeners, consistent drainage, suitable watering, and adequate light matter more than attempting to adjust soil pH precisely.
Should You Test Spider Plant Soil pH?
Routine pH testing is usually unnecessary when a healthy plant is growing in a suitable commercial potting mix.
Consider investigating pH or soluble salts when persistent problems remain after checking moisture, drainage, lighting, fertilizer use, and root condition.
How Often Should You Fertilize a Spider Plant?
Spider plants are not heavy feeders. A balanced houseplant fertilizer may be useful during active growth when nutrients are needed.
Follow the product’s label rather than applying fertilizer at full strength by default.
Some growers use diluted fertilizer, but the appropriate amount depends on the formulation and the nutrients already present in the growing medium.
Why Do Fertilizer Salts Matter?
Soluble salts can accumulate when fertilizer is applied excessively or when irrigation water contributes substantial dissolved minerals.
Visible white crust around the soil surface or pot rim may indicate mineral accumulation, although the plant’s symptoms should also be evaluated.
Where appropriate, leaching a freely draining pot with suitable water can help reduce soluble salt buildup. Avoid this procedure when the growing medium is already saturated or drainage is poor.
How to Repot Spider Plant Babies
Spider plants commonly produce small plantlets, sometimes called spiderettes or babies, on long flowering stems.
These young plants can be established in small containers using a suitably light spider plant soil mix.
Best Soil for Spider Plant Plantlets
Use a loose, well-draining potting medium with enough moisture retention to support newly developing roots.
Very coarse materials may provide poor contact with tiny roots, so a relatively fine but well-aerated mix is often helpful.
How to Pot Spider Plant Babies
- Select a healthy plantlet, preferably with visible root initials or small roots.
- Prepare a small container with drainage holes.
- Add lightly moistened, well-draining soil.
- Position the plantlet so its roots contact the medium.
- Keep the crown above the soil surface.
- Provide bright indirect light and suitable moisture.
- Monitor new growth to assess establishment.
Should You Separate Plantlets From the Parent First?
Spider plant babies can often be rooted in a small pot while still connected to the parent plant.
Once roots establish, the connecting runner can be cut. Alternatively, suitably developed plantlets may be separated and rooted independently.
For more information, explore our spider plant care guide and houseplant propagation guide.
Common Spider Plant Soil Problems and Solutions
Spider plant soil issues may affect leaves, roots, and overall growth. Use this troubleshooting table to identify possible causes.
| Problem | Possible Causes | What to Check First |
|---|---|---|
| Yellowing leaves | Watering problems, root stress, insufficient light | Soil moisture and drainage |
| Brown leaf tips | Water stress, salts, fertilizer, dry air, water quality | Recent watering and fertilizer history |
| Wilting in wet soil | Low root oxygen or root damage | Root firmness and drainage |
| Fungus gnats | Moist organic growing medium | Watering frequency and soil surface |
| Water running around the root ball | Extremely dry mix or tightly crowded roots | Soil wetting and root density |
| Slow growth | Insufficient light, crowding, seasonal slowdown, nutrition | Growth conditions and root space |
| Persistent sour odor | Decomposition or waterlogged medium | Drainage, moisture, and root condition |
Why Are My Spider Plant Leaves Turning Yellow?
Yellowing leaves can result from overwatering, underwatering, poor drainage, lower light, or normal aging.
When several leaves become yellow while the soil stays wet, inspect the root zone and drainage.
For detailed diagnosis, see our yellow leaves on plants guide.
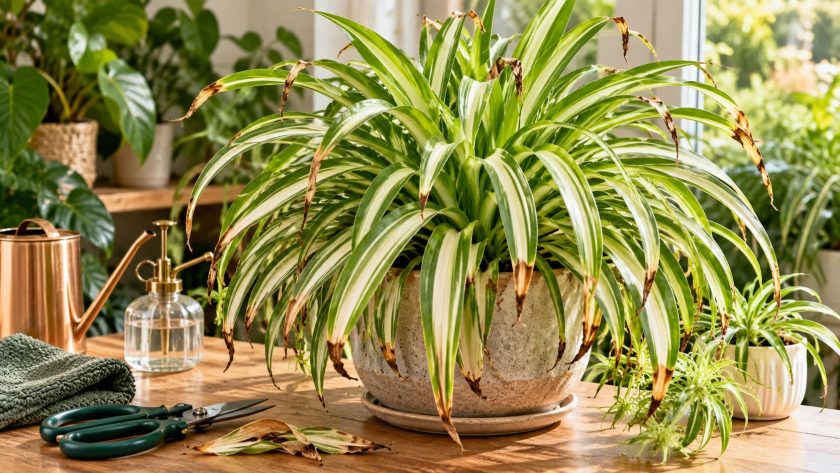
Why Does My Spider Plant Have Brown Tips?
Brown tips are a common concern and do not always indicate a soil problem.
Possible causes include inconsistent watering, fertilizer salts, certain dissolved minerals in water, dry indoor conditions, or root stress.
University of Wisconsin–Madison Extension notes that fluoride sensitivity and soluble salt buildup can contribute to spider plant leaf-tip problems.
Check the growing medium, fertilizer habits, and water source before changing everything at once.
Practical tip: If mineral buildup is suspected, reducing unnecessary fertilizer and evaluating the irrigation water may be more helpful than repeatedly repotting a healthy plant.
What If My Spider Plant Wilts in Wet Soil?
Wilting in saturated soil may indicate that damaged or oxygen-stressed roots cannot supply enough water to the foliage.
Avoid adding more water automatically. Inspect drainage, moisture, and root condition.
Read our root rot identification and treatment guide for additional advice.
Why Is My Spider Plant Soil Smelling Sour?
An unusual sour smell may develop when organic materials decompose in persistently wet conditions.
However, odor alone does not confirm root rot.
Check whether the roots are firm or collapsing, whether the plant is declining, and whether water drains properly.
If the growing medium is extensively degraded or roots are clearly rotting, repotting into fresh suitable soil may be necessary.
How to Refresh Spider Plant Soil Without Repotting
A full repot is not always necessary when only the surface of the potting mix has become crusty or worn.
If the root system remains healthy, drainage works properly, and the lower soil is in good condition, a limited top-layer refresh may be sufficient.
When a Soil Refresh May Help
- The plant remains healthy and actively growing.
- Only the top layer appears compacted or crusty.
- The pot still drains properly.
- Roots are not severely crowded.
- There are no strong signs of root decay.
How to Refresh the Top Layer
- Gently remove a thin layer of old surface mix without damaging roots.
- Inspect the removed material for unusual compaction or crusting.
- Add a small amount of fresh, compatible potting medium.
- Avoid piling soil around the plant’s crown.
- Resume normal moisture monitoring.
If the entire root ball is tightly packed, the growing medium remains persistently saturated, or roots are decaying, a more complete inspection and repotting may be necessary.
Spider Plant Soil Care Checklist
Use this simple checklist to maintain appropriate soil conditions throughout the year.
| Task | When to Check | What to Look For |
|---|---|---|
| Check moisture | Before watering | Appropriate drying of the root zone |
| Inspect drainage | Regularly | Blocked holes or trapped runoff |
| Examine leaf tips | Weekly | New browning or mineral stress |
| Review fertilizer use | During active growth | Salt buildup or excessive feeding |
| Check root crowding | When growth or watering changes | Circling roots and rapid drying |
| Inspect soil structure | When drainage or wetting changes | Compaction or extreme dryness |
| Repot | When needed | Root crowding or unsuitable growing medium |
Common Spider Plant Soil Mistakes to Avoid
Using Heavy Garden Soil Indoors
Garden soil can compact and drain poorly inside containers. A suitable commercial container mix is generally a better starting point.
Planting in a Pot Without Drainage Holes
Water trapped at the bottom of a sealed container can keep roots saturated.
Choose a draining inner pot even when using a decorative outer container.
Moving a Small Spider Plant Into an Oversized Pot
An excessively large container may hold more wet growing medium than the roots can use efficiently.
Increase container size gradually.
Using Too Many Soil Amendments
More ingredients do not automatically create a better mixture.
A quality indoor potting mix may already have appropriate drainage and aeration.
Pressing Soil Too Firmly Around the Roots
Excessive compaction reduces air spaces. Settle the medium gently rather than compressing it tightly.
Applying Excess Fertilizer Immediately After Repotting
Fresh potting media may already contain fertilizer. Additional feeding may be unnecessary while the plant adjusts.
Watering on a Rigid Calendar
Spider plant soil dries at different rates depending on light, temperature, pot size, and season.
Always check the root-zone moisture before watering.
Frequently Asked Questions About Spider Plant Soil
1. What is the best soil for spider plants?
The best soil for spider plants is a loose, well-draining indoor potting mix that retains moderate moisture. A quality general-purpose houseplant mix often works well, especially when it contains suitable aeration materials.
2. Can I use regular garden soil for a spider plant?
Unamended garden soil is generally unsuitable for indoor pots because it can become compacted, drain poorly, and introduce pests or disease organisms. Use a growing medium formulated for containers instead.
3. What is a good spider plant soil mix recipe?
A useful starting recipe is two parts indoor potting mix, one part perlite or pumice, and up to one part coco coir or peat moss as needed. Adjust the ingredients according to the existing mix and your growing conditions.
4. Do spider plants need cactus soil?
Not usually. Spider plants generally prefer a balance of drainage and moisture retention. Some cactus mixes may dry too quickly, although they can sometimes be blended with regular indoor potting medium.
5. Should spider plant soil stay moist or dry?
Water thoroughly when needed, then allow the growing medium to dry somewhat before watering again. Avoid permanently saturated conditions and excessively prolonged drought.
6. What pot size is best when repotting a spider plant?
Choose a container slightly larger than the existing root ball, often one conventional pot size larger. Avoid moving a small plant directly into a very large pot.
7. How do I know when my spider plant needs repotting?
Signs include severely circling roots, roots pushing out of drainage openings, unusually rapid drying, poor water absorption, or declining growth caused by limited root space.
8. Why does my spider plant have brown tips?
Brown tips may result from watering stress, fertilizer salts, water-quality issues, dry indoor air, or damaged roots. Review the soil, irrigation water, and feeding routine before assuming repotting is necessary.
9. Can spider plant babies grow in the same soil mix?
Yes. Spider plant babies can establish in a similar well-draining mix, although a slightly finer texture may improve contact with small developing roots. Use small containers with drainage holes.
10. Should I fertilize immediately after repotting a spider plant?
Heavy feeding immediately after repotting is usually unnecessary. Check whether the new potting mix contains fertilizer, allow the plant to establish, and resume suitable feeding during active growth when needed.
Conclusion: Choose the Right Spider Plant Soil for Healthy Roots
The best spider plant soil does not need to be expensive or complicated. A loose, well-draining indoor potting mix with appropriate moisture retention provides a reliable foundation for healthy growth.
For many homes, a general-purpose potting medium amended with perlite or pumice works well. Additional coco coir, peat, or fine bark can be used when the existing mix needs adjustment.
Choose a pot with drainage holes, avoid excessive container size, and repot only when roots become crowded or the growing medium deteriorates. After repotting, monitor moisture rather than returning automatically to an old watering schedule.
Watch for yellowing leaves, brown tips, unusual odors, and drainage problems, but consider more than one possible cause before taking corrective action.
For additional expert guidance, consult the University of Wisconsin–Madison Extension guide to Spider Plant (Chlorophytum comosum), which discusses potting media, watering, and common growing problems.
With the right spider plant soil and consistent care, your plant can develop healthy roots, attractive foliage, and vigorous new plantlets for years to come.