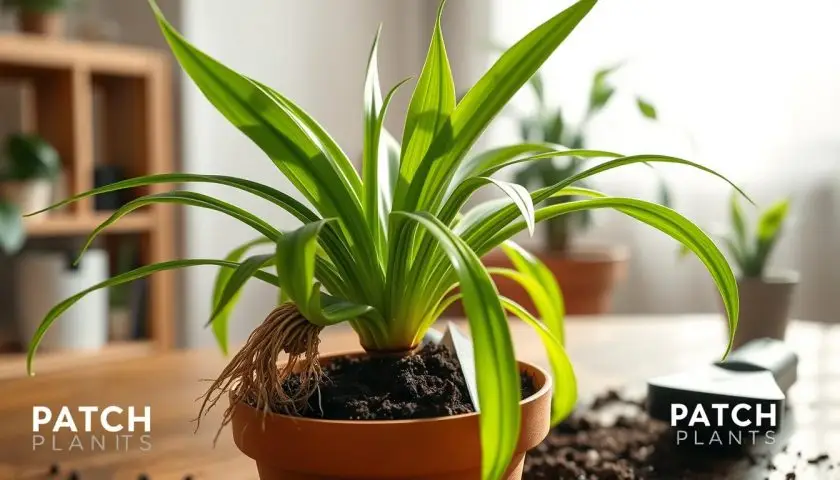
Learning how to transplant a spider plant is useful because spider plants grow fast, produce thick roots, and can eventually outgrow their pots. A healthy spider plant may look fine above the soil while the roots underneath are crowded, circling, or pushing against the container.
The good news is that spider plants are forgiving. If you use the right pot size, fresh draining soil, gentle root handling, and simple aftercare, you can move the plant without serious shock. This spider plant transplanting guide walks through the full process step by step.
Before You Start
The safest way to transplant a spider plant is to move it into a pot only one size larger, use a fresh well-draining indoor mix, keep the plant crown at the same soil level, water after repotting, and avoid fertilizer for a few weeks. A little drooping after the move can happen, but strong light, careful watering, and stable conditions usually help it recover quickly.
Key Takeaways
- How to transplant a spider plant safely starts with choosing the right timing and pot size.
- Spring or early summer is usually the best time to transplant.
- Spider plants grow thick tuberous roots, so handle the root ball gently.
- Use a pot with drainage holes and avoid moving into a much larger pot.
- Keep the crown above the soil to prevent rot.
- Do not fertilize immediately after repotting because disturbed roots need time to settle.
- For related help, use the full Spider Plant care guide, how to repot a plant, and repotting mistakes to avoid.
When Does a Spider Plant Need Transplanting?
A spider plant does not need a new pot every time it looks full. In fact, spider plants often grow well when slightly pot-bound. The problem starts when the roots become too crowded, water runs straight through, soil breaks down, or the plant begins to struggle.
A root-bound spider plant may still produce leaves and babies, but it may dry too quickly, push itself upward, or stop growing as well as before. If the pot is packed with roots and very little usable soil, transplanting helps refresh the plant.
Signs your spider plant needs a new pot
- Roots are circling tightly around the bottom of the pot.
- Roots are growing out of drainage holes.
- The plant dries out very quickly after watering.
- The pot looks distorted or cracked from root pressure.
- Water runs through without soaking the soil.
- The plant is top-heavy and tips over easily.
- Growth has slowed during spring or summer.
- Soil looks compacted, sour, or old.
When not to transplant
- Do not transplant just because one old leaf is yellow.
- Do not transplant a very stressed plant unless roots or soil are the problem.
- Do not repot during cold winter conditions unless the plant is rotting.
- Do not move a small plant into a huge pot.
For symptom help, read yellow leaves on plants, leaf curl, browning and droop, and how to revive a dying plant.
Best Time to Transplant a Spider Plant
The best time for spider plant transplanting is spring or early summer. The plant is moving into active growth, light is stronger, and roots can recover faster.
| Timing | Is It Good? | Care Note |
|---|---|---|
| Spring | Best | Fastest recovery and new root growth |
| Early summer | Good | Works well if the plant is not heat-stressed |
| Autumn | Possible | Repot only if needed, then water carefully |
| Winter | Not ideal | Only repot for root rot, broken pots, or severe crowding |
Tools and Materials You Need
Prepare everything before you remove the plant from its old pot. This keeps the move quick and reduces stress on the roots.
Basic transplanting supplies
- A new pot with drainage holes.
- Fresh indoor potting mix.
- Perlite, pumice, or coarse material for drainage.
- Clean scissors or pruning shears.
- Small trowel or scoop.
- Watering can with room-temperature water.
- Gloves if you prefer cleaner handling.
- A clean table, tray, or newspaper for mess control.
Best pot size
Choose a pot only one size larger than the current one. Usually, this means 1 to 2 inches wider in diameter. A much larger pot holds too much wet soil around the roots and can increase the risk of root rot.
Best pot material
| Pot Type | Best For | Watch Out For |
|---|---|---|
| Plastic nursery pot | Easy drainage and lightweight handling | Can tip if plant is large |
| Terracotta pot | Faster drying and airflow | May dry too quickly in hot rooms |
| Ceramic pot with drainage | Stable and decorative | Can hold moisture longer |
| Decorative cover pot | Clean indoor styling | Inner pot must drain fully |
Best Soil for Transplanting Spider Plants
Spider plant soil requirements are simple. Use a light indoor potting mix that holds some moisture but drains well. Spider plants have thick roots that store water, so they do not want heavy, muddy soil.
Simple spider plant soil mix
- 2 parts general indoor potting mix.
- 1 part perlite or pumice.
- A small amount of fine bark or coco coir if the mix needs better structure.
What to avoid
- Dense garden soil indoors.
- Soil that stays wet for many days.
- Pots with no drainage holes.
- Very sandy mixes that dry too quickly.
- Old compacted potting mix that smells sour.
For more soil support, read best soil mix for every plant type, how to repot a plant, and self-watering pots guide.
Understanding Spider Plant Roots
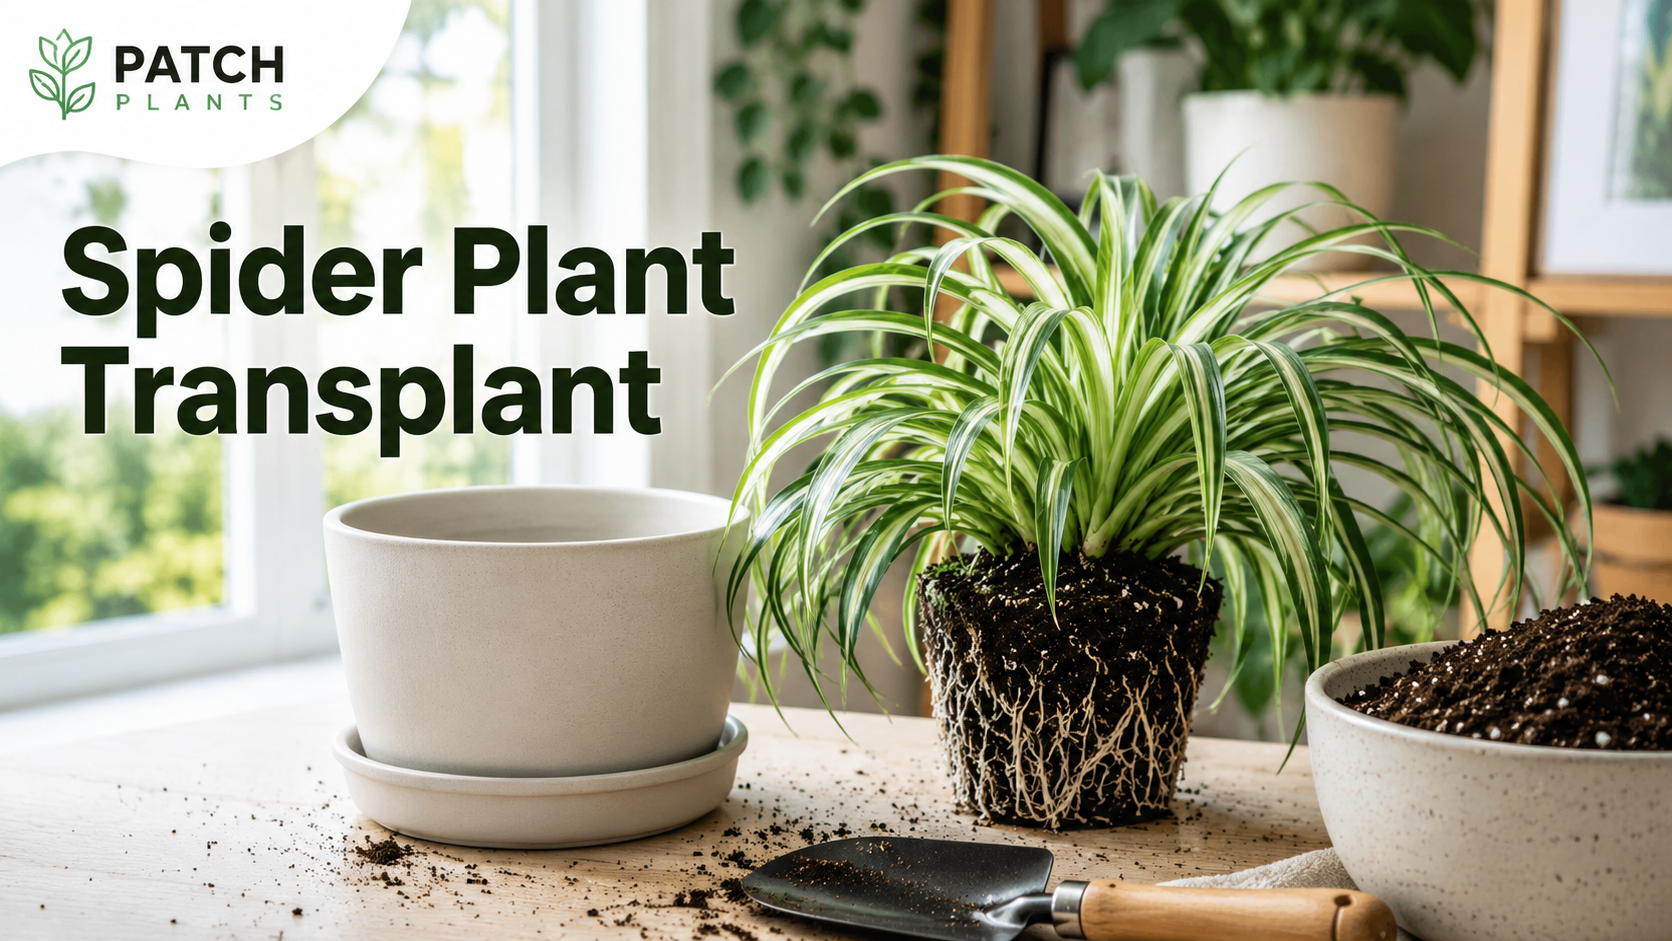
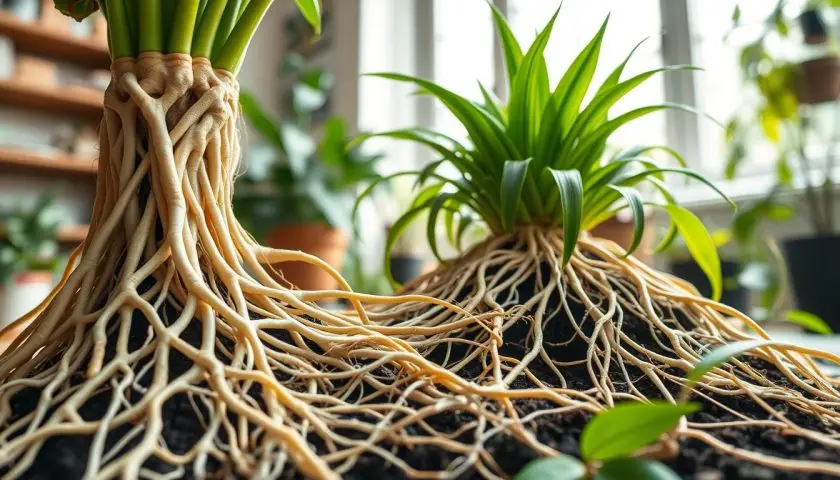
Spider plants have thick, fleshy, tuberous roots. These roots store water and help the plant survive occasional missed watering. They can also grow so strongly that they fill the pot, push soil upward, or make the plant difficult to remove.
Healthy spider plant roots
- Firm and thick.
- White, cream, tan, or light brown.
- Fleshy rather than thin and fragile.
- May circle the pot if crowded.
Unhealthy spider plant roots
- Soft or mushy.
- Black or dark brown with a bad smell.
- Dry, hollow, or dead.
- Surrounded by sour, wet soil.
Why gentle handling matters
Those thick roots can handle normal repotting, but rough pulling can break healthy roots and cause transplant shock. Loosen the root ball gently instead of tearing it apart unless you are dividing the plant.
How to Transplant a Spider Plant Step by Step
This step-by-step spider plant transplant method works for most indoor spider plants, including variegated types and plants with babies.
Step 1: Water lightly before transplanting
If the plant is very dry, water it lightly the day before. Slightly moist soil helps the root ball slide out. Do not transplant when the soil is soaking wet because wet roots are easier to damage and compact.
Step 2: Prepare the new pot
Add a small layer of fresh mix to the bottom of the new pot. The goal is to place the plant at the same height it was growing before.
Step 3: Remove the spider plant gently
Hold the plant near the base, turn the pot sideways, and squeeze or tap the pot if needed. Avoid pulling hard on the leaves. If the pot is plastic and the roots are stuck, gently flex the pot to loosen the root ball.
Step 4: Inspect the roots
Look for circling roots, rotten roots, dry dead roots, and compacted old soil. Healthy thick roots do not need heavy pruning. Remove only dead, mushy, or rotten sections with clean scissors.
Step 5: Loosen the root ball only if needed
If the roots are tightly circling, gently tease the outer roots loose. Do not rip the root mass apart. Spider plants recover well, but less damage means less shock.
Step 6: Divide the plant if it is overcrowded
If the plant is very large, you can divide it into smaller clumps. Each section should have healthy roots and enough leaves to keep growing. Division is optional, not required every time you repot.
Step 7: Set the plant in the new pot
Place the plant in the center of the new pot. Keep the crown just above the soil surface. Do not bury the central growing point because this can lead to rot.
Step 8: Add fresh soil around the roots
Backfill around the root ball with fresh potting mix. Press lightly to remove big air pockets, but do not pack the soil hard. Roots need airflow as well as moisture.
Step 9: Water and drain
Water thoroughly until water drains from the bottom. Let the pot drain fully, then empty the saucer or outer pot. Put the plant in bright indirect light while it settles.
How to Prevent Transplant Shock in Spider Plants
Transplant shock spider plant symptoms usually come from root disturbance, wrong pot size, poor watering, direct sun after repotting, or too much fertilizer too soon. Prevention is easier than rescue.
| Shock Prevention Step | Why It Helps | What to Avoid |
|---|---|---|
| Use a pot only one size larger | Prevents wet excess soil | Huge decorative pots |
| Keep roots slightly moist | Reduces dryness stress | Transplanting bone-dry roots |
| Handle roots gently | Protects water uptake | Ripping roots apart |
| Keep crown above soil | Prevents crown rot | Burying the center of the plant |
| Use bright indirect light | Supports recovery without scorch | Direct hot sun after repotting |
| Wait before fertilizing | Avoids burning disturbed roots | Feeding immediately after repotting |
Spider Plant Care After Transplanting
Spider plant transplantation care matters just as much as the repotting process. The plant may pause for a short time while roots adjust to the new soil. This is normal.
First week after transplanting
- Keep the plant in bright indirect light.
- Avoid harsh direct sun.
- Do not fertilize.
- Check soil moisture before watering again.
- Watch for severe wilting, yellow leaves, or mushy roots.
First month after transplanting
- Resume normal watering only after the soil begins drying properly.
- Remove fully yellow or dead leaves with clean tools.
- Do not keep moving the plant around.
- Wait until new growth appears before feeding lightly.
- Keep the pot draining well.
When to fertilize again
Wait about 4 to 6 weeks before fertilizing, or wait until you see fresh growth. Fertilizer right after repotting can stress disturbed roots.
For general aftercare, read Spider Plant care guide, complete watering guide, and fertilizing indoor vs outdoor plants.
Watering After Moving Spider Plants to a New Pot
Moving spider plants to a new pot changes how quickly the soil dries. Fresh soil may hold water differently from the old mix. A larger pot also dries more slowly, so do not water again too soon.
Simple watering routine after repotting
- Water once after transplanting.
- Let excess water drain fully.
- Wait until the top layer of soil begins to dry.
- Check deeper moisture before watering again.
- Water less often in low light or winter.
Overwatering signs after transplanting
- Leaves turn yellow and soft.
- Soil stays wet for many days.
- Plant droops even though soil is wet.
- Fungus gnats appear.
- Roots smell sour or look mushy.
Underwatering signs after transplanting
- Leaves look limp and dry.
- Leaf tips crisp quickly.
- Soil pulls away from the pot edge.
- The plant perks up after deep watering.
For watering mistakes, use signs you are overwatering, worst times to water plants, and yellow leaves on plants.
Can You Propagate a Spider Plant While Transplanting?
Yes. Spider plant propagation can be done during transplanting, especially if the plant has babies or is large enough to divide. This is a good time to tidy the plant and create new pots.
Propagating spider plant babies
Spider plant babies, also called plantlets, grow on long stems. If a plantlet already has small roots, you can cut it from the mother plant and pot it into moist, light potting mix.
- Choose a healthy plantlet with roots beginning to form.
- Cut it from the runner with clean scissors.
- Place it in a small pot with light potting mix.
- Keep the mix lightly moist, not soggy.
- Place in bright indirect light.
Dividing a large spider plant
Division is useful when the mother plant is very crowded. Separate the clump into sections, making sure each section has roots and leaves. Pot each division into its own container and treat it like a newly transplanted plant.
Should you remove all babies before transplanting?
You do not have to remove all babies. If the mother plant is weak, removing some plantlets can reduce stress. If the mother plant is healthy, you can leave them for a fuller hanging look.
For more propagation help, read how to propagate houseplants and Spider Plant care guide.
Common Mistakes When Transplanting a Spider Plant
| Mistake | What Happens | Better Choice |
|---|---|---|
| Using a pot with no drainage | Roots sit in water | Use drainage holes every time |
| Choosing a pot that is too large | Soil stays wet too long | Move up only one pot size |
| Burying the crown | Crown rot risk increases | Keep the growing point above soil |
| Pulling by the leaves | Leaves tear and roots break | Ease the root ball out gently |
| Fertilizing right away | Disturbed roots can burn | Wait until recovery or new growth |
| Placing in direct sun after repotting | Leaves scorch and wilt | Use bright indirect light |
Troubleshooting After Transplanting
A little stress after repotting is normal. The key is knowing which symptoms are mild and which need action.
Spider plant wilting after repotting
Wilting can happen from root disturbance, underwatering, overwatering, or bright hot sun. Check the soil first. If it is dry, water deeply and drain well. If it is wet, wait and check for root damage.
Yellow leaves after repotting
One or two older yellow leaves may be normal after a move. Many yellow leaves with wet soil can mean overwatering or root stress. Improve drainage and avoid watering again too soon.
Brown tips after transplanting
Brown tips can come from stress, dry air, inconsistent watering, fertilizer salts, or water quality. Trim only the dry tips if they bother you, and keep care steady.
Plant looks loose in the new pot
If the plant wobbles, gently firm the soil around the root ball. Do not pack it hard. If needed, use temporary support until roots settle.
Soil stays wet too long
The pot may be too large, the mix may be too heavy, or the plant may be in low light. Move to brighter indirect light and wait before watering again.
For deeper help, use root rot guide, how to revive a dying plant, and leaf curl, browning and droop.
Spider Plant Transplanting Checklist
| Step | Best Choice | Avoid |
|---|---|---|
| Timing | Spring or early summer | Cold winter repotting unless urgent |
| Pot size | Only one size larger | Oversized pots |
| Drainage | Pot with drainage holes | Closed decorative containers |
| Soil | Light indoor mix with perlite | Heavy garden soil |
| Root handling | Loosen gently | Ripping roots apart |
| Plant depth | Crown at same level | Burying the crown |
| Aftercare | Bright indirect light | Direct hot sun |
| Feeding | Wait 4 to 6 weeks | Fertilizing immediately |
Helpful PATCH Guides for Spider Plant Transplanting
Use these related PATCH guides to improve repotting, watering, soil, root health, propagation, and indoor plant recovery.
Spider Plant and Repotting Guides
- Spider Plant care guide
- How to repot a plant
- Repotting mistakes to avoid
- Best soil mix guide
- How to propagate houseplants
Watering and Root Health Guides
- Complete watering guide
- Worst times to water plants
- Signs you are overwatering
- Root rot guide
- Self-watering pots guide
Plant Problem Guides
- Yellow leaves on plants
- Why plant leaves turn yellow
- How to revive a dying plant
- Leaf curl, browning and droop
- How to clean plant leaves
- Pruning basics
Light, Humidity and Indoor Care Guides
- Complete guide to indoor light
- Low light house plants
- Office-friendly plants for artificial light
- Humidity hacks without a humidifier
- DIY humidity tray
- Misting for plants
Indoor Plant Guides
- Indoor Plants hub
- Best indoor plants for beginners
- Best indoor plants for first-time plant parents
- Low-maintenance plants that thrive
- Best indoor plants for tiny apartments
- Oversized indoor plants
- Air-purifying indoor plants
- Colorful foliage indoor plants
Specific Indoor Plant Guides
- Pothos care guide
- Snake Plant care guide
- ZZ Plant care guide
- Peace Lily care guide
- Monstera care guide
- Philodendron care guide
- Rubber Plant care guide
- Dracaena care guide
- Boston Fern care guide
- Orchid care guide
Frequently Asked Questions
When is the best time to transplant a spider plant?
The best time to transplant a spider plant is spring or early summer. The plant is actively growing then, so it can recover from root disturbance more easily.
How do you transplant a spider plant without shock?
Use a pot only one size larger, keep the crown at the same soil level, handle the roots gently, use fresh draining mix, water after transplanting, and keep the plant in bright indirect light while it recovers.
What soil should I use for transplanting a spider plant?
Use a light indoor potting mix with good drainage. Add perlite or pumice if the mix feels heavy, compact, or slow to dry.
What size pot should I use for a spider plant?
Choose a pot about 1 to 2 inches wider than the current pot. Avoid huge pots because extra soil can stay wet and stress the roots.
Can I divide a spider plant during transplanting?
Yes. A large spider plant can be divided if each section has healthy roots and enough leaves. Division is useful when the plant is very crowded.
Can I propagate spider plant babies while repotting?
Yes. You can pot spider plant babies separately if they have small roots or are large enough to root in fresh mix. Keep them lightly moist and in bright indirect light.
Why is my spider plant wilting after repotting?
Wilting after repotting can happen from root disturbance, dry soil, overwatering, direct sun, or transplant shock. Check soil moisture first and keep the plant in stable bright indirect light.
Why are my spider plant leaves turning yellow after transplanting?
Yellow leaves after transplanting can come from overwatering, root disturbance, old leaf aging, poor drainage, or moving stress. If the soil is wet for many days, check drainage and roots.
Should I fertilize after transplanting a spider plant?
No. Wait about 4 to 6 weeks or until the plant shows new growth. Fertilizer too soon can stress disturbed roots.
Should I water a spider plant right after transplanting?
Yes, water after transplanting if the mix is dry or fresh. Water thoroughly, let it drain fully, and do not water again until the soil begins to dry.
Final Thoughts
How to transplant a spider plant without shock comes down to careful timing, the right pot size, fresh draining soil, gentle root handling, and calm aftercare. Do not rush the roots, do not bury the crown, and do not fertilize right away.
Wisconsin Horticulture explains that spider plants grow quickly, their roots can become crowded, they do best in general-purpose potting soil, and larger plants can be divided: Wisconsin Horticulture spider plant guide.
After transplanting, give your spider plant bright indirect light, water only after checking the soil, and let it settle before making more changes. If the plant pauses for a week or two, that is normal. Watch new growth, not just old stressed leaves.
Final Recap
To transplant a spider plant safely, choose spring or early summer, pick a pot only one size larger, use fresh well-draining indoor mix, and remove the plant gently from its old container. Inspect the thick tuberous roots, trim only damaged roots, keep the crown at the same soil level, backfill lightly, water thoroughly, and drain the pot fully. Avoid direct hot sun, overwatering, oversized pots, and fertilizer right after repotting. If the plant wilts or yellows, check soil moisture, drainage, roots, and light before changing everything. With steady aftercare, a transplanted spider plant usually recovers well and grows fuller over time.