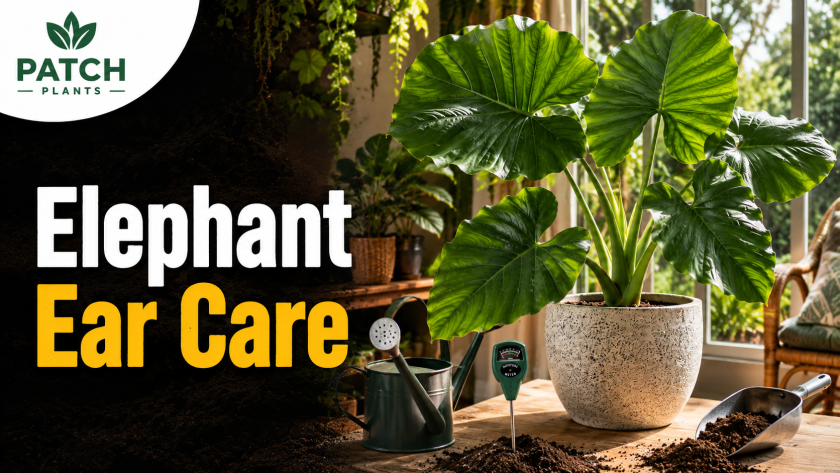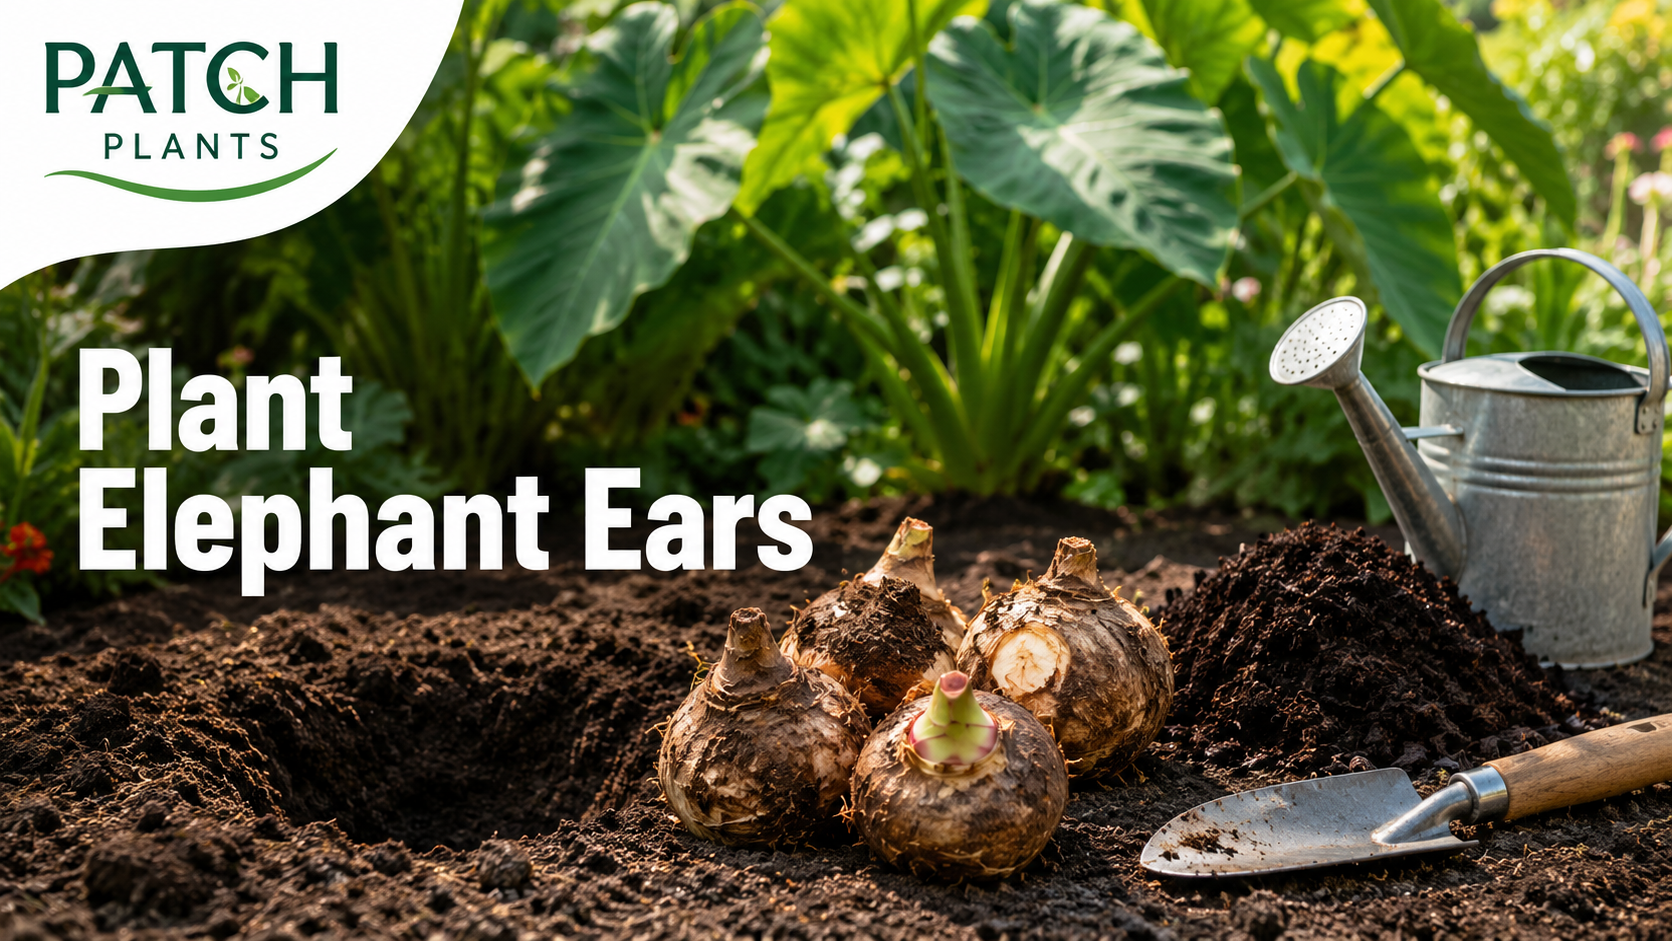
Planting elephant ear bulbs is one of the quickest ways to add huge tropical leaves to a garden, patio, balcony, or summer container. These plants can grow fast once the weather is warm, but they do not like being rushed into cold soil.
Elephant ears are usually sold as bulbs, tubers, corms, or rooted plants. The exact plant may be Colocasia, Alocasia, or Xanthosoma, but the basic planting rule is the same: give them warmth, fertile soil, steady moisture, enough space, and protection from frost.
Planting Snapshot
The safest time for planting elephant ear bulbs outdoors is after the last frost risk has passed and the soil has warmed. Plant most bulbs about 2 to 4 inches deep, with the growing point, sprout, or pointed side facing upward. Use rich, moisture-retentive soil, water well after planting, and keep the soil evenly moist during active growth. In cold climates, lift and store bulbs before winter damage becomes serious.
Key Takeaways
- Planting elephant ear bulbs too early in cold soil can cause slow sprouting or rot.
- Wait until frost risk has passed before planting outdoors.
- Most elephant ear bulbs should be planted about 2 to 4 inches deep.
- Place the growing eye, sprout, or pointed side upward when you can identify it.
- If you are unsure which side is up, plant the bulb sideways.
- Elephant ears need fertile soil, warmth, water, and feeding for large leaves.
- Use this guide with Elephant Ear care, Elephant Ear plant indoors, and how to keep your outdoor plants alive.
What Elephant Ear Bulbs Need for Healthy Growth
Elephant ears are grown for big leaves, so they need more warmth, moisture, and food than many small bedding plants. A cold, dry, shaded site will slow them down. A warm, rich, consistently moist site helps them grow dramatically.
Basic needs
- Warm soil before planting outdoors.
- A fertile bed or rich container mix.
- Consistent moisture during active growth.
- Good drainage, especially for pots and Alocasia types.
- Morning sun, filtered sun, or partial shade depending on climate.
- Regular feeding once leaves begin growing strongly.
- Protection from frost and cold winds.
How elephant ear bulbs differ from true bulbs
Many gardeners call them bulbs, but elephant ears are often tubers or corms. That means they are swollen underground storage parts that hold energy for new growth. The exact term matters less than the care: keep them firm, warm, and protected from rot before they start growing.
Colocasia, Alocasia and Xanthosoma
| Type | Best Use | Planting Note |
|---|---|---|
| Colocasia | Outdoor beds, containers, pond edges, large patio pots | Often enjoys wetter soil and strong summer growth |
| Alocasia | Indoor pots, sheltered patios, bright filtered spaces | Usually needs sharper drainage and humidity |
| Xanthosoma | Warm gardens, large containers, tropical displays | Needs warmth, room, fertile soil, and moisture |
For a broader care guide, read Elephant Ear care. For indoor growing, read Elephant Ear plant indoors.
When to Plant Elephant Ear Bulbs
When to plant elephant ear bulbs depends on your climate. The important thing is warmth. These are tropical plants, so cold spring soil can make bulbs sit inactive, rot, or sprout very slowly.
| Planting Situation | Best Timing | Care Tip |
|---|---|---|
| Outdoors in garden beds | After frost risk has passed and soil is warm | Do not rush into cold wet soil |
| Outdoor containers | After nights are reliably mild | Containers warm faster but dry faster too |
| Starting indoors | Several weeks before outdoor planting time | Use warm bright conditions and avoid overwatering |
| Warm frost-free climates | Spring or warm rainy season | Avoid cold, soggy dormant periods |
| Cold climates | Late spring to early summer outdoors | Lift and store bulbs before winter frost |
Use your last frost date
For outdoor planting, wait until the danger of frost has passed. A late frost can damage new shoots and cold soil can harm the bulb before growth begins. If your spring is unpredictable, wait a little longer or start bulbs indoors.
Check soil warmth, not just the calendar
A calendar date is only a guide. Soil in a sunny raised bed warms faster than heavy wet soil in shade. If the soil still feels cold and wet, delay planting. Elephant ears usually wake up faster in warm, settled conditions.
Starting bulbs indoors
Starting elephant ear bulbs indoors gives you a head start in short growing seasons. Plant them in pots with a rich, draining mix, keep them warm, and place them in bright indirect light. Move them outside gradually after nights are warm.
How Deep to Plant Elephant Ear Bulbs
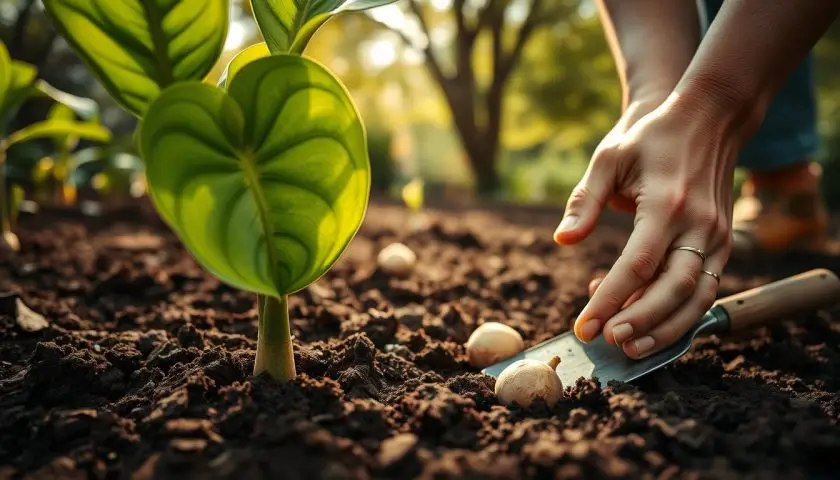
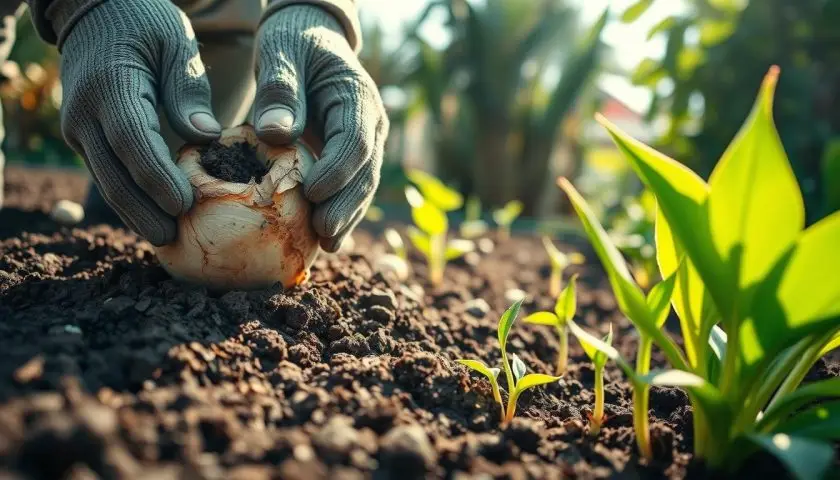
How deep to plant elephant ear bulbs is one of the most common questions. For most bulbs, aim for about 2 to 4 inches of soil above the bulb. Very large bulbs may sit slightly deeper, while sprouting bulbs should be planted so the shoot is not buried too far.
| Bulb Size or Situation | Suggested Depth | Reason |
|---|---|---|
| Small bulb or corm | About 2 inches deep | Enough cover without slowing shoots |
| Medium bulb | About 2 to 3 inches deep | Good balance for most home planting |
| Large bulb or tuber | About 3 to 4 inches deep | Gives stability and coverage |
| Already sprouting bulb | Cover bulb, keep sprout close to surface | Avoid burying new growth too deeply |
| Heavy wet soil | Use shallower planting and improve drainage | Reduces rot risk |
What happens if bulbs are planted too deep?
Bulbs planted too deep may take longer to sprout. In cold or wet soil, they may rot before growth reaches the surface. If weeks pass with no growth and conditions are warm, gently check the bulb.
What happens if bulbs are planted too shallow?
Bulbs planted too shallow can dry out, become unstable, or push above the soil as roots grow. Add a little soil around the base if the bulb becomes exposed.
Which Side of an Elephant Ear Bulb Goes Up?
Look for a pointed end, old stem scar, small nub, growing eye, or visible sprout. That side usually faces upward. The flatter or root-side base goes downward.
Bulb orientation clues
- Pointed tip: often faces upward.
- Visible sprout: always faces upward.
- Old stem scar: usually marks the top.
- Root scars or flatter base: usually face downward.
- Unclear shape: plant sideways to avoid forcing it upside down.
If you cannot tell the top from the bottom
Do not stress. Plant the bulb on its side. Elephant ear shoots can usually find their way upward if the bulb is healthy, warm, and not planted too deeply.
Choosing the Right Location
Elephant ears need space and shelter. Their leaves can grow large enough to shade smaller plants, catch wind, and lean over paths. Choose the location with mature size in mind.
Best outdoor locations
- Warm sheltered borders.
- Large patio containers.
- Moist garden beds with rich soil.
- Near ponds or water features for moisture-loving Colocasia types.
- Partial shade in hot climates.
- Morning sun with afternoon shade in many gardens.
Locations to avoid
- Cold exposed windy spots.
- Dry sandy soil without improvement.
- Heavy stagnant wet soil for drainage-sensitive types.
- Deep shade with very little usable light.
- Small beds where mature leaves will crowd everything.
- Areas where children or pets may chew leaves.
For outdoor design support, read container gardening on patios, plants in pots in shade, and how to keep outdoor plants alive.
Preparing Soil Before Planting
Elephant ear soil preparation matters because these plants are hungry and thirsty during active growth. Poor soil leads to slow sprouting, smaller leaves, yellowing, and weaker roots.
Best soil texture
The best soil is fertile, moisture-retentive, and draining. It should hold enough water for large leaves but not stay stagnant around the bulb.
Improve heavy clay soil
- Mix in compost or well-rotted organic matter.
- Add grit or coarse material where drainage is poor.
- Plant in a raised mound if the site stays wet.
- Avoid planting dormant bulbs into cold waterlogged clay.
Improve sandy soil
- Add compost to hold moisture.
- Mulch after shoots appear.
- Water deeply during hot weather.
- Feed during active growth because nutrients wash through quickly.
Container soil mix
- 2 parts quality potting mix.
- 1 part compost or moisture-holding organic matter.
- 1 part perlite, pumice, bark, or grit for airflow.
- A pot with drainage holes.
For more soil help, read best soil mix guide and how to repot a plant.
Supplies You Need Before Planting
Prepare everything before you open the packet or lift the bulbs from storage. This keeps the job clean and helps you spot damaged bulbs before they go into the ground.
Basic supplies
- Elephant ear bulbs, tubers, corms, or started plants.
- Gardening gloves.
- Trowel or hand fork.
- Compost or organic matter.
- Large pot with drainage holes if container planting.
- Watering can or hose.
- Plant labels or markers.
- Mulch for outdoor beds.
- Balanced fertilizer for later growth.
Inspect bulbs before planting
A healthy elephant ear bulb should feel firm and heavy for its size. Do not plant bulbs that are mushy, foul-smelling, badly mouldy, or hollow.
| Bulb Condition | Plant or Reject? | What It Means |
|---|---|---|
| Firm, heavy, no smell | Plant | Healthy storage tissue |
| Small dry surface marks | Usually plant | Normal storage wear if bulb is firm |
| Soft or mushy areas | Reject or trim if minor | Possible rot |
| Bad smell | Reject | Rot is likely active |
| Light surface mould but firm inside | Use caution | Clean and dry before planting if minor |
How to Plant Elephant Ear Bulbs Step by Step
This elephant ear bulb planting guide works for garden beds and can be adjusted for containers. The main goals are correct depth, warmth, gentle handling, and consistent moisture.
Step 1: Clear and loosen the planting area
Remove weeds, stones, and compacted surface soil. Loosen the planting area wider than the bulb so new roots can spread easily.
Step 2: Mix in compost
Add compost or organic matter to improve fertility and moisture retention. If the soil drains poorly, improve drainage before planting.
Step 3: Dig the planting hole
Dig a hole deep enough to place the bulb about 2 to 4 inches below the soil surface. Make the hole wide enough so the bulb sits naturally without being forced.
Step 4: Position the bulb
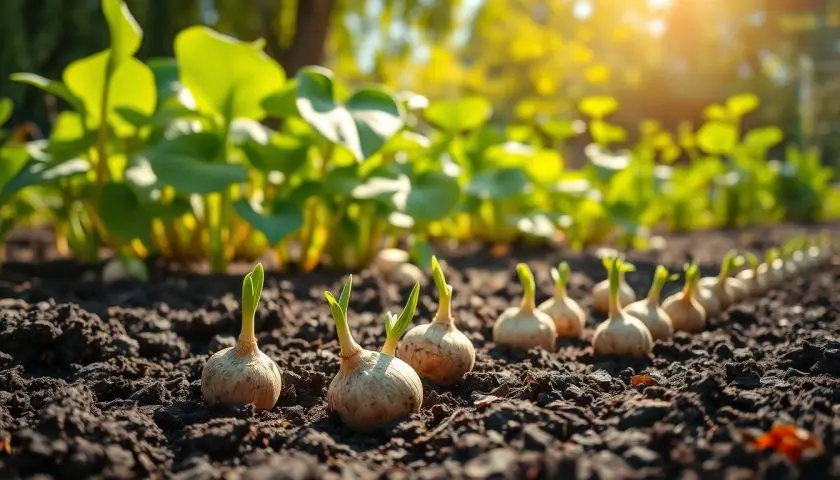
Place the pointed side, growing eye, or sprout upward. If you cannot tell, lay the bulb sideways. Do not crush new sprouts.
Step 5: Backfill gently
Cover the bulb with soil and firm lightly. Do not compact the soil hard because roots need oxygen.
Step 6: Water thoroughly
Water the planting area so moisture reaches the bulb and surrounding soil. Avoid turning the area into a puddle, especially if the weather is still cool.
Step 7: Mark the spot
Elephant ears can take time to sprout, so mark the planting spot. This stops you from accidentally digging into the bulb while weeding or planting nearby.
Step 8: Keep evenly moist
Keep the soil lightly and evenly moist as growth begins. Increase watering once leaves appear and the weather warms.
Step 9: Feed during active growth
Once the plant is producing leaves, feed during the growing season. Big leaves need steady nutrition, especially in containers.
Planting Elephant Ear Bulbs in Containers
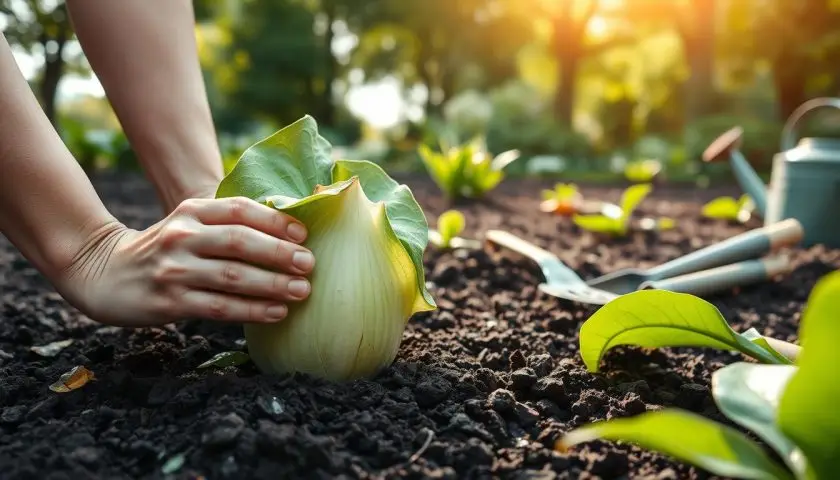
Planting elephant ear bulbs in containers is a good choice for patios, balconies, rented gardens, cold climates, and indoor starts. Containers warm faster in spring, but they also dry faster in summer.
Choose the right pot
- Use a large container with drainage holes.
- Choose a heavy pot for tall varieties.
- Avoid tiny pots that dry out too fast.
- Avoid closed decorative pots unless an inner nursery pot can drain fully.
- Give large varieties enough root space and stability.
Container depth and spacing
Plant the bulb at a similar depth as in the ground, usually about 2 to 4 inches deep. Leave enough room below the bulb for roots and enough room above for watering without soil washing out.
Container aftercare
- Keep in warm bright conditions.
- Water when the top layer begins to dry.
- Feed once active growth begins.
- Move gradually into outdoor light if started indoors.
- Protect from strong wind because large leaves can catch gusts.
For container help, read best plants for container gardening on patios and self-watering pots guide.
Watering After Planting
Elephant ear watering after planting needs balance. The bulb needs moisture to wake up, but cold wet soil can rot it. Start with a good watering after planting, then keep the soil evenly moist, not stagnant.
| Stage | Watering Need | What to Avoid |
|---|---|---|
| Right after planting | Water thoroughly once | Leaving soil waterlogged in cool weather |
| Before shoots appear | Keep lightly moist | Daily heavy watering |
| After shoots appear | Increase watering as growth speeds up | Letting young plants dry hard |
| Summer leaf growth | Consistent moisture | Long dry spells in containers |
| End of season | Reduce as growth slows | Soaking dormant bulbs |
Underwatering signs
- Leaves droop dramatically.
- Leaf edges become dry and crispy.
- Soil pulls away from the container edge.
- Growth slows during warm weather.
- Container feels very light.
Overwatering signs
- Bulb becomes soft or smells bad.
- Shoots fail to appear in cold wet soil.
- Leaves yellow while soil is wet.
- Fungus gnats appear in containers.
- Base of the plant feels mushy.
For watering support, read complete watering tips, worst times to water plants, and signs you are overwatering.
Light, Heat and Feeding After Planting
Elephant ears grow best when warmth, light, water, and nutrients work together. If one part is missing, leaves may stay small even if the bulb is healthy.
Light after planting
- Use bright indirect light for indoor starts.
- Give outdoor plants morning sun or partial shade in hot climates.
- Protect young shoots from harsh afternoon sun at first.
- Move indoor-started plants outdoors gradually.
- Watch for scorch on tender new leaves.
Heat after planting
Warmth helps elephant ear bulbs wake up. If the soil is cold, growth may pause. If you started bulbs indoors, do not move them outside until nights are reliably mild.
Fertilizer after planting
Wait until active growth begins before feeding heavily. Once leaves are growing, elephant ears benefit from regular feeding through the warm season.
| Growth Stage | Feeding Advice | Reason |
|---|---|---|
| Freshly planted bulb | Do not overfeed | Roots are not active enough yet |
| First shoots | Start light feeding if growth is strong | Supports leaf development |
| Summer growth | Feed regularly | Large leaves need nutrients |
| Late season | Reduce feeding | Plant is preparing to slow down |
| Dormancy or storage | Do not feed | No active roots are using nutrients |
For feeding basics, read fertilizing indoor vs outdoor plants.
Spacing Elephant Ear Bulbs
Elephant ears need more space than they seem to need at planting time. A bare bulb looks small, but the mature plant may create huge leaves and wide stems.
Spacing tips
- Give small varieties at least 18 to 24 inches of space.
- Give large varieties several feet if the label recommends it.
- Leave room between plants and paths.
- Avoid placing large elephant ears in front of tiny bedding plants.
- Give container plants enough pot width for roots and stability.
Wind protection
Large elephant ear leaves can tear in strong wind. Choose a sheltered site, use heavy containers, and avoid exposed corners where wind tunnels through.
Mulching and Weed Control
Mulch helps outdoor elephant ears by keeping soil moist and reducing competition. It is especially helpful in hot weather and sandy soil.
How to mulch
- Wait until you know where shoots are emerging.
- Apply mulch around the plant, not piled against the stem.
- Keep mulch away from the crown to reduce rot risk.
- Top up mulch during hot summer weather if it breaks down.
- Remove weeds before they compete for water and nutrients.
Why Elephant Ear Bulbs Are Not Sprouting
Elephant ear bulbs can take time to sprout, especially if weather is cool. Slow sprouting is not always failure. The bulb may be waiting for warmer soil.
Common reasons bulbs do not sprout
- Soil is too cold.
- Bulb was planted too deeply.
- Bulb is rotten or dried out.
- Soil is too wet and cold.
- Site is too shaded.
- Bulb was planted upside down and needs extra time.
- It simply needs more warm days.
What to do
- Wait if the weather has only recently warmed.
- Check soil moisture and avoid soaking cold soil.
- Gently uncover the bulb if it has been many weeks.
- Check for firmness, rot, and shoots.
- Replant at a better depth if needed.
- Replace the bulb if it is soft, hollow, or foul-smelling.
Common Planting Problems and Fixes
| Problem | Likely Cause | Fix |
|---|---|---|
| Bulb rots before sprouting | Cold wet soil or damaged bulb | Plant later, improve drainage, use firm bulbs |
| Shoots are weak and pale | Low light or planted too deep | Increase light and check depth |
| Leaves droop in heat | Dry soil or hot sun | Water deeply and add afternoon shade |
| Leaves turn yellow | Too wet, too dry, cold, low nutrients, aging | Check soil, feeding, and weather stress |
| Small leaves | Low nutrients, small pot, not enough light | Feed, repot, or move brighter |
| Torn leaves | Wind exposure | Move pot or choose a sheltered site next time |
| Fungus gnats in pots | Soil staying too wet | Let top layer dry and improve drainage |
For more symptom help, read yellow leaves on plants, leaf curl, browning and droop, and root rot guide.
Pest and Disease Checks After Planting
Young elephant ears can attract pests as soon as leaves appear. Check early, because large leaves can hide insects on the underside.
Common pests
- Aphids: soft insects on new growth.
- Spider mites: fine webbing and speckled leaves, often in dry air.
- Thrips: silvery streaks and distorted leaves.
- Mealybugs: white cottony patches around stems.
- Scale: brown bumps on stems and leaf veins.
- Slugs and snails: holes in outdoor leaves.
Disease and rot prevention
- Do not plant into cold wet soil.
- Use clean tools when dividing bulbs.
- Remove rotting leaves from the soil surface.
- Improve airflow around crowded plants.
- Avoid leaving container plants sitting in water.
- Discard bulbs that are badly rotten.
For leaf cleaning and plant hygiene, read how to clean plant leaves.
End-of-Season Care and Winter Storage
Storing elephant ear bulbs matters in cold climates because frost can damage foliage and cold wet soil can damage tubers. Plan winter care before the first hard freeze.
In warm climates
Some elephant ears can stay in the ground where winters are mild and the soil does not freeze. Add mulch if the top growth dies back and check that the planting site drains well.
In cold climates
- Wait until frost damages the foliage.
- Cut back the leaves, leaving a short stem.
- Lift bulbs, tubers, or corms carefully with a fork.
- Brush off loose soil.
- Let them dry in a sheltered airy place.
- Store in a cool, dry, frost-free location.
- Check during winter and discard anything rotten.
Bringing potted plants indoors
- Move pots indoors before frost.
- Inspect for pests first.
- Place in bright filtered light.
- Water less if growth slows.
- Keep away from radiators and cold drafts.
For more seasonal help, read garden calendar, seasonal plant care in autumn, and outdoor plants for British winters.
Safety When Planting Elephant Ear Bulbs
Elephant ears are best handled with gloves. The sap can irritate skin, and the leaves, stems, and underground parts should not be chewed by pets or children.
Safety tips
- Wear gloves when planting, cutting, or dividing.
- Wash hands after handling bulbs and leaves.
- Keep bulbs away from pets and children.
- Do not leave cut plant material on patios or indoor floors.
- Clean tools after cutting damaged or diseased tissue.
For pet-safe plant planning, read cat-friendly plant safety and dog-friendly plant safety.
Planting Elephant Ear Bulbs Checklist
| Task | Best Choice | Avoid |
|---|---|---|
| Timing | After frost risk and warm soil | Cold wet early spring planting |
| Bulb health | Firm, heavy, no bad smell | Mushy or hollow bulbs |
| Depth | About 2 to 4 inches deep | Very deep planting in cold soil |
| Orientation | Sprout or growing eye upward | Forcing a damaged sprout downward |
| Soil | Rich, moist, and draining | Stagnant cold wet soil |
| Water | Even moisture during growth | Daily soaking before warmth arrives |
| Feeding | Feed once growth begins | Heavy fertilizer on dormant bulbs |
| Winter | Lift, store, mulch, or bring indoors | Leaving tender bulbs to freeze |
Helpful PATCH Guides for Planting Elephant Ear Bulbs
Use these related PATCH guides for elephant ear care, tropical foliage, outdoor containers, watering, soil, pests, and winter planning.
Elephant Ear and Tropical Plant Guides
- Elephant Ear care
- Elephant Ear plant indoors
- Tropical house plants
- Oversized indoor plants
- Colorful foliage indoor plants
- Unusual indoor plants
Outdoor and Container Guides
- Outdoor Plants hub
- How to keep outdoor plants alive
- Container gardening on patios
- Plants in pots in shade
- Small plants that like shade
- Hardy outdoor plants
- Outdoor plants for British winters
Light, Water and Soil Guides
- Complete guide to indoor light
- Complete watering guide
- Worst times to water plants
- Signs you are overwatering
- Best soil mix guide
- How to repot a plant
- Repotting mistakes to avoid
Plant Problem Guides
- Plant Care hub
- Yellow leaves on plants
- Why plant leaves turn yellow
- Leaf curl, browning and droop
- Root rot guide
- How to revive a dying plant
- How to clean plant leaves
Seasonal and Garden Planning Guides
- Garden calendar
- Seasonal plant care in autumn
- How to keep pests away from outdoor plants
- Top drought-resistant plants
- Low-maintenance outdoor plants
- Easy outdoor edible plants
Frequently Asked Questions
When is the best time for planting elephant ear bulbs?
The best time is after the last frost risk has passed and the soil has warmed. Elephant ears are tropical plants, so cold wet spring soil can delay sprouting or cause rot.
How deep should I plant elephant ear bulbs?
Plant most elephant ear bulbs about 2 to 4 inches deep. Use the shallower end for small bulbs or heavy soil, and the deeper end for larger bulbs in warm, well-prepared soil.
Which side of an elephant ear bulb goes up?
The pointed side, sprouting side, or visible growing eye usually goes up. If you cannot tell which side is up, plant the bulb sideways.
Can I start elephant ear bulbs indoors?
Yes. Start bulbs indoors in pots several weeks before outdoor planting time. Keep them warm, use bright indirect light, and avoid overwatering before roots and shoots are active.
Can I plant elephant ear bulbs in containers?
Yes. Use a large pot with drainage holes, rich potting mix, steady moisture, and enough space for mature leaves. Containers are useful in cold climates because they can be moved indoors before frost.
How long do elephant ear bulbs take to sprout?
Sprouting time depends on warmth, bulb health, planting depth, moisture, and variety. Warm soil speeds sprouting, while cold soil can delay growth for weeks.
Why are my elephant ear bulbs not sprouting?
They may be too cold, planted too deeply, too wet, too dry, rotten, or not ready yet. Gently check the bulb if warm conditions have been steady for several weeks with no growth.
Should I water elephant ear bulbs right after planting?
Yes, water thoroughly after planting. After that, keep the soil evenly moist but not waterlogged until growth begins, then water more consistently as leaves expand.
Do elephant ear bulbs need full sun?
Not always. Many elephant ears do best with morning sun, filtered sun, or partial shade. Some Colocasia types can handle more sun if the soil stays moist.
How do I store elephant ear bulbs for winter?
After frost damages the foliage, lift the bulbs, cut back leaves, dry them in a sheltered airy place, and store them in a cool, dry, frost-free spot. Check occasionally for rot.
Final Thoughts
Planting elephant ear bulbs is mostly about timing and warmth. Wait until cold weather has passed, plant at the right depth, use rich moist soil, water steadily, and feed once leaves start growing. If you get those basics right, elephant ears can grow quickly into bold summer foliage.
Wisconsin Horticulture explains that elephant ears include Colocasia, Alocasia, and Xanthosoma, and that these tropical plants need warm temperatures, high humidity, generous water and fertilizer during growth, and winter protection in cold climates: Wisconsin Horticulture elephant ears guide.
For the best results, do not plant too early and do not let fresh bulbs sit in cold soggy soil. Once the plant is actively growing, keep moisture and nutrients steady so those huge leaves can develop properly.
Final Recap
Plant elephant ear bulbs outdoors after frost risk has passed and soil has warmed. Choose firm healthy bulbs, plant most of them about 2 to 4 inches deep, and position the growing eye, sprout, or pointed side upward. If you are unsure, plant the bulb sideways. Use fertile, moisture-retentive, well-draining soil, water thoroughly after planting, and keep soil evenly moist during active growth. In containers, use a large pot with drainage holes and protect plants from strong wind. Feed once leaves are growing, check pests regularly, and plan winter protection in cold climates by bringing pots indoors or lifting and storing bulbs. With warmth, moisture, space, and steady care, elephant ears can grow into dramatic tropical foliage plants for beds, patios, and containers.